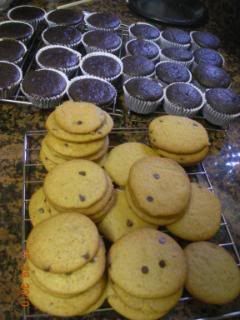
After debating for quite a while about what to make today, I decided to make these black bottom cupcakes. I found the recipe for these cupcakes on
Brown Eyed Baker, who got the recipe from David Lebovitz.
I actually made these for my brother because it's his turn to bring snacks for Bible drill, a church activity that he participates in. Bible drill is when people memorize Bible verses and then they try to flip to that verse as fast as possible, under 7 seconds. Anyway, he initially requested that I make red velvet cupcakes...but I was too lazy. Last time I made
red velvet cupcakes, they took me two whole hours, including cleaning up. In the end, I decided that I wanted to try out this recipe because the last time I made black bottom cupcakes, they took forever to bake and did not turn out the way I wanted them to. By that, I mean that they made me really worried when they were still uncooked when the time was up.
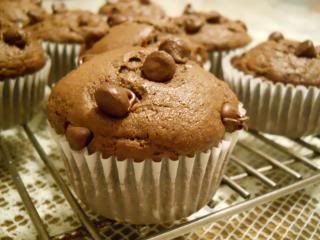
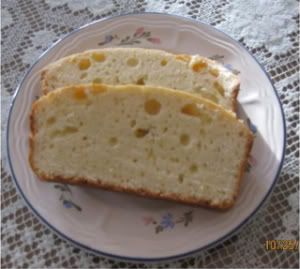
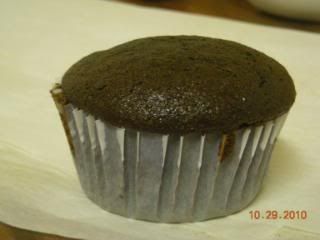
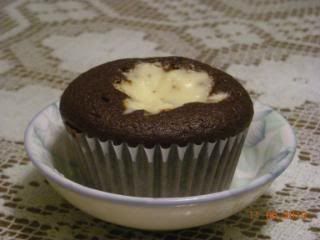
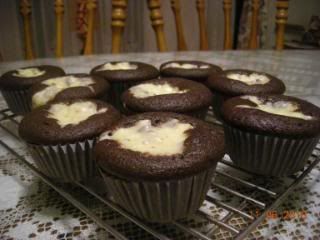
Here's my verdict. The cake part was nice and moist. It may be dry if you peel off a chunk and let it sit there for a while before eating it, but if you leave it whole and you eat it then it is moist. It was just right in terms of sweetness, not too sweet but enough so that it was enjoyable.
For the cream cheese portion, I didn't soften it enough so there were little lumps of cream cheese. This did not adversely affect the taste, just the texture, which was not as smooth. However, the cream cheese portion was still pretty good. Interestingly, the chocolate chips melted on your tongue when you take a bite of it. Creamy and rich=very yummy. I ate a half of the cupcake and almost couldn't resist eating the rest. Serve cold because they taste better that way.
Black-Bottom Cupcakes
Recipe from David Lebovitz
The Great Book of Chocolate, found on
Brown Eyed Baker.
Makes 12
In a group.
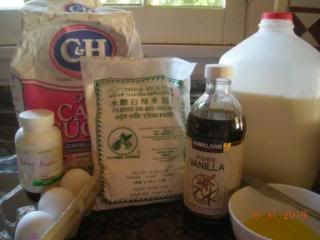
For the Filling:
8 oz. cream cheese, at room temperature
1/3 cup granulated sugar
1 large egg, at room temperature
2 oz. bittersweet chocolate, coarsely chopped (or semisweet chocolate chips which was what I used.)
For the Cupcakes:
1½ cups all-purpose flour
1 cup firmly packed light brown sugar (I used dark brown; I didn't have any light brown sugar)
5 tablespoons naturally unsweetened cocoa powder (not Dutch-process)
1 teaspoon baking soda
¼ teaspoon salt
1 cup water
1/3 cup unflavored vegetable oil
1 tablespoon white or cider vinegar (I used apple cider vinegar)
1 teaspoon vanilla extract
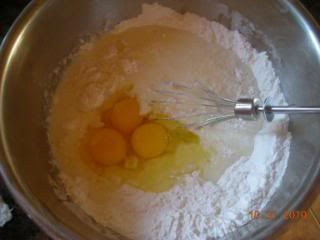
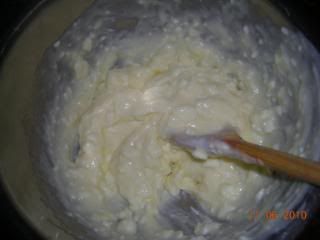
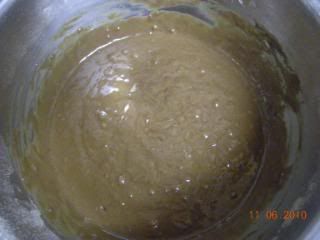
Make the Filling: Beat together the cream cheese, granulated sugar, and egg until smooth. Stir in chopped chocolate pieces. Set aside.

A bit clumpy.
Chocolate chips mixed in.
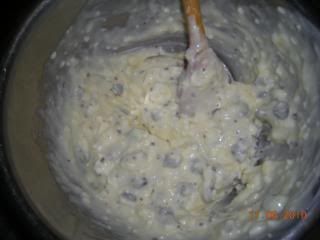 For the filling, instead of using coarsely chopped bittersweet chocolate, I used semisweet chocolate chips that were kind of chopped. I attempted to make the cc smaller for a few minutes, until I realized that it would be a bit hard to accomplish. In the end, I just dumped the cc in the filling.
Also, I was too lazy to get out the hand mixer so I just manually mixed the filling, so it took longer than expected. My filling was also a bit clumpy because the cream cheese was not totally at room temperature.
Make the Cupcakes:
Adjust the rack to the center of the oven and preheat to 350°F (175°C). Butter a 12-cup muffin tin, or line the tin with paper muffin cups.
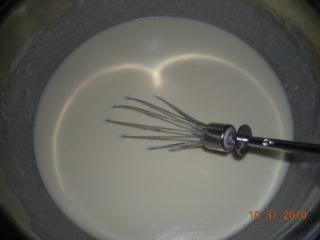
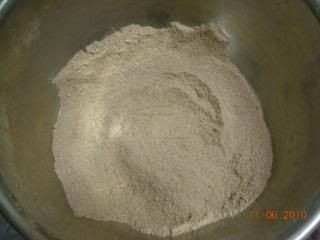
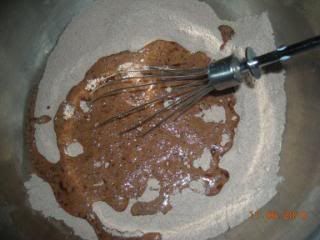
In a medium bowl sift together the flour, brown sugar, cocoa powder, baking soda, and salt. In a separate bowl mix together the water, oil, vinegar, and vanilla.
Flour, brown sugar, cocoa powder and baking soda.
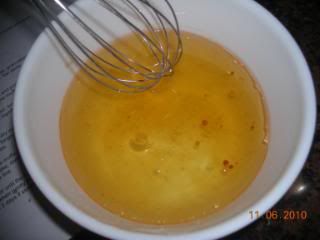
Oil, vinegar and vanilla.
 For the cupcake batter, when the instructions said to sift together the flour, brown, sugar and etc... I thought it was a bit weird. For me, the brown sugar would not fit through the sifter so I just dumped it in a large bowl. Then I proceeded to sift the flour, cocoa powder, and baking soda together. I just sprinkled the salt into the dry ingredients because I use coarse salt.
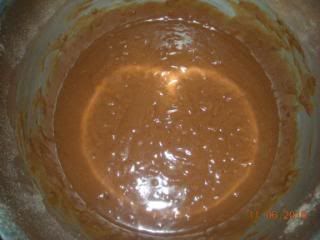
Make a well in the center of the dry ingredients and stir in the wet ingredients, stirring just until smooth. Stir any longer and you will over mix the batter and end up with less-than-tender cupcakes.
There was a little glare in the picture.
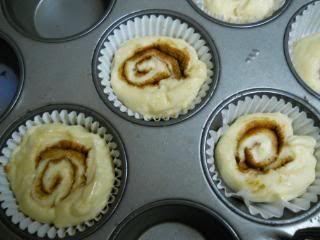
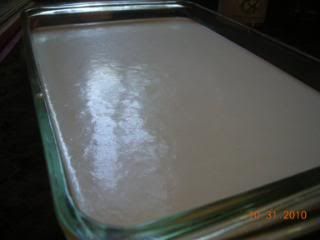
Divide the batter among the muffin cups. Spoon a few tablespoons of the filling into the center of each cupcake, dividing the filling evenly. This will fill the cups almost completely, which is fine.
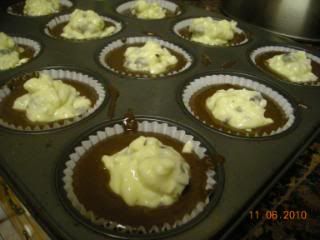
A lot of cream cheese for each one.
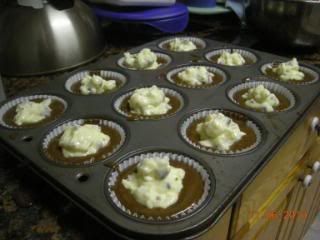
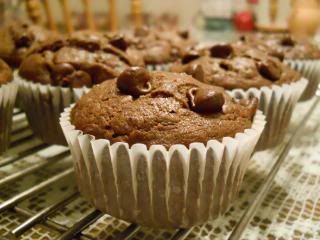
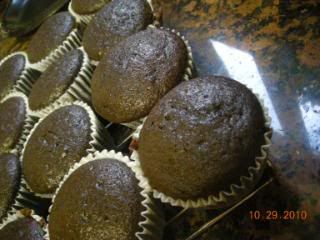
Bake for 25 minutes, or until the tops are slightly golden brown and the cupcakes feel springy when gently pressed. These moist treats will keep unrefrigerated for 2 to 3 days if stored in an airtight container.
I baked my cupcakes for 25 minutes and they were done! Yay! Also, the cupcakes did feel a bit springy when pressed down on.
Oh yea, it took me a total of one hour to mix prepare the cupcakes. I was just getting the feel of it, I'm sure that the next time I make these, it will take around 30 minutes or less.
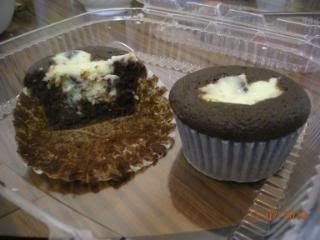
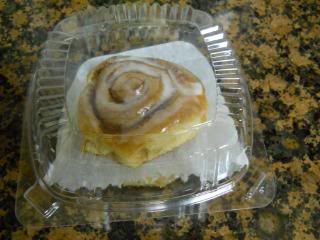
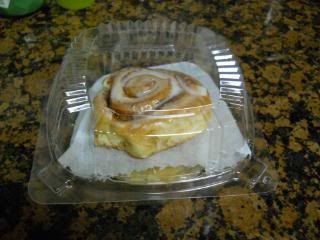
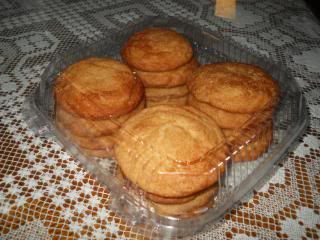
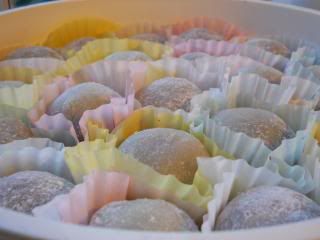
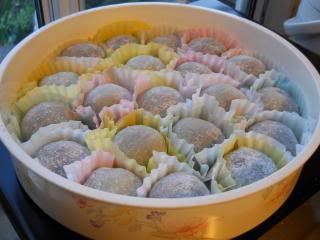
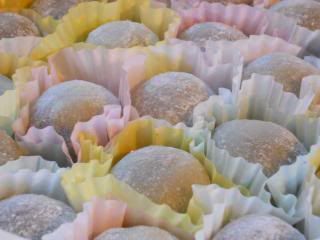
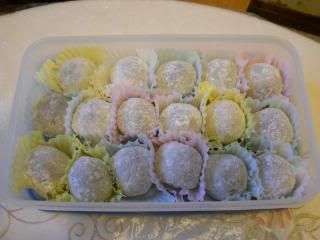
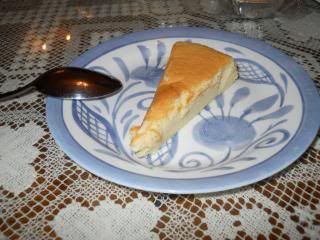
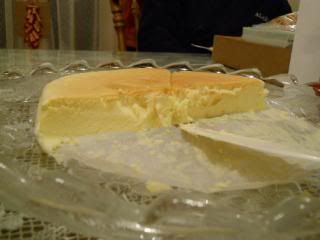
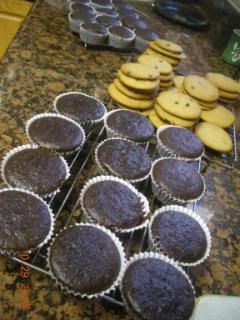
The two leftovers from Bible Drill.