
Thin and Crispy CC Cookies
Makes ~48 cookies
Recipe from America's Test Kitchen Baking Book
The cookies will spread during baking, so unless you want them to stick together space them 1 1/2 inch apart. Also, for a very crisp cookie wait until they cool completely before eating them. If you decide to bake all the dough you mixed, make sure to let the baking sheets to cool down before placing the 2nd batch of cookies on the sheets.
Set A
2 cups all purpose flour
1 tsp baking soda
1 tsp salt
Set B
12 tbsp (1.5 sticks) unsalted butter, softened
1 cup granulated sugar
1/2 cup packed light brown sugar
Set C
2 large eggs
1 tsp vanilla extract
Set D
1 1/2 cups semisweet MINI chocolate chips (I used less than that, maybe around 3/4 cup?)
1 cup walnuts or pecans, toasted and chopped fine (optional) (I only used 1/2 cup of walnuts which I toasted in my toaster oven for a few minutes at 350*F)
Directions
In a medium bowl, whisk together Set A. In a large bowl, cream together Set B with an electric mixer on medium high speed so that it becomes light and fluffy. Then add Set C into the mixture and continue beating, this will only take around 30 seconds. Lastly, mix in Set D until everything is evenly distributed. Now, cover the dough with saran wrap and then refrigerate the dough until it isn't sticky, around 15-20 minutes.
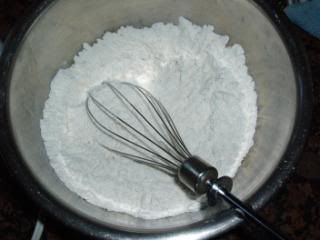
Set A
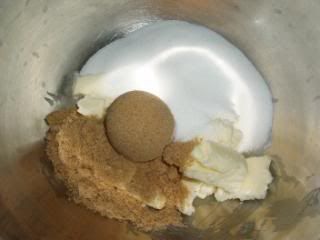
Set B

Set C
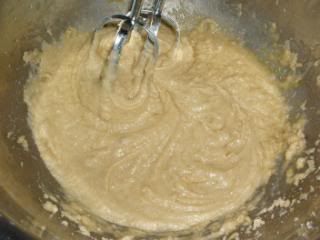
Done mixing. Easy peasy.
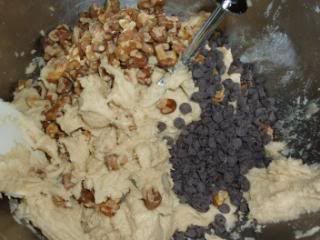
Adding the toppings.
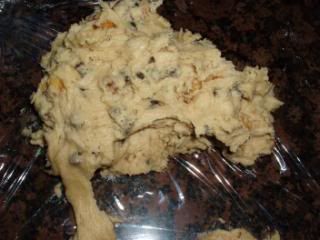
Dough on saran wrap after 20 minutes in fridge.
After you do that, take the dough out and divide it into two portions. Put one portion on a piece of plastic wrap and roll it into a roll that is 6 inches long and 2 inches wide. Wrap it as tight as you can with the plastic wrap and then refrigerate it until the dough is firm, this will take around 2 hours. Another option is to store it in the freezer for up to one month until a craving for cookies hits you.

Rolled up into around 6 by 2 inches.
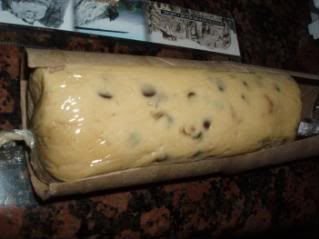
I put it in a cardboard paper towel tube to keep it round. The book gave this advice.
With the oven racks in upper-middle and lower-middle positions, heat the oven to 350*F. Use parchment paper to line 2 baking sheets.
Slice one log of dough after it is firm, into 1/4 inch slices. Place them on the lined baking sheets with enough space between so that they won't bake together. Bake for around 12-17 minutes until the edges are browned. Make sure to carefully watch it because they will burn easily because the cookies are so thin. Also, make sure to switch and rotate the baking sheets halfway into baking.
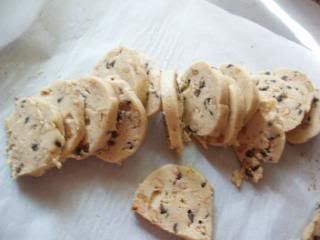
Roll sliced up into 1/4 inch slices.
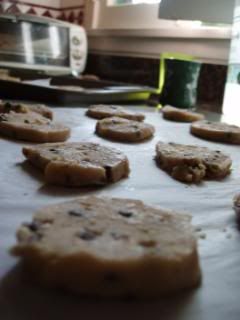
Slices placed on baking sheet.
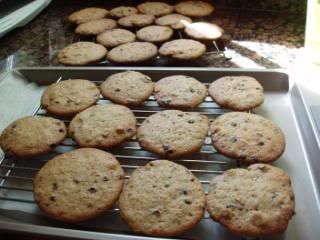
Cool cookies on baking sheets for 3 minutes before moving them to a wire rack to cool completely. Go on to bake the rest of the dough if you feel like it.
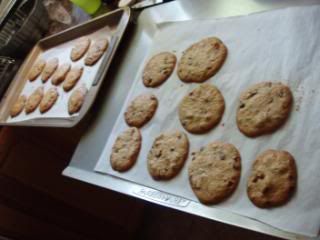
Cookies cooling on sheet.
Cookies on wire rack after 3 minutes.
Note: Mini chocolate chips should be used instead of regular sized chips because that way it will be easier to slice the cookies.
To keep the cookie dough round while you are slicing it, make sure to rotate the dough from time to time.
If the cookie dough becomes too soft after a while, either refrigerate it again until it becomes firm or just shape them with your fingers. Luckily, this won't happen until you get to slicing the last few cookies.
If the cookie slices are a bit uneven, just use your fingers to press the cookies so that they have an even thickness.
These cookies are really easy to make and won't take up much time. You'll love them if you like crispy cookies. When you first take them out of the oven, they won't be crispy so you need to wait until they cool down.
Enjoy!
Oh, chocolate cookies are always big hit in the family! Love it.
ReplyDeleteLove these. Look thin and crisps. Would be great with a cup of milk...mmm
ReplyDeleteOh, these look perfect for me.
ReplyDeleteI love thin and crispy cookies =D Haven't made any quite like these before though....hmm- I'll have to try one day! They look like they spread a lot during baking- they're so big!
ReplyDeleteHi Christine, yea it is. Too bad my brother doesn't like nuts. I was going to make a portion for him, but was too lazy.
ReplyDeleteHi Mary, I love them too. :)
Hi Wendy, Thank you.
Hi Von, They only take like 15 minutes to prepare and mix. That's what I love about them. They're about 3.5 inches in diameter.
Love your method of making the cookies, they look fantastic and choc chip cookies are my absolute favourite cookies...!!
ReplyDeleteHi Cooking Gallery, Thank you.
ReplyDeleteUsed Toilet paper roll? Ewwww. That and food...just doesn't go together.
ReplyDeleteOh haha, oops, I meant a cardboard paper towel tube. I fixed it for you. :)
ReplyDelete