Egg tarts are delicious. I especially love the ones they have at dim-sum. Their crispy, flaky crusts with a sweet egg filling always leave me craving for another one. I made egg tarts for my first time a few years back and I had to substitute some ingredients. That resulted in a plain crust that did not taste good. The filling was also ok. I do remember the difficulty I had in prying out the tarts from the tart cups, one by one, pledging to never make them again. A few years later, I changed my mind because I had discovered Christine's Recipes, a great blog to refer to for Asian recipes; there I found this egg tart recipe. However, the crust of this egg tart is the cookie type, kind of like shortbread, not those flaky types.
Here is the
recipe. Christine's Recipes is a well organized blog that makes it easy to locate recipes I might be interested in. Also, as a beginner level cook, the recipes are simple enough for me to be able to make them. I haven't had a chance to actually cook some things, as you can tell from my long list of "things to cook", but I hope to hone my cooking skills during the summer. Anyway, back to egg tarts.
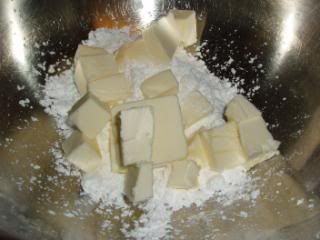
Butter and confectioner's sugar ready to be creamed.
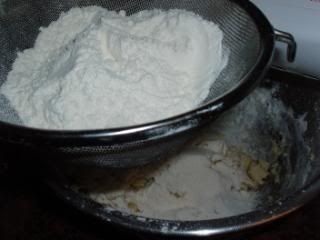
Sifting in the flour.
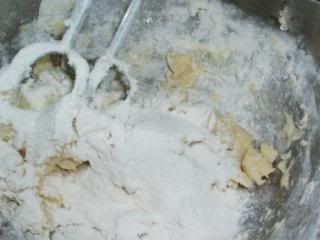
In the process of mixing the crust.
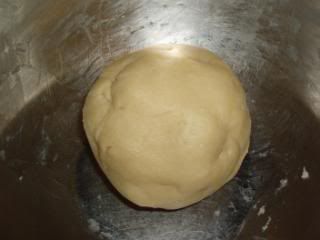
What the texture of the crust should look like after it is uniformly mixed.
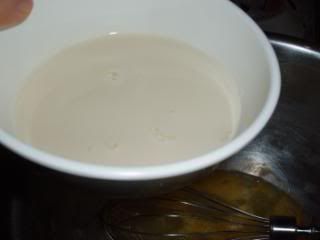
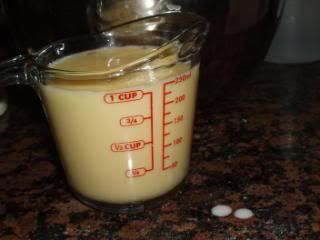
Evaporated Milk
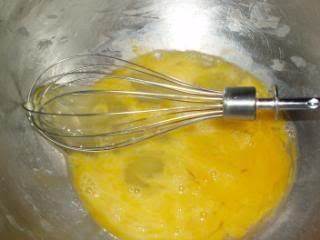
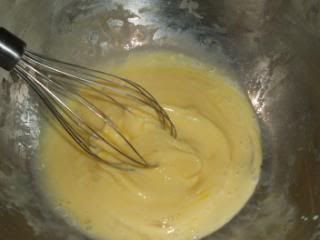
The whisked eggs.
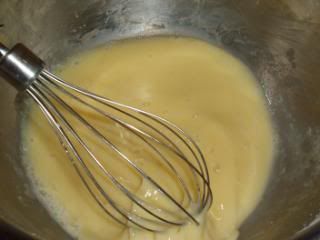
Whisk in the evaporated milk.
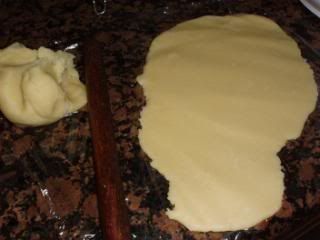
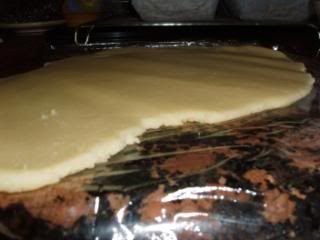
Now, roll out the dough so that it is around 1/2 cm thick.
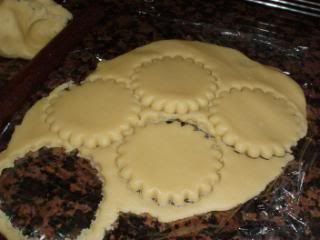
I cut out the crust with the tart tins because I do have biscuit cutters. Anyway, the only hard part was getting the "circles" out because of their frilly edges.
I poured the filling into a measuring cup.
That way I can easily pour it into the separate tins.
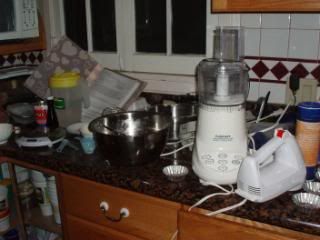
The messy kitchen. So many things to clean up!
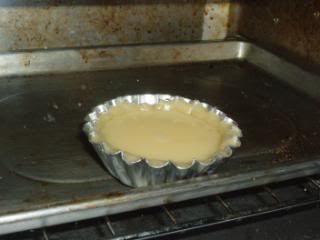
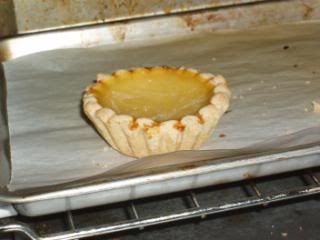
I first baked a tart in the toaster to see if it would stick to the tart tin. It didn't. I did this to see if I would need to butter the tins. It turns out perfectly. I guess it's because there is already a lot of butter in the crust.
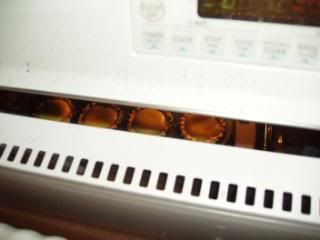
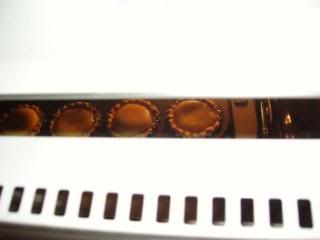
The baking process of egg tarts require you to open the oven door a few inches during the last few minutes so that the eggs won't puff up.
Here's what I learned:
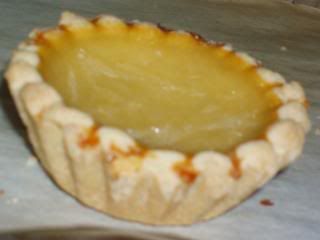
Make your crust taller or pour less filling into the tart tins unless you want to have a hard time getting the tarts out. If too much filling is poured in, then when it's baking it will bubble out and caramelize. (I think that's how you describe it) This leads to egg tarts that are stuck to the tin. I had to use a toothpick to loosen the sides to get the tarts out.
Don't make your tart's crust so tall that it goes over the rims of the tins. Why? Because if you make it too tall, you will have a hard time getting the tart out. The cause of this is that if the tart is not loose, you will need to "pry" it out, but in doing so you might break some of the tarts' edges.
Good luck. :)