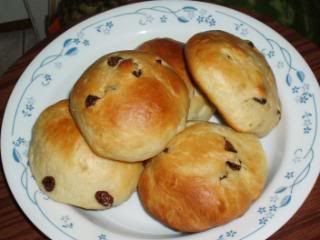
I always feel apprehensive when baking bread. It seems like a very complex process and I don't always have the necessary equipment, like a standing mixer or a bread machine. It's not like I need those, but it would be much more convenient. So I was lucky and found this awesome recipe. Happy Flour is so generous to allow me to post her recipe on my blog; her blog is awesome you should check it out.
I measured out the ingredients so that way people who don't have an electronic scale can just measure out the ingredients in cups/teaspoons/etc.
Ingredients
200g (1 1/3 cup) Bread Flour
100g (3/4 cup) All Purpose Flour
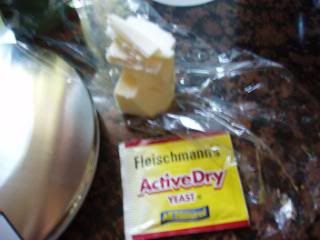
6g (1 packet) Instant Yeast (I used active yeast instead.)
55g (1/4 cup and 1/2 Tablespoon) Sugar
140g (a little more than 1/4 cup) Milk
1 egg
1/2tsp salt
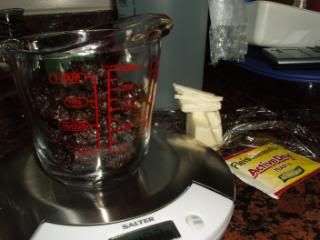
45g (a little less than 4 tablespoons/half stick) Butter, preferably room temperature
100g (between 1/2-3/4 cup) Raisins
1tsp water for soaking the raisins
Directions
For instant yeast, all ingredients other than the butter and raisins are mixed together.
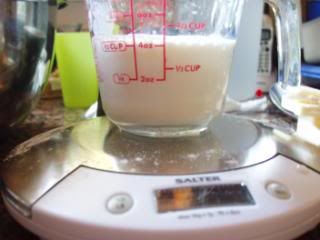
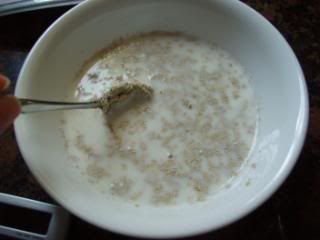
If you are using active yeast, measure out the milk and microwave it for 15 seconds or so, until it is lukewarm. Make sure the milk isn't too hot because you don't want to kill the yeast.
Now mix 1/2 tablespoon of sugar with the milk until it dissolves. Add in the packet of yeast and stir, making sure to coat the yeast with milk. Let the mixture sit for 10 minutes.
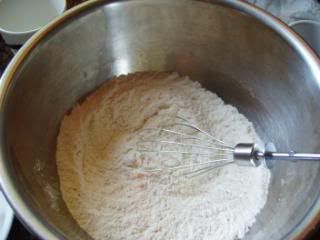
I whisked the flour, just in case.
While you are waiting, whisk the bread flour, all purpose flour, salt, and sugar. At this point, you can wait for the ten minutes to end or just pour in the milk and yeast mixture into the bowl and mix.
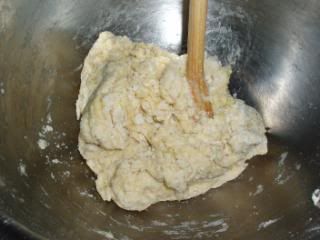
The egg is being mixed in.
Mix until the ingredients are very close to forming a dough. Add the egg and continue mixing. When the dough is formed, mix in the butter. Keep mixing until the butter is uniformly combined with the dough so that the dough is smooth and elastic. Don't worry if it seems very sticky, it's supposed to be like that.
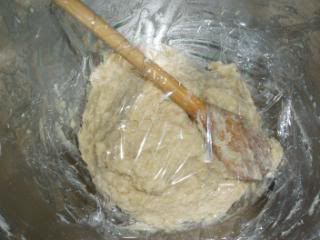
Now, let the dough proof for 45-60 minutes, make sure to cover it. I covered it with a plastic wrap and let it proof for 60 minutes.
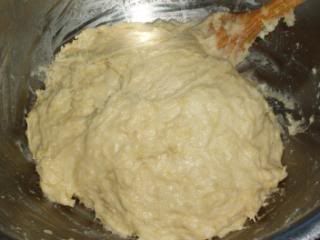
After proofing, this is what it looks like.
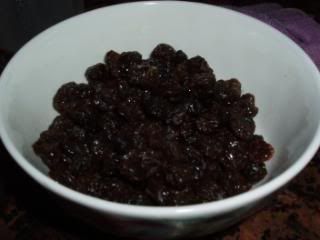
Prepare the raisins 5 minutes before the proofing time is up. Add the teaspoon of water to the raisins and mix to distribute the water. After five minutes, squeeze out the water in the raisins or dry them using a paper towel. The purpose of this step is to make the raisins moist without making the bread overly wet.
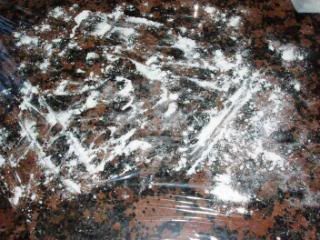
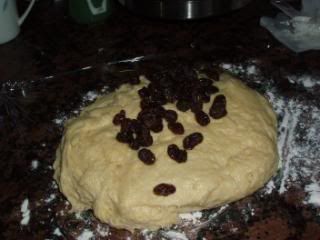
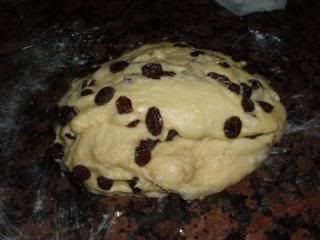
Raisins are uniformly kneaded in.
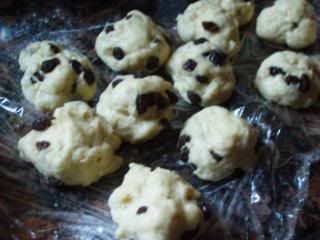
Dough is separated into balls.
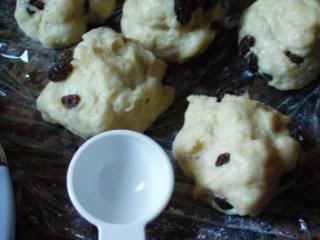
That's a tablespoon.
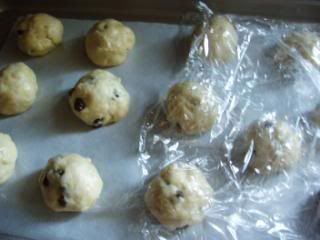
Covering the balls to proof.
Afterward, place the dough on a lightly floured surface and flatten it. Add in the raisins in stages, so that way you can incorporate the raisins easily. Separate the dough into 55 gram balls, around the size of a tablespoon. I was able to make 13 portions. Rest the dough for 10 minutes.
After ten minutes pass, roll the dough into balls and place them on parchment paper on a baking sheet, or just grease the baking sheet.
Cover them with plastic wrap or something else and wait for 45 minutes for it to double in size. I waited for one hour. It depends on the temperature.
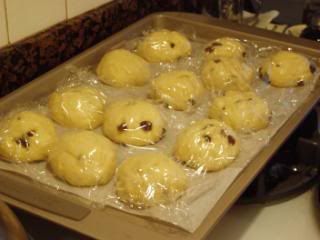
After they doubled in size,
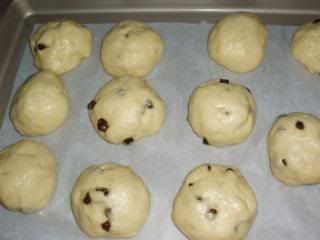
I brushed on milk.
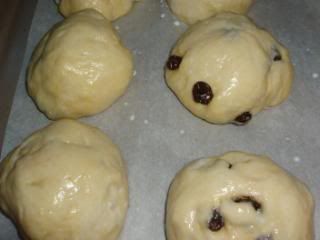
A closer picture.
Preheat the oven to 190 Celsius or 375 Fahrenheit.
Before baking, use a pastry brush to brush the buns' surface with milk. I don't know why we do this, but I did it anyway. I didn't notice any difference with the bun that didn't have milk brushed on.
Bake the buns for 10-15 minutes, until the tops are brown. Check from time to time.
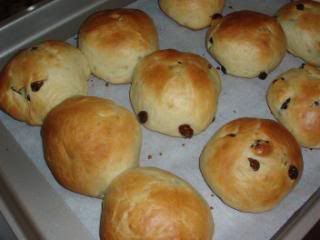
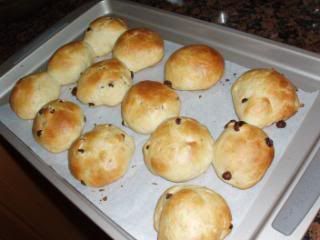
Done baking! I might have made the tops too brown; I forgot to check them while doing the dishes. XD
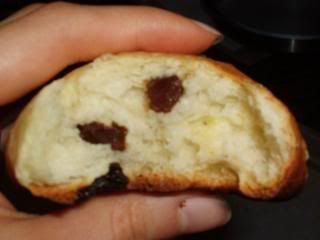
The texture is seen here, not too clear though.
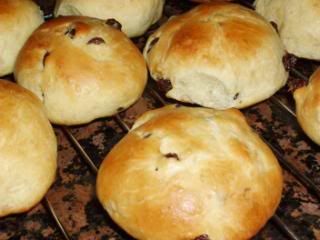
Cooling on the racks.
Optional: Brush the buns with butter after they are done baking. I didn't do that.
Note from Happy Flour: You can use this basic sweet buns dough to make any types of buns of your choice. If you prefer a softer buns, just add 1/2tsp of bread improver or softener.

Wow, those look delicious. I love raisin buns.
ReplyDeleteThis is a greeat post thanks
ReplyDelete