Tuesday, June 8, 2010
Baking Spree
Today was so fun! Since tomorrow is the last day of school, I baked 3 different items for my teachers. It took such a long time though, very exhausting. I'll give the details soon.

Monday, June 7, 2010
Browned Butter Vanilla Cupcake
School is almost ending in a few more days, two to be exact. I am soooo excited! More time to bake and what not. Because school is ending soon, I made some cupcakes last week as thanks to my AP biology lab group for being great partners. I am happy that we were a group; we got along well and even became friends. So I asked them if they wanted some cupcakes and they said yes. Excited, I started baking the cupcakes. But after seeing the finished cupcakes, I was hesitant to give them to my group. I didn't have enough time to bake other things, so I ended giving it to them. However, although those cupcakes were not the best looking cupcakes, my lab group along with my family still enjoyed eating them.
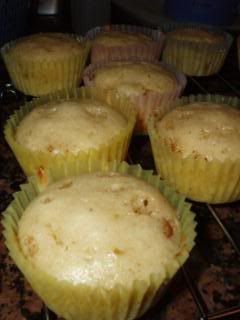
So I made some vanilla butter cupcakes making this the second time I ever made cupcakes from scratch. It turned out to be a flop. Sure, the cupcakes smelled and tasted good, but appearance wise they looked terrible. What I learned was that I'm probably better at baking cookies and muffins rather than cupcakes.
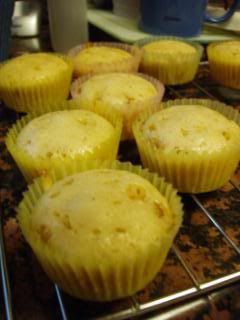
Although Baking Bite's cupcakes were so pretty, mine turned out looking like those fa gao Asian cupcakes. The butter clumped up when I mixed it in with the milk because I forgot to bring the milk to room temperature and I should have known better. This caused my cupcakes to develop holes because the little clumps of butter melted while baking. Another thing was that I over mixed the batter trying to get rid of the clumps which probably led to the Asian cake texture.
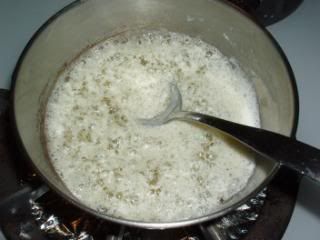
Here the butter is being heated up.
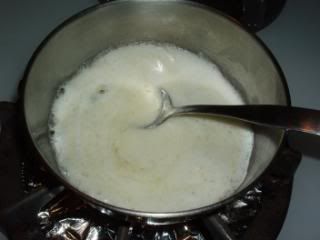
Starting to bubble.

Boiling.
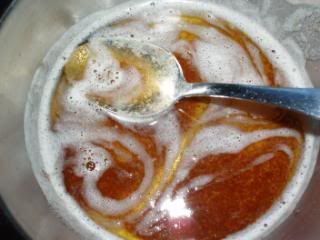
Successful brown color. It really does smell nutty.
Add butter to milk.
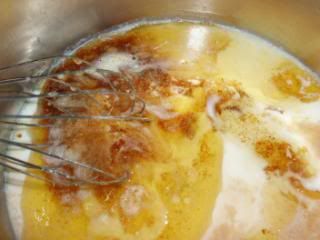
Looks fine.
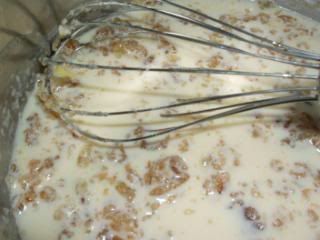
Oppsies!
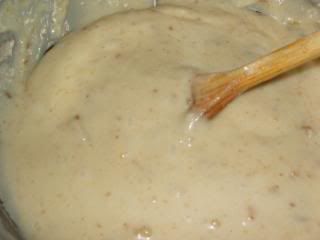
I tried mushing the clumps away and ended up over mixing.
Batter poured into cupcake liners.
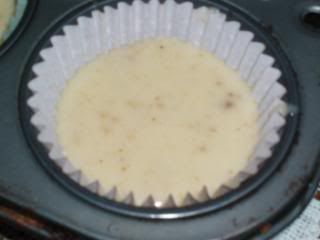
The final product.
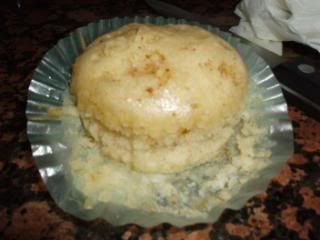
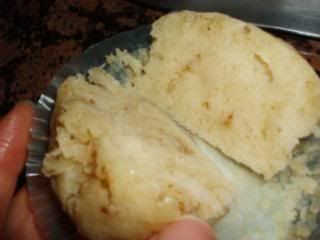
Brown spots = butter
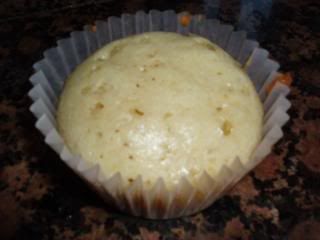
So I made some vanilla butter cupcakes making this the second time I ever made cupcakes from scratch. It turned out to be a flop. Sure, the cupcakes smelled and tasted good, but appearance wise they looked terrible. What I learned was that I'm probably better at baking cookies and muffins rather than cupcakes.
Although Baking Bite's cupcakes were so pretty, mine turned out looking like those fa gao Asian cupcakes. The butter clumped up when I mixed it in with the milk because I forgot to bring the milk to room temperature and I should have known better. This caused my cupcakes to develop holes because the little clumps of butter melted while baking. Another thing was that I over mixed the batter trying to get rid of the clumps which probably led to the Asian cake texture.
Here the butter is being heated up.
Starting to bubble.
Boiling.
Successful brown color. It really does smell nutty.
Add butter to milk.
Looks fine.
Oppsies!
I tried mushing the clumps away and ended up over mixing.
Batter poured into cupcake liners.
The final product.
Brown spots = butter
Wednesday, June 2, 2010
Papaya Milk
I used to never eat papaya. I didn't even want to touch it. Back then, I didn't like eating my veggies or fruits, other than mangoes, watermelon, and similar fruits. Papaya just looked very unappetizing to me; the seeds resembled frog eggs. Then one day I decided to try out my dad's papaya milk. It tasted wonderful and it instantly led to my appreciation of papaya. You should try making it if you haven't made it before.
Papaya Milk
Serves 4
4 cups of milk
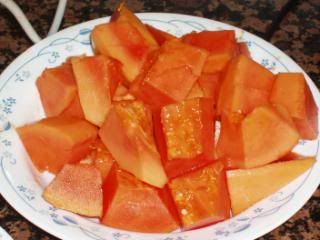
1 1/2 -2 cups papaya, cut into chunks
Ice, amount depends on how "crunchy" or icee-like you prefer
2 1/2 tbsp of sugar
Blender
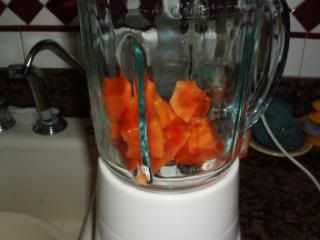
Add papaya to blender.
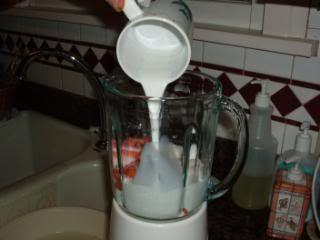
Pour milk into blender.
Add ice and sugar.
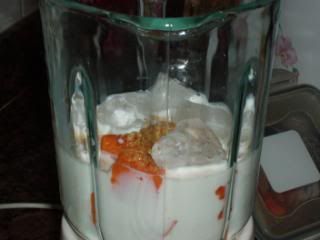
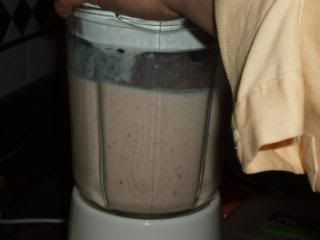
Blend until uniform in mixture. Ice is still "taste-able".
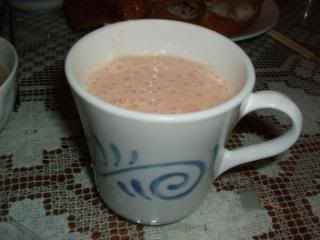
Enjoy!
Papaya Milk
Serves 4
4 cups of milk
1 1/2 -2 cups papaya, cut into chunks
Ice, amount depends on how "crunchy" or icee-like you prefer
2 1/2 tbsp of sugar
Blender
Add papaya to blender.
Pour milk into blender.
Add ice and sugar.
Blend until uniform in mixture. Ice is still "taste-able".
Enjoy!
Sunday, May 30, 2010
Pressed Sugar Cookies

This cookie is an all time favorite in my family. I made them for Christmas before, and when my cousins came over, one of them loved these cookies. The next time he came over to my house he even requested that I make some for him. Sadly I wasn't able to bake any for him because I was busy with my school work. However, because tomorrow is Memorial Day and our families are having a family gathering, I made some cookies today to bring to his house tomorrow. I love how baking brings your loved ones happiness.

Not only are these cookies well-loved, but they're also pretty to look at. The hassle is cleaning up, but I think these cookies are worth it.
Pressed Sugar Cookies Recipe
Too bad I won't be able to post it on my blog. I did make a few changes to the recipe, however. What I changed was reduced the amount of butter to 1 1/2 sticks (3/4 cup) and the one cup of sugar to 3/4 cups of sugar. This way the cookies can be a little bit more healthy, albeit not much. The dough was at the right consistency.
Mixing the ingredients together is simple and quick.

The texture was very smooth.

This picture reminded me of snow. :)

This is what the dough should look like.

Here's my cookie press.

Tons and tons of cookies.

Sorry the pictures are so big, I uploaded them at this size and didn't find out until later, but was too lazy to reupload them.
My cookie press is very easy to use. When I was first deciding which brand and which type to buy, I was a bit nervous. After reading all those negative reviews about handles breaking off or something cracking, I wasn't sure which press would be better. Then I received this coupon from Michael's or Joanne's and my mom helped me buy this one. I think this press is worth the money and so far nothing bad has happened to it. Just make sure that your dough isn't too stiff, otherwise that might cause the press to break.
Variations:
Way healthier option is to reduce butter to 1 stick and sugar to 3/4 cup. This was what I accidentally did one time. I discovered that the dough wasn't sticking together, so I added milk in intervals until it formed one piece. The texture was crunchier (harder), but way healthier.
Here is another recipe that is similar to this one and I hope to try it out soon.
Update: So yesterday was Memorial Day and I brought these cookies to my family's friends' house and everyone loved these cookies. I also brought some to my cousin's house (he lived nearby to the family friends' house) and he was soo, soo happy when I gave these to him. He was all smiles when he saw the cookies which made me happy too. These cookies are well loved by everyone. So if you're looking for a cookie to bake, you should bake these.
Saturday, May 29, 2010
Quick Soft Breadsticks

So today was my grandpa's death-day and my grandma invited my uncle and his family over to commemorate this day. I actually never knew my grandpa because I was born exactly a 1/2 year after his death. Anyway, for this day my grandma cooked a variety of dishes. I, on the other hand, made breadsticks.
These breadsticks are very simple to make and I was able to make them even though I am a beginner at bread making. I enjoyed kneading the dough, it actually has a very relaxing effect. If you're ever feeling angry or annoyed, you can also take out your anger on the dough. :) Afterward, you will feel happier.
Recipe here. Originally from recipezaar
I have baked bread before, but today was my first time actually dissolving yeast. The recipes I used before always said, "Dissolve yeast in water/milk.", but I never actually dissolved it because I was too scared of killing the yeast. So when today I used hotter than normal water and the yeast started dissolving, I was like "Oh no!".

A close up of the yeast bubbling. It was soo cool!

Luckily, yeast is supposed to do that. I used active yeast, so that's why I always dissolve it. In addition to adding yeast to water, I also added 1 tbsp of the brown sugar out of the 3 tbsp asked for in the recipe. So later on, I just added two tablespoons.

I stirred together the dry ingredients (flour, salt, brown sugar).
Then I added the sugar yeast water.

Stirred and stirred.
Then I added the vegetable oil and kneaded it in. The dough felt so smooth and nice.

Leave to proof.

Punch the dough out to get rid of air bubbles and roll it out into a rectangle.

Cut dough into strips; I used a dough scraper to cut it.

Shape the dough in strips or twists, depending on your preference.
Rest dough for 30 minutes. I took some precautions and covered the dough with saran wrap to prevent a crust from forming. I don't know if that really would happen, but I didn't want to risk it.

Bake and enjoy the delicious breadsticks.

When the bread is done, it might not look it, so just quickly sample a piece in the middle (use food scissors or risk "burning" your fingers, don't ask :)If it isn't done yet, just pop it back in the oven. I also took this chance to brush the tops with butter and to sprinkle some garlic salt.
Notes:
Brush a generous amount of butter before serving, sprinkle some garlic salt on top of that.
or
Heat up some spaghetti sauce (bolognese preferred)and use as a dipping sauce.
or
Sprinkle some cheese, grated or powder and bake.
I also think that this breadstick dough is suitable for making pizza. This is way easier than making the "actual" pizza dough because you don't even need a pizza stone for this dough.
Subscribe to:
Posts (Atom)
LinkWithin
