Saturday, September 25, 2010

Pork Floss Potato Buns

Photobucket

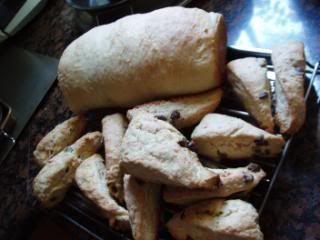
I made these during the summer too, but I didn't have a chance to post them until now. I was debating whether I should post it up or not, but I decided I might as well. I found this recipe while browsing the bread section in Honey Bee Sweets. I decided to give it a try because I was interested in the use of a potato in the recipe and it also had pork floss! I love eating pork floss, and while it is not healthy to eat too much as it is fried and contains MSG; moderation is the key.

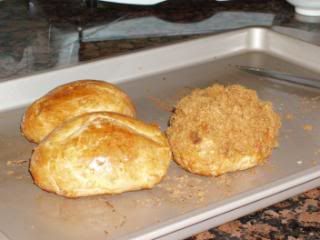
They turned out nice and soft. Although they had a bit of a crust, the inside was pretty good. I accidentally left them in the oven too long because when the timer went off, I took them out and tasted one. It was still a bit undone so I continued baking it, but then I forgot about them and they developed a crust. :( Oh well, next time I'll do better.

As you can see in Honey Bee Sweets' blog, her pork floss buns are pale and really soft while mine are over baked. Next time...

Anyway, I will list the ingredients below and any changes I made/the way I did it.
Pork Floss Buns
220g bread flour
80g cake flour (I substituted with flour and corn starch)
30g caster sugar
1/2 tsp salt
1 tsp instant active yeast
140ml ice cold water
40g egg yolk
60g mashed potato - I chopped up a potato into cubes and then I steamed it for a while until it became mashable. <- is that even a word? I would taste it from time to time to see if it was done yet. If anyone has any better way to cook potato for bread please share with me. Thank you. :) 30g unsalted butter, room temperature (I used salted and omitted the salt) For the filling I didn't measure out anything. I just used as much pork floss as I thought was necessary and yea. I didn't have any Asian jerky or hot dogs to use. In order to complete the bread, I needed mayonnaise, preferably the Asian type, as a glue for the pork floss. So I searched around and found this recipe on The Kwoks Viewfinder.

Transparent Mayonnaise (透明美乃滋)
Recipe from The Kwoks Viewfinder, instructions rewritten.
Set A
100g fine sugar (I reduced the sugar, I forgot how much)
5g salt
50g butter
450g water

Set B
200g fine sugar (I reduced the sugar again, otherwise it would be too sweet)
50g corn Starch
200cc water (aka 200 ml water)

Cook set A in a saucepan or just any pan with heat on low. Stirring the mixture very often until the sugar and butter completely melt.

Add Set B into Set A when Set A starts to boil, still cooking over low heat. Turn off the heat and cool when the mayonnaise thickens and becomes transparent. Apply it to bread or whatever you want when the mayonnaise is cool.

I think I cooked my mayonnaise way too long and it become pretty thick and goey as a result. That brought back childhood memories of me eating this transparent sweet "paste". I have no idea what it's called, but I remember that I really loved eating it. Supposedly it was healthy too. Back to the topic, I could taste a hint of "mayonnaise". Next time, I won't cook it as long, quarter the recipe and reduce the sugar a bit more. I made too much mayonnaise and I had to get rid of the rest because it was too goey and I couldn't possibly use it all up.

Recently, my camera has been broken and I haven't been able to fix it. So sadly, I haven't been able to take any pictures of the things I have been baking. However, here's a list so I can remember what I did bake: cinnamon rolls (1st time), brownies (new recipe), chocolate cupcakes (really quick and easy). I that's it. I can't believe I haven't posted a new post in such a long time. I have been pretty busy. Have a great week everyone.

Wednesday, September 15, 2010

Cream Puffs w/ a Cookie Topping

I am finally done writing my cream puff post. I have been very busy with school and all the other stuff I need to do. Like I mentioned in my last post, I made these puffs during the summer. However, I was too lazy to write a post until now.

I got the recipe from My Buttery Fingers. Her puffs looked so beautiful and delicious that I knew I had to try the recipe. Wendy said that it was as good as Beard Papa's. I agree, these puffs were pretty good. The chocolate cookie crust made these puffs hard to resist. Sadly, I wasn't able to make the pastry cream from scratch because I also made tuna heart buns on the same day and by the time I finished I was too tired. So instead, I made instant vanilla pudding for the pastry cream. Now, that won't compare to real pastry cream so one day I will have to try making these again.

Cookie-Topped Cream Puffs
Photobucket


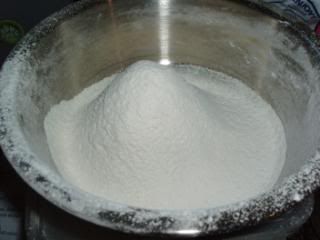
Here are the flours.
Photobucket

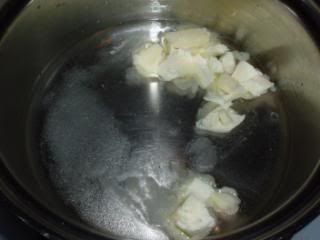
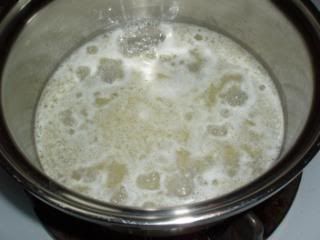
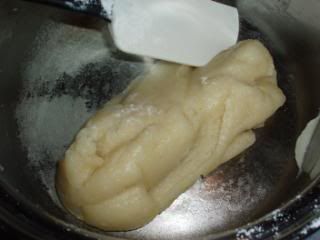
Melt the butter with water, sugar and salt.
Photobucket

Photobucket

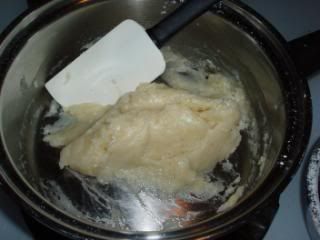
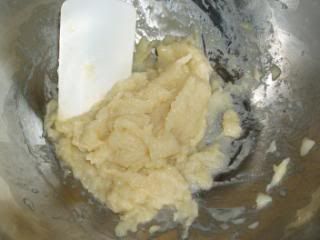
Add in the flours and mix.
Photobucket

Photobucket

Add in egg slowly.
Photobucket

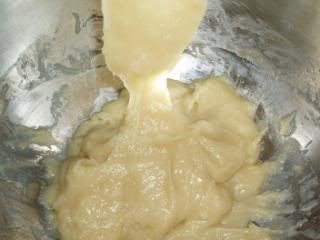
Continue mixing until it becomes like this.
Photobucket

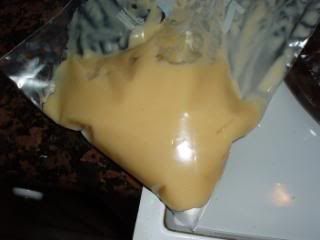
Place dough in bag.
Photobucket
Cut off that little corner. It's better to leave a little space so you won't touch the dough with your scissors.

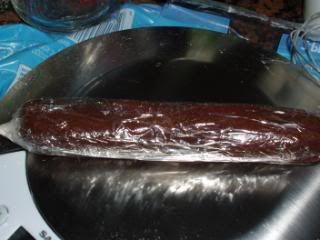
Here's the cookie topping.
Photobucket

Very easy to make.

Photobucket
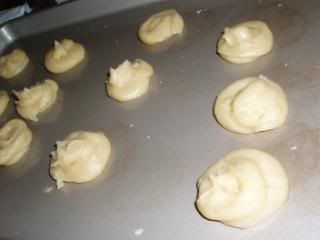
Little mounds of dough.

Photobucket
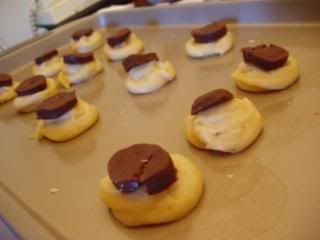
Place cookie topping on the dough.

Bake.

Photobucket
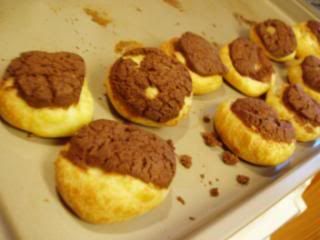
Finished baking.

Saturday, September 11, 2010

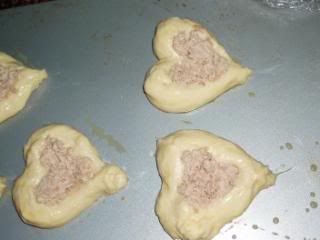
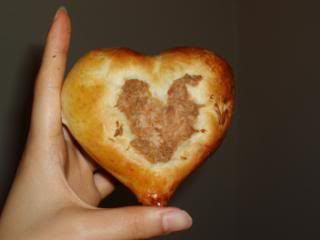
Tuna Heart Buns

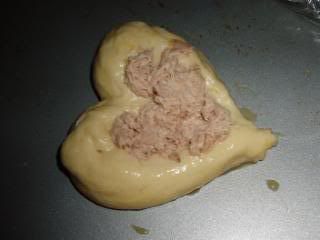
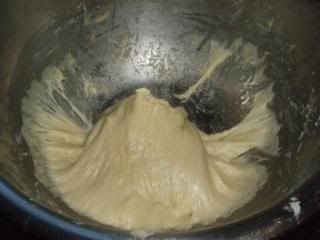
When I saw Happy Home Baking's tuna heart buns, I knew that I wanted to make some too. They were sooo cute! So after a few weeks or days (I forgot how long) I finally made them. For some reason, the bread I'm making these days all have sticky dough, so it took me forever to knead the dough and I had a hard time shaping the dough into hearts later on, but I tried.

Here's the recipe for the buns.
Photobucket
Actually, I made this bread a long time ago during the summer, but I haven't gotten around to posting about it until now.

My thoughts on the recipe: The dough was hard to knead for some reason. It took me a really long time. The end result, however, was really good! I loved eating it. It just tastes like the basic bread they sell at Asian bakeries. The bread was soft and the crust was a bit crunchy. (I probably baked it a little too long.) I loved eating it because of the bread. I didn't like the filling as much, but that's only because I don't like mayo with tuna anymore so I skimped on the mayo. Before, I loved eating mayo and tuna sandwiches, but now I realize how much fat there is and how unhealthy it is to eat a lot of mayonnaise. Anyway, I digress, if you haven't tried out this recipe yet and you like eating savory bread you should try this.

Super sticky dough!
Photobucket

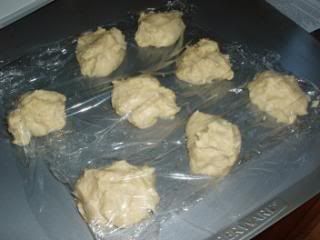
Portioned out and resting.
Photobucket

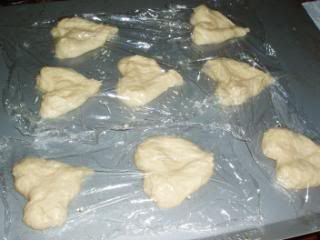
Here they are shaped and rising.
Photobucket

I put the filling in. I didn't have any of those dried parsley.
Photobucket

Photobucket
<3 Photobucket
That's how big they were.
L<3ve them. L for love :) I made them while I was also making cream puffs. It was a bit stressful because I found out that the baking times and temperature was different. As a result, I had to leave the puff's batter in the bag for a while. Photobucket

Wednesday, September 8, 2010

Homemade Fudgesicles

I remember my mom buying a huge box of healthy choice fudge bars from Costco. They were really good, but after eating a lot of the bars my brother and I both got sick of those popsicles.

Well I totally forgot about eating those from a long time ago until I saw Nicole from Baking Bite's recipe for homemade fudgesicles.

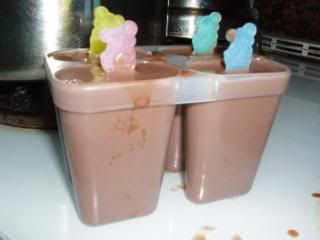
The finished product was addicting. And I, the person who is trying to eat healthier, couldn't resist eating a whole popsicle. True, these aren't that big, but they have a really high sugar content. That is a bit scary, but they were worth it! The fudgesicles were really easy to make and they were so good that my parents were fighting over the last few bites. It was a pretty funny sight. I smile just thinking about it.

The following recipe is from Baking Bites and I found that it was ok to paste the recipe on my blog, so here it is. Thanks Nicole.

Homemade Fudgsicles
Recipe from Baking Bites
Photobucket
Aren't the molds so cute? I halved the recipe and made 4 because I wasn't sure how it would turn out.

2 cups low fat or skim milk (I used whole milk)
1/2 cup cocoa powder
2/3 cup sugar (I think I reduced the sugar a bit, I forgot)
2 tbsp corn syrup or agave syrup (I used corn syrup)
1 tsp vanilla extract

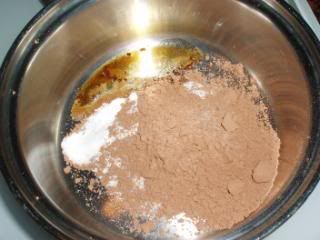
In a medium saucepan, combine milk, cocoa powder, sugar, corn syrup (or agave syrup) and vanilla extract. Bring to a simmer, stirring frequently, and cook just until all of the sugar and cocoa powder is dissolved. Pour hot mixture into popsicle molds and freeze overnight, or until solid.

Makes 6-8 large popsicles (depends on the size of your molds)

Dry ingredients.
Photobucket

Photobucket
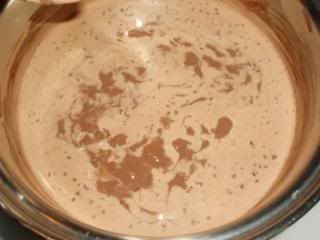
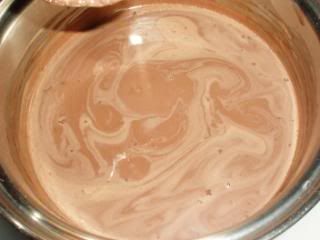
Stir, stir and stir.

Photobucket
It was done. :)
Photobucket
Pour in molds.

Photobucket
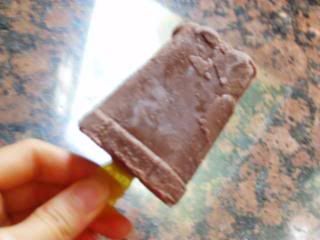
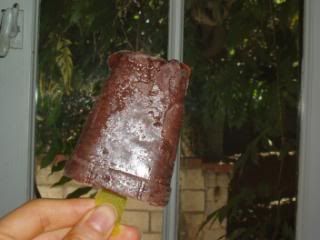
They look hard, but in reality, they were nice and "soft".
Photobucket
There was a bite, but it wasn't too hard or too soft, just right. Not like an ice cube at all.

Sunday, September 5, 2010

Sour Cream Chocolate Chip Scones

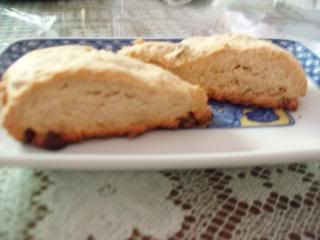
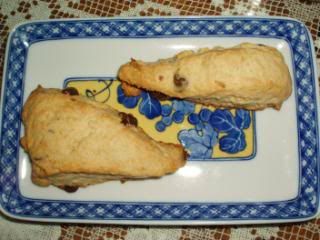
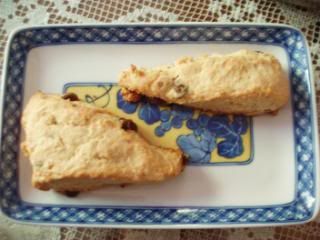
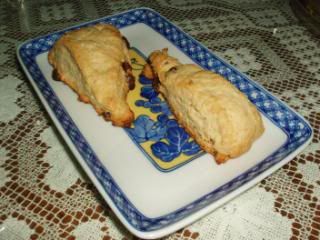
As you know, my family is a big lover of scones. If you didn't before, now you do. =D From the first time I made scones to the many other times after that, I have always used one recipe, the one from my Williams-Sonoma Sweet Treats book. Sure, I might have substituted some ingredients like evaporated milk for heavy cream, but I have never tried another scone recipe until today. I was only looking for a way to quickly use up the leftover sour cream I had from the black bottom cupcakes I made recently, when I stumbled upon this recipe. I bookmarked it immediately and finally made it today. (August 27)

Click here for recipe.
Photobucket
Btw, sorry for the terrible quality picture.

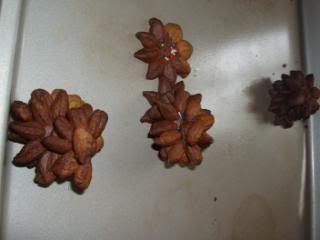
The texture of the scones were amazing. My grandma and dad loved these scones. They said it tasted much better than the scones I made before. The brown sugar gives these scones a surprisingly nice grainy texture between bites. Grainy might be a negative connotation when it comes to food, but it was perfect for these scones. What I mean is that you can still kind taste the brown sugar, it just adds to the already good scone. Also, right from the oven these scones were really nice and fluffy you could say. I gave some to my friend C. and her mom said that they tasted better than the bakery's scones. So thanks to Anna from Cookie Madness for this recipe.
Photobucket
Photobucket
Photobucket
Different lighting makes a big difference. And oh no, I think I might have broken the camera. That or it just broke suddenly. The zoom lens won't retract back in. :(

Photobucket
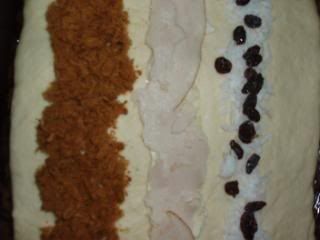
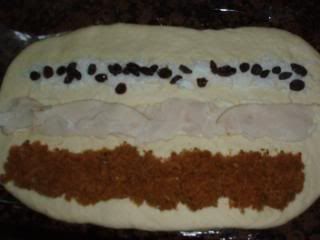
I made that awesome bread again!
Photobucket
This time I tried it with 3 fillings. Pork floss, turkey and swiss and coconut and raisin.
Photobucket


Update about school:
Wow, school is so busy already, at least it is for AP calc. There is so much hw for Calculus it's scary. Or more specifically, so much time spent doing the hw. English, a class I thought to be easy, is actually harder than I thought. The teacher is new and she's giving a lot of hw. Oh well, I'll survive. Now, there isn't a lot of weekend hw, but there is still a good amount. Spanish is taking me longer to finish than usual, as expected from an AP class. I already can't wait for the summer to come, haha. I get to go to Taiwan then as a graduation present and visit my grandparents and a few cousins there.

Wednesday, September 1, 2010

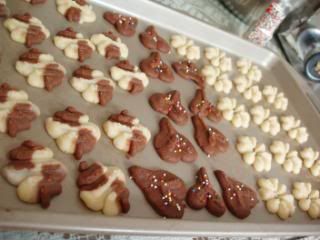
Marble Spritz Cookies

I made these marble spritz cookies with my cousin. They are a variation of my pressed sugar cookies.

I got the original recipe from Williams-Sonoma and apparently it was "Adapted from Williams-Sonoma Kitchen Library Series, Cookies & Biscotti, by Kristine Kidd (Time-Life Books, 1993)."

Marble Spritz Cookies
Makes 40-60
Photobucket

12 tbsp (1.5 sticks) butter, room temperature
3/4 cup sugar
1 egg
2 1/2 tsp vanilla extract
1/2 tsp salt
2 1/2 cups sifted all-purpose flour
2 1/2 to 3 tbsp cocoa powder (for the divided dough)
sprinkles, optional

Directions

Preheat oven to 375°F.

Cream butter and sugar in a large bowl with mixer on high speed so that the mixture is light and fluffy. Add in the egg, vanilla and salt and continue beating the mixture until the ingredients are evenly distributed. Add in the flour by beating it in, stirring it in, or kneading it in. It doesn't matter. I just first beat it in, then knead it so that the dough won't stick on my hands then. Stop when the dough comes together.

Divide the dough in two and add 2 1/2 tbsp to 3 tbsp of cocoa powder into one of the dough. Knead the powder in, add more powder if you want a more chocolaty taste. At one point, you can't add any more or else the dough will be too dry and it will become too difficult to "press it out".

Put the dough into your cookie press however you want to. Put the shape you like onto the press and start pressing out the dough onto a baking sheet. Parchment paper is not needed because the cookie is oily enough not to stick on the pan. Decorate your cookies with sprinkles if you wish to do so. Make sure to press them on so they don't fall off.

Bake the cookies at 375*F for around 10-15 minutes. So that the cookies are slightly golden. Move cookies to wire rack and cool. May be stored in airtight containers for a couple of days.

Note: I prefer not to "marble" the dough before putting it in the press because when it comes out of the press it will look a bit disgusting. So if you have a cookie press, just put the dough in without mixing it.

If you do not have a cookie press, you can still make these cookies. Just shape them with your hands or use cookie cutters.

I also reserved some dough for one flavored cookies.

Photobucket
Inadvertent rainbows. :)

Photobucket
Lots of cookies.

Photobucket
I burned one batch. :( I was washing the dishes and forgot. How sad.

Photobucket
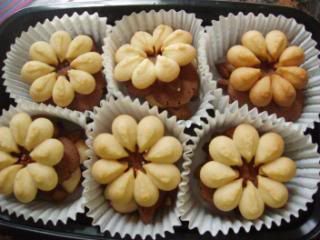
I bought some to marching band camp in cupcake liners, hehe, just like those Danish butter cookies.

LinkWithin

Related Posts with Thumbnails