The cupcake turned out to be a pretty and moist cupcake. The crumb was delicate and the frosting was delicious. The frosting was really fluffy and it melted on your tongue. It did not taste overly rich, and it matched the cupcake perfectly. Cream cheese frosting is the traditional frosting used for red velvet, but you can pair other types of frosting with the cupcake too.
Recipe from America's Test Kitchen Family Baking Book.
Instructions are rewritten.
Red Velvet Cupcakes
Makes 24 cupcakes

Recipe from America's Test Kitchen
*NOTE* DO NOT substitute dutch process for natural cocoa powder, otherwise the cupcakes will not rise properly and the color will be off!
Set A
2 1/4 cups (11 1/4 ounces) all-purpose flour
1 1/2 tsp baking soda
a pinch of salt
Set B
1 cup buttermilk, room temperature (as always, I substitute with 1 cup of milk and 1 tbsp of vinegar, mixed and set aside for 10 minutes before using *i used rice vinegar*)
2 large eggs (I always use extra large, so it doesn't really matter)
1 tbsp white vinegar
1 tsp vanilla extract
Set C
2 tbsp natural cocoa powder
2 tbsp (1 ounce) red food coloring
Set D
12 tbsp (1 1/2 sticks) unsalted butter, softened
1 1/2 cups (10 1/2 oz) sugar
4 cups cream cheese frosting
Directions
Set the oven rack so that it is in the middle. Preheat oven to 350*F.
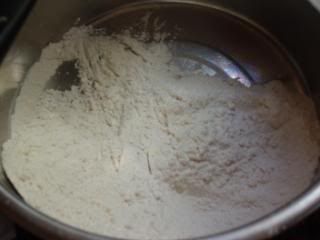
In a medium bowl, whisk together Set A. Whisk together Set B in another medium bowl. Put Set C in a small bowl, and mix together so that it forms a smooth paste.
Set A
Set B
Set C
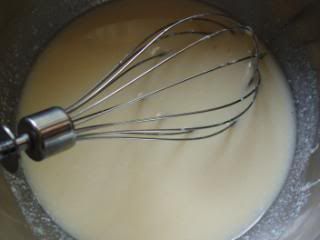
Cream the butter and sugar in a large bowl, electric mixer on medium high speed. Stop when the butter and sugar is light and fluffy. Supposedly it takes 3-6 minutes, but it always takes me less time. Next, beat in 1/3 of flour mixture (Set A) and then 1/2 of buttermilk mixture (Set B)on low speed. Continue with the rest of Set A and then the rest of Set B. Then add the leftover flour mixture, beating it so that it is just combined. Do NOT over mix or else the texture will not be as good. Add Set C to the batter and beat it until the coloring is evenly distributed.
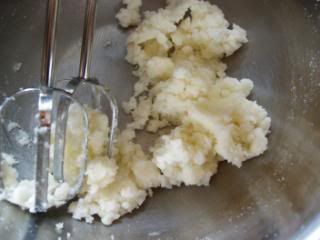
Creamed butter and sugar.
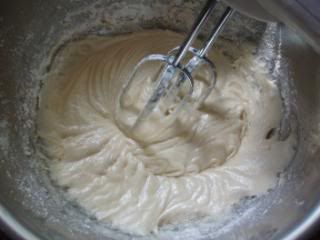
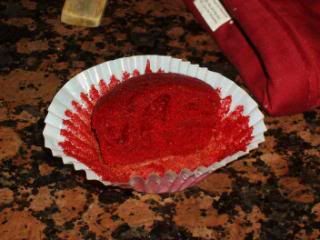
The texture of the batter should look something like this.
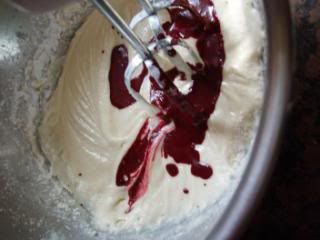
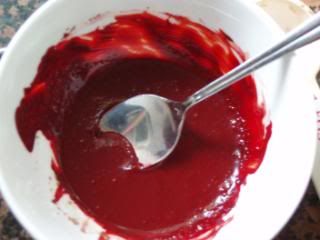
Add the red food coloring.
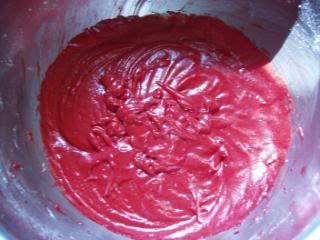
All mixed.
Using a rubber spatula, stir the batter to make sure everything is evenly incorporated.
Line muffin pans with cupcake liners. The book called for a greased 1/4 cup measure to "portion the batter into each cup". I don't see how it helped because using a full 1/4 cup of batter for each cupcake liner would make humongous cupcakes. So just use that measuring cup and pour the batter in until the cup is around 3/4 full. Bake cupcakes at 350*F on upper middle and lower middle racks in the oven. Bake for around 15-20 minutes so that a toothpick inserted in the cupcake will come out with a few crumbs attached. Remember to rotate and switch the tins halfway into baking. Cool cupcakes in tins for 10 minutes before setting them on wire racks to cool completely. Wait until cooled completely before spreading frosting over them, serve. Be patient, wouldn't want the frosting to melt.
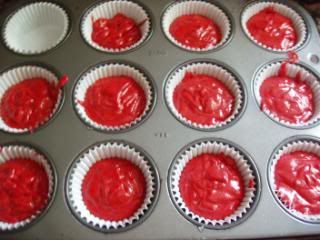
Batter portioned out.
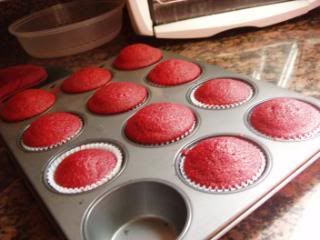
Done baking! As you can see, some of the cupcakes are bigger than others.
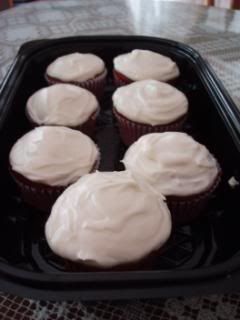
Frosted cupcakes. My first time! Pretty fun.
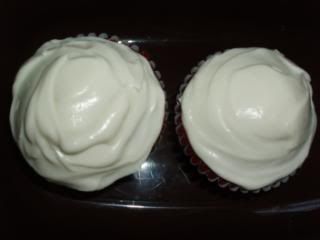
Close up. I used a butter knife, I didn't have any special frosting spatula thing.
The cupcake is as red as my oven mitt. :)
By the way, I halved the recipe so yea. I was only able to make 11 cupcakes because I started off with big portions of batter for each cup before realizing that I didn't leave enough batter for the last cupcake.
Also, if you make these and share them with others, you will get rave reviews! I brought them to marching band camp and someone in my section said that these were the best tasting red velvet cupcakes he has ever eaten. So you must try this recipe. It did take a lot of effort and time though because it was my first time and preparing all the ingredients was time consuming.
hiya there your red velvet cupcakes are splendid!! thanks for sharing
ReplyDeleteI've never had red velvet before, so I've never really had much of a reason to want to make them =) Other than the curiosity of trying something new.... But you make it sound so good! So I'll definitely try red velvet cake one day though! With your recipe of course... I think it's weird how some recipes require like 50mL of red food colouring whilst others, like yours only require a little bit and still manage to be so red! They look really cool =] And the frosting looks and sounds delicious! How's school going??
ReplyDeleteWhat a romantic cake...so red and beautiful!
ReplyDeleteHi Jess, Thank you, and you're welcome. :)
ReplyDeleteHi Von, It's pretty good. I actually never ate any red velvet cupcakes before either, so I only made them because of my brother. Wow, thanks I feel so flattered. Also, I never knew that some recipes had 50 ml, that's a lot! Over here in the States, food coloring is pretty expensive and also I don't think frequent consumption of food coloring is good for you. I read this article about the bad things of food coloring and it was kind of scary. School is ok. It's already very busy! My math class is the class I worry most about, there is a lot of hw. Thanks for asking. :)
Hi Mary, Speaking of that, they would be perfect for Valentine's Day! I never thought of that.
The red velvet cupcakes look very good! I have seen them in Bakerella's site featured many times, they must have tasted great!
ReplyDeleteI love Red Velvet cupcakes too!
ReplyDeleteYours came out gorgeously RED!
Here is another great recipe featured on Valentine's Day in 2007:
http://www.nytimes.com/2007/02/14/dining/141vrex.html
It's a four layer red velvet cake (but I've also made cupcakes with ti)-- it is not as red as yours though. But the frosting is really to die for!!
http://www.nytimes.com/2007/02/14/dining/142vrex.html?_r=1
Oops - I meant "it" not "ti"!
ReplyDeleteCooking Gallery, Thank you. haha, I have been eying Bakerella's recipes too.
ReplyDeletethehungryartist, Cool, thanks. :) Whoa, the frosting has a lot of fat.
Those look great! I need to look through my files and see if I've tried this recipe. If not, I'm going to.
ReplyDeleteHi Anna, thank you for stopping by my blog. :) I just saw your red velvet cake recently and it looks very good. I really should invest in 2 8 inch cake pans and one more 9 inch cake pan... I just realized that red velvet cake recipes basically have a lot of the same ingredients, maybe just a few adjustments.
ReplyDelete