Sunday, August 15, 2010

Chocolate Muffins

First time I made chocolate muffins! They were really easy just like how Anna from Cookie Madness described them as.
Photobucket

Click here for recipe.

I had to substitute the self rising flour with flour and baking powder instead. I posted the ingredients below as a note, please refer to Cookie Madness for the directions. With this recipe I was able to make 7 even to it's supposed to make 6.
Photobucket
3/4 cup plus 2 tablespoons self rising flour (I used 3/4 cup plus 2 tbsp all purpose flour with 1 1/3 tsp of baking powder, you should add a pinch of salt if your butter is unsalted)
3 tablespoons unsweetened natural cocoa powder
1/4 cup granulated sugar (generous or slightly heaping ¼ cup)* I just used 1/4 cup and it was fine*
5 tablespoons butter, melted and cooled
1 large egg (I used an extra large egg, even though it didn't look extra large to me)
3 oz evaporated milk (1/4 cup plus 2 tablespoons)*I used a bit less because I ran out*
1/2 teaspoon vanilla extract
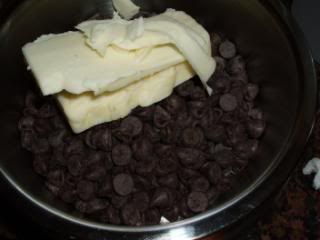
1/2 cup semi-sweet chocolate chips (I used a 1/4 cup b/c my family doesn't like eating a lot of chocolate chips)
Photobucket
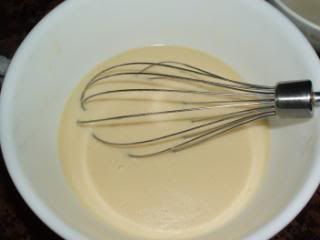
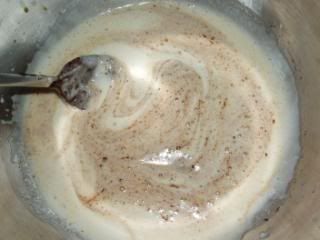
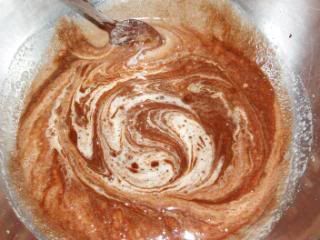
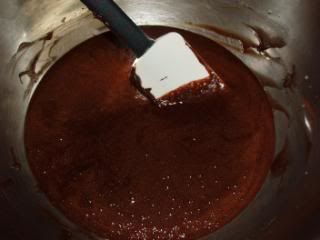
All the liquids mixed together.

Photobucket
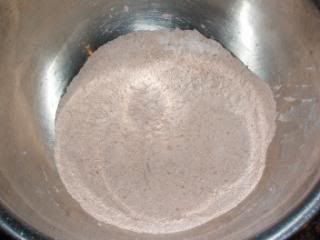
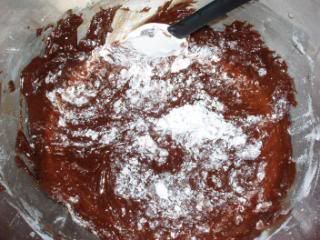
All the dry ingredients.
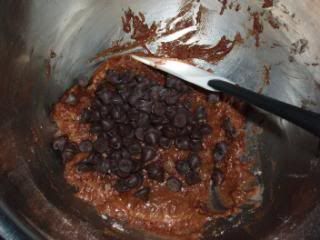
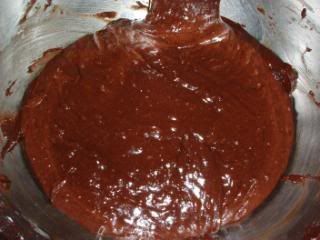
Photobucket
Batter with chips.

Photobucket
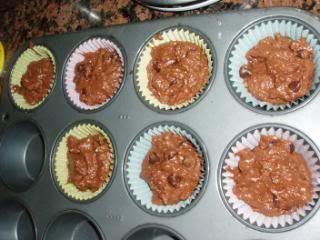
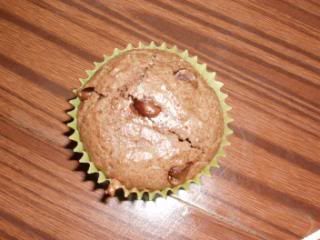
In their separate cups.
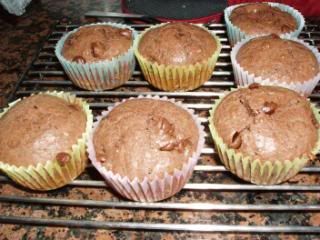
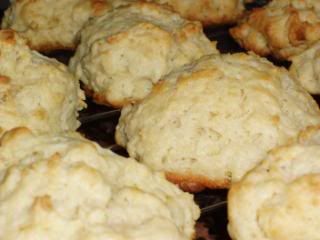
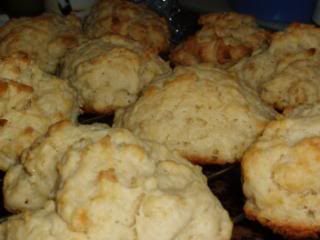
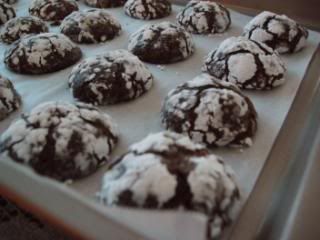
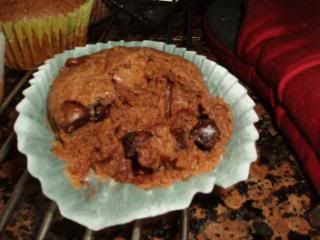
Photobucket
Done!

My mom said that they tasted better than Costco's muffins! Well, her reason was that Costco's muffins were way to oily. But still, I thought the muffins tasted pretty good. They didn't take much effort and it was really easy to clean up the mess (wash dishes and such). So if you ever have any guests over for breakfast, make a batch of these muffins and they'll love it!

Monday, August 9, 2010

Ham and Cheese Loaf

Today I made a variation of the pork floss loaf. But I made a mistake, so it turned out very interesting. I was planning to make half of the loaf red bean and the other half ham and cheese...but it didn't turn out the way I wanted it to turn out.
Photobucket
Sure, half was filled with red bean paste and half with ham and cheese, just not the way I wanted it to be. XD

I smeared on the red bean paste and placed the ham and cheese on the rolled out dough only to realize that I put the fillings on the wrong way. Since it was red bean paste, I couldn't rearrange the fillings so I had no choice but to roll up the roll from both sides. So my loaf turned out looking like this rolled up.
Photobucket

Photobucket
Pretty interesting right?

This time, I noticed that there wasn't as big as a hole in the bread compared to the pork floss one, so either I got rid of the air bubbles or the filling was sticky enough to keep the bread together. I still don't know. I wonder why...
Photobucket
Anyway, my advice for the ham is to make sure that it is dry before you use it. I used ham from a huge frozen chunk of ham so I had to unfreeze it. This left the ham a little wet, so I guess some parts of the bread might have been a little soggy. :( Oh well, I'll make sure to change that next time. For the cheese, I used cheddar cheese. I love this bread recipe. My mom really likes this bread too because she said compared to the bakery loaf, this loaf was way healthier. The bakery bread had a cheese topping so that whenever you ate the bread, your fingers would become all oily.

This is the bakery bread that I love. It's really soft and yummy! Pretty addictive.
Photobucket

Here's the top, and as you can see it's pretty oily. Ok, maybe you can't see it that well, but it IS pretty oily.
Photobucket
They also sprinkle some dried parsley and the top is a bit sweet, but I don't know what they put on it.

Photobucket
Sometimes for lunch on school days, I will get a whole piece to eat. So good.

Sunday, August 8, 2010

Simple Drop Biscuits

I made these biscuits quite a while ago. This recipe is really simple and it doesn't even take long to make these biscuits. Their rich taste, soft interior and crispy exterior make you want to eat one after the other. I got the recipe from my baking book and I rewrote the instructions. I did follow the recipe to a tee, other than brushing the top with butter part.

Simple Drop Biscuits
Recipe from America’s Test Kitchen Family Baking Book
Photobucket
Makes 12
Set A
2 cups all purpose flour
2 tsp baking powder
1/2 tsp baking soda
1 tsp sugar
3/4 tsp salt

Set B
1 cup buttermilk, chilled (I substituted with one cup milk and 1 tbsp vinegar mixed and set aside for 10 minutes before using)
8 tbsp unsalted butter (1 stick), melted and slightly cooled (around 5 minutes), plus extra for brushing around 2 tbsp

Have the oven rack in the middle position and preheat oven to 475*F.

In a large bowl, whisk together set A. In a medium bowl stir together the refrigerated buttermilk along with the melted butter that was semi cooled. Keep on stirring until there are clumps of butter. Don't worry, this is supposed to happen so that the biscuits will be nice and fluffy.

Now, stir Set B into Set A using a rubber spatula so that the dough pulls away from the sides of the bowl and the flour is just mixed in. Don't overmix.

With a greased 1/4 cup, scoop out the dough onto the parchment paper lined baking sheet around 1 1/2 inches apart so they don't stick together. Bake for around 12 to 14 minutes so that their tops are golden brown and make sure that halfway through baking you rotate the pans.

After they are done baking, you can choose to brush the biscuits with melted butter. Let them cool on a wire rack, around 5 minutes then serve warm.
Photobucket

Saturday, July 31, 2010

Pork Floss Loaf

These past few days I have been deliberating on what I should bake. I was torn between baking lemon-scented pull-apart coffee cake, cream cheese cinnamon rolls and....a pork floss loaf. I chose to make the loaf, only because it was the healthier one out of all three. I'm glad that I made it because the loaf tasted spectacular. Really soft and yummy, just like the ham and cheese loaf my mom buys from the bakery to pack as a lunch for me. I got the recipe from Happy Homebaker.

Pork Floss Loaf
From Happy Homebaker who adapted it from Bread Magic
Photobucket
Ingredients
330g bread flour
30g caster sugar
1/2 teaspoon salt (I omitted and used salted butter)
1 1/2 teaspoons instant yeast
190ml fresh milk (I ran out of milk at 120 ml, so I had to substitute the rest with half evaporated milk and half water)
25g butter, room temperature
some pork floss (I also used some red bean paste, separately)

I made this bread through the hand kneading process. Please refer to Happy Homebaker's blog for the bread machine method.

Mix bread flour, sugar, salt and yeast in a large bowl. Add in the milk and start kneading. I used a dough scraper to mix the milk and dry ingredients together so my hands wouldn't get too sticky. Then, start kneading with your hands. Keep kneading until the dough comes together and is pretty smooth. Now, add in the butter and knead it in. That's all you have to do. Knead it until it is smooth and elastic, passing the window pane test.
Photobucket
Leave to proof for around 1 hour or double in size. To be certain that it is done proofing, use two fingers and quickly press the dough around a 1/2 inch deep, if the indent stays, it's done. If it puffs back up, leave to proof for a longer time.
Photobucket
Punch down the dough and then let it rest for 10 minutes. Roll it out into a 15 inch by 18 inch rectangle after 10 minutes pass. Spread pork floss or a filling of your choice onto the rectangle. Be sure to leave a 1/2 inch border around the whole rectangle.
Photobucket
Roll it up like you would a swiss roll. Seal the ends.
Photobucket
Photobucket
Photobucket
Photobucket
Place the "seam side" face down in a 9 by 5 inch loaf pan and cover with a damp cloth/ plastic wrap. Leave to rise until it fills up the pan 80%, around 30 minutes. Bake at 355*F for 25-30 minutes. Take it out from the oven and cool on wire rack immediately. Wait until it is cool before slicing and serving.


Photobucket
The cross section of the bread reminded me a bit of tangzhong bread.
Photobucket
Notes: I used red bean too because I didn't want to use up too much pork floss.
Roll up the roll tightly to prevent the gap you see in my bread. (or maybe it's b/c there is a lot fillings=harder for bread to stick together?)
If left overnight, make sure to rebake for a nice and soft texture, otherwise it will be a bit dense and chewy as noted by Happy Homebaker.

This recipe was really good! You should try it out.

Variations: Red Bean
Ham and Cheese
Coconut Shreds

Thursday, July 29, 2010

Chocolate Crinkle Cookies

So during the summer, I had to take Economics and Government for credits in order to graduate from high school. I didn't enjoy taking Govt, but I did like Econ, especially when we had a project where we had to become entrepreneurs and create our own product. Upon hearing about this project, I wondered if I could bake something and "sell" it. I asked my teacher and he said that I could do it. So the product was chocolate crinkle cookies. I made around 37 of them. They were the size of the circle you make with your pointer finger and thumb. After I presented my project, the cookies were passed around the class and not many people ate them. I was still left with around half the cookies when they were passed back to me. However, out of the people who did eat the cookies, many people were saying that they liked the cookies very much and others even asked for more. :) Personally though, after I tasted a cookie, I thought they were ok, but who knows, you might like them too.

So I got the recipe from joy of baking, you can find it here.

Chocolate Crinkle Cookies
Photobucket
Melt the butter and chocolate chips together.
Photobucket

Add in chocolate mixture to the sugar and eggs.
Photobucket
Keep on mixing.
Photobucket
It will soon become uniform in mixture.
Photobucket
Add in the flour mixture.
Photobucket
Mix and then refrigerate.
Photobucket
Roll into tbsp sized balls and dip in powdered sugar.
Photobucket
Photobucket
Set on parchment paper lined baking sheet.
Photobucket
Photobucket
Note:
I found that coating the cookie with more sugar will let it have a prettier crinkle.

LinkWithin

Related Posts with Thumbnails