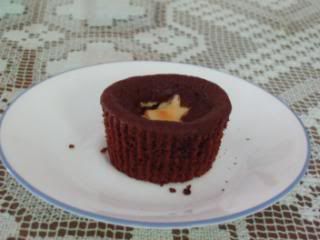
After I got my cookbook, America's Test Kitchen Family Baking Book, I found this recipe. I was pretty interested in trying it out. I mean, why not? It had chocolate cupcake and cheesecake combined. So the week before school started, I made these. They were so simple to make! The only problem I had was with the baking time. I had to bake them way longer than called for, maybe it was because I substituted the dutch processed cocoa powder with natural unsweetened cocoa powder. I googled this recipe and found that other bloggers had made these before with no problem, so go ahead and give it a try.
They tasted really good. Rich cream cheese filling with a just right cupcake. My dad really loved it. When I brought the rest over to band camp, he was really disappointed.
Black Bottom Cupcakes
Recipe from America's Test Kitchen Family Baking Book
Makes 12
Use miniature chocolate chips to ensure that they will stay in the filling and not sink to the bottom of the cupcake instead.
Filling
8 ounces cream cheese, softened
1/4 cup (1 3/4 ounces) sugar
1/8 tsp salt
1 large egg white
1 tbsp sour cream
1/4 cup (1 1/2 ounces) semisweet mini chocolate chips
Cupcakes
Set A
3/4 cup all purpose flour
2/3 cup sugar
1/4 cup Dutch-proccessed cocoa (I used natural unsweetened cocoa powder)
1/2 tsp baking soda
1/4 tsp salt
Set B
3/4 cup water, room temperature
6 tbsp sour cream, room temperature
4 tbsp unsalted butter, melted and cooled
1/2 tsp vanilla extract
Directions
Position oven rack to lower middle position and preheat oven to 400*F.
Filling
In a medium bowl, beat together the cream cheese, sugar and salt using an electric mixer on medium speed so that the mixture is smooth. (30 sec) Add egg white and sour cream and beat in, another 30 seconds. Add the chocolate chips and stir.
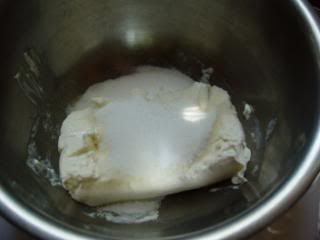
Cream cheese with sugar and salt.
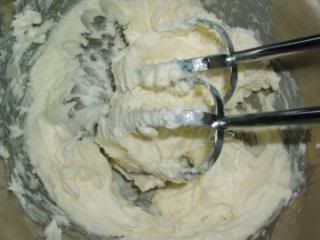
After beating it for a few seconds.
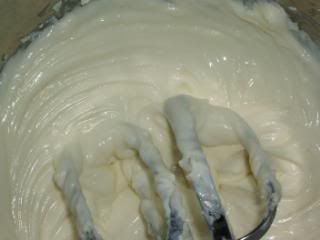
This is what it should look like after the egg white and sour cream is added in.
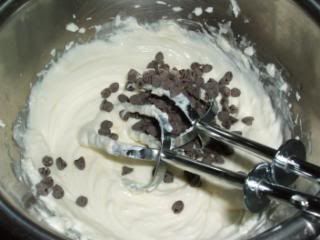
The cc chips are soo cute! I love mini things.
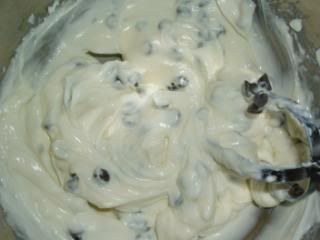
Now, stir it in.
Cupcakes
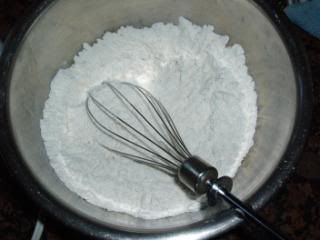
Whisk together Set A in a large bowl until uniform in mixture. Whisk in Set B just until it all comes together.
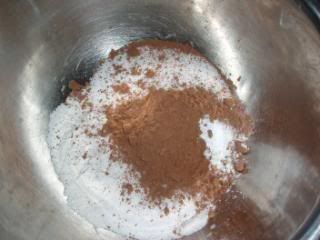
Set A
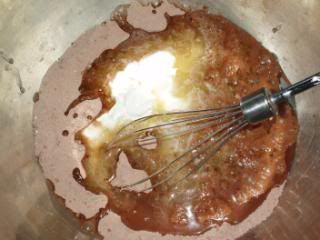
Set B
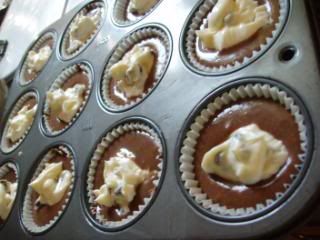
Grease a 1/4 cup measure and portion batter into cupcake liners. Use a rounded tbsp of cream cheese mixture and plop in the middle of each cupcake. There might be extra, so just try to distribute the rest out evenly.
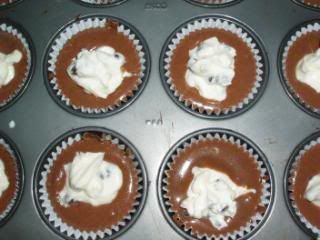
So yea, it was a bit more than 1 tbsp.
Bake for 18-22 minutes so that the tops of the cupcakes start cracking. Make sure to rotate cupcake tray halfway through baking. Afterward, let cupcake cool in tray for 10 minutes before cooling on wire rack.
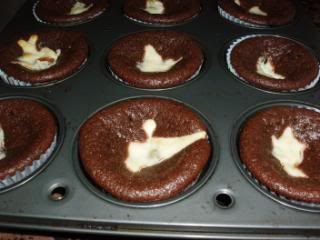
:( Sunken tops, even more so than it should be.
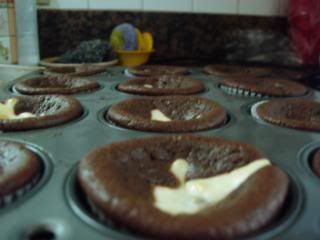
Notes: I have no idea why I had to bake mine for so long. I did, however, take them out of the oven after 18 minutes and they kind of "deflated", but that's only because mine had to bake longer. So when I took them out they weren't even close to finishing baking. Opps. I'll try this recipe again one day. Anyway, because of the longer required baking time I was starting to get stressed out. I thought I had wasted my ingredients for these cupcakes, in the end they turned out fine. I'm the type of person who likes following directions and when something goes wrong I get really stressed. I like predictable things, not surprises and I can't stand failing or making mistakes whether in real life or baking.
I can't seem to do my hw, I don't understand it at all. So here I am taking a break instead and posting a long overdue post.
Sunday, August 29, 2010
Wednesday, August 25, 2010
Red Velvet Cupcakes
It wasn't until summer was coming to an end that I baked these red velvet cupcakes that my brother had long craved. One day, he asked if I could make some for him. I found out that he had had some at school and really enjoyed them. I really wanted to bake some red velvet cupcakes for him, but I didn't want to buy food coloring because I couldn't find any red food coloring sold by itself. So after close to a whole summer, I have finally made these amazing cupcakes after finding a single bottle of red food coloring.
The cupcake turned out to be a pretty and moist cupcake. The crumb was delicate and the frosting was delicious. The frosting was really fluffy and it melted on your tongue. It did not taste overly rich, and it matched the cupcake perfectly. Cream cheese frosting is the traditional frosting used for red velvet, but you can pair other types of frosting with the cupcake too.
Recipe from America's Test Kitchen Family Baking Book.
Instructions are rewritten.
Red Velvet Cupcakes
Makes 24 cupcakes
Recipe from America's Test Kitchen
*NOTE* DO NOT substitute dutch process for natural cocoa powder, otherwise the cupcakes will not rise properly and the color will be off!
Set A
2 1/4 cups (11 1/4 ounces) all-purpose flour
1 1/2 tsp baking soda
a pinch of salt
Set B
1 cup buttermilk, room temperature (as always, I substitute with 1 cup of milk and 1 tbsp of vinegar, mixed and set aside for 10 minutes before using *i used rice vinegar*)
2 large eggs (I always use extra large, so it doesn't really matter)
1 tbsp white vinegar
1 tsp vanilla extract
Set C
2 tbsp natural cocoa powder
2 tbsp (1 ounce) red food coloring
Set D
12 tbsp (1 1/2 sticks) unsalted butter, softened
1 1/2 cups (10 1/2 oz) sugar
4 cups cream cheese frosting
Directions
Set the oven rack so that it is in the middle. Preheat oven to 350*F.
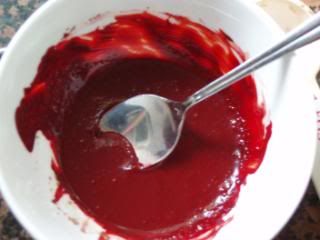
In a medium bowl, whisk together Set A. Whisk together Set B in another medium bowl. Put Set C in a small bowl, and mix together so that it forms a smooth paste.
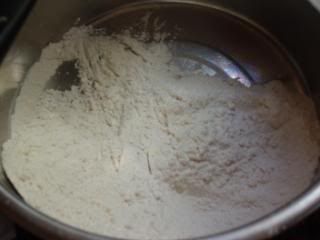
Set A
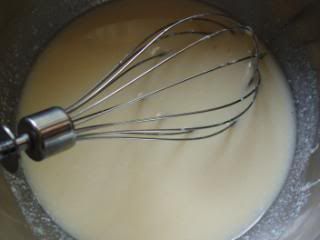
Set B
Set C
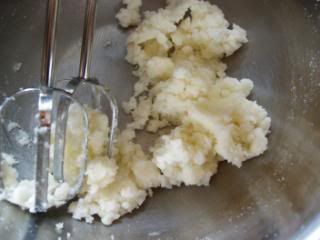
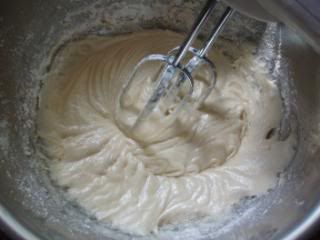
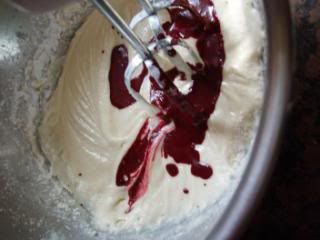
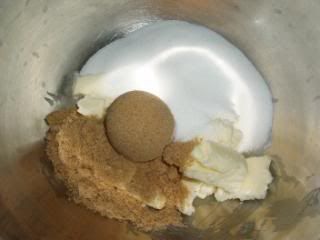
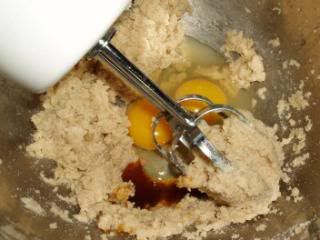
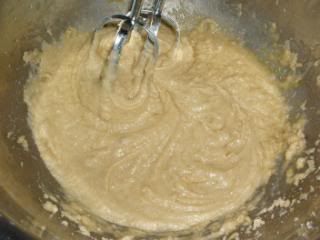
Cream the butter and sugar in a large bowl, electric mixer on medium high speed. Stop when the butter and sugar is light and fluffy. Supposedly it takes 3-6 minutes, but it always takes me less time. Next, beat in 1/3 of flour mixture (Set A) and then 1/2 of buttermilk mixture (Set B)on low speed. Continue with the rest of Set A and then the rest of Set B. Then add the leftover flour mixture, beating it so that it is just combined. Do NOT over mix or else the texture will not be as good. Add Set C to the batter and beat it until the coloring is evenly distributed.
Creamed butter and sugar.
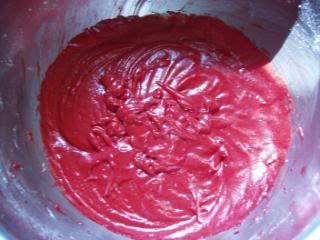
The texture of the batter should look something like this.
Add the red food coloring.
All mixed.
Using a rubber spatula, stir the batter to make sure everything is evenly incorporated.
Line muffin pans with cupcake liners. The book called for a greased 1/4 cup measure to "portion the batter into each cup". I don't see how it helped because using a full 1/4 cup of batter for each cupcake liner would make humongous cupcakes. So just use that measuring cup and pour the batter in until the cup is around 3/4 full. Bake cupcakes at 350*F on upper middle and lower middle racks in the oven. Bake for around 15-20 minutes so that a toothpick inserted in the cupcake will come out with a few crumbs attached. Remember to rotate and switch the tins halfway into baking. Cool cupcakes in tins for 10 minutes before setting them on wire racks to cool completely. Wait until cooled completely before spreading frosting over them, serve. Be patient, wouldn't want the frosting to melt.
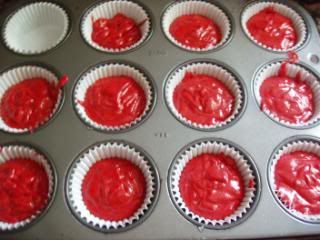
Batter portioned out.
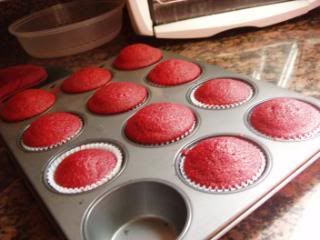
Done baking! As you can see, some of the cupcakes are bigger than others.
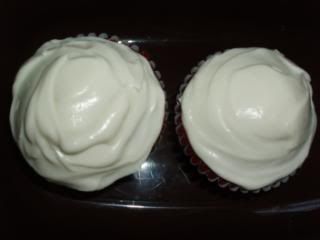
Frosted cupcakes. My first time! Pretty fun.
Close up. I used a butter knife, I didn't have any special frosting spatula thing.
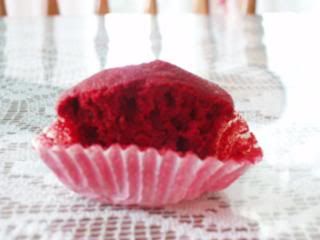
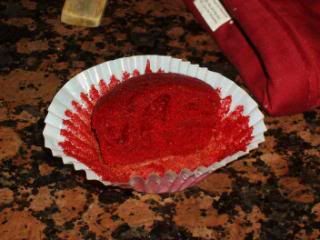
The cupcake is as red as my oven mitt. :)
By the way, I halved the recipe so yea. I was only able to make 11 cupcakes because I started off with big portions of batter for each cup before realizing that I didn't leave enough batter for the last cupcake.
Also, if you make these and share them with others, you will get rave reviews! I brought them to marching band camp and someone in my section said that these were the best tasting red velvet cupcakes he has ever eaten. So you must try this recipe. It did take a lot of effort and time though because it was my first time and preparing all the ingredients was time consuming.
Labels:
baking,
chocolate,
cupcakes,
dessert,
red velvet
Cream Cheese Frosting
Cream cheese frosting is a great companion to red velvet cakes. This frosting melts on your tongue and is very easy to make.
Cream Cheese Frosting
Recipe from America's Test Kitchen Family Baking Book
Note from the book: do not use low fat/nonfat cream cheese b/c the frosting will become too liquidy. The frosting won't be good on a 3 layer cake because it has a softer and looser texture compared with other frostings. Also, if the frosting is too soft, just refrigerate until firm.
Makes 3 cups (enough for 24 cupcakes)
Ingredients
12 ounces cream cheese, softened
6 tbsp unsalted butter, cut into chunks and softened
4 tsp sour cream
1 tsp vanilla extract
1/4 tsp salt
1 3/4 cup confectioner's sugar
Directions
In a large bowl beat together everything except the confectioner's sugar, aka powdered sugar on medium high with an electric mixer until the mixture is smooth.
Reduce speed to medium low and add in the powdered sugar and beat until smooth. Adjust speed to medium high again and beat the frosting until it is light and fluffy.
Frosting can be refrigerated in airtight container for as long as 3 days. When ready to use, put frosting in room temperature until softened ~1 hour and then whip again with beater (medium speed) until smooth ~2 minutes or less.
Note:I quartered the frosting recipe because I was only planning on frosting like 6 cupcakes or so, but I was able to frost 8 cupcakes.
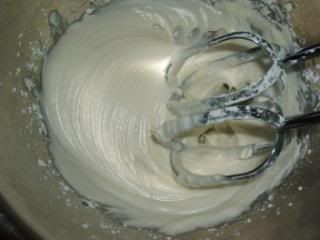
The texture of the frosting. Very light and fluffy. I think I forgot to take any other pictures, oops. But the instructions are very easy to follow, so no worries.
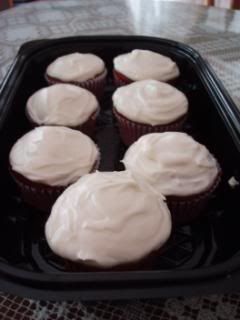
The frosting was enough for 8 cupcakes. The picture only shows 7 frosted cupcakes, but my brother ate one. :3
Labels:
baking,
cupcakes,
frosting,
red velvet,
sour cream
Monday, August 23, 2010
Summer
I can't believe school is going to start tomorrow!!!! I'm going to be a senior. I'm not really looking forward to that. I still need to get started on my college aps and wow, marching band is going to make me very busy. In addition, I will need to go to Chinese School and last year, Chinese school made me stay up to 3 am on Fridays. Ok, maybe I procrastinated, but my Chinese teacher did give a lot of hw, worth like 3-4 hours each week... :( Eeks. Hopefully, I will still be able to blog about the things I bake often. Last year my dad was all worried and he wouldn't let me bake and stuff because of my grades and because it was junior year, the most important year in high school grade wise. Too bad. I'll miss the summer a lot. No more baking every day and surfing the internet and hanging out with friends as much, back to doing boring school work. Hopefully, I won't procrastinate too much and work is easy. Anyway, I apologize in advance for not being able to post as often. Hopefully, I can negotiate something with my dad so he will still let me bake at least once a week. We'll see.
My schedule for school:
Marching band - waking up early just for this :(
AP calc AB - uh oh
AP Spanish - have to finish summer hw lol
Physics - hmmm....
Concert Band
Peer Mentoring - kind of excited to see what it's like
English - one of the easiest classes i have..i think
My schedule for school:
Marching band - waking up early just for this :(
AP calc AB - uh oh
AP Spanish - have to finish summer hw lol
Physics - hmmm....
Concert Band
Peer Mentoring - kind of excited to see what it's like
English - one of the easiest classes i have..i think
Sunday, August 22, 2010
Thin and Crispy Chocolate Chip Cookies
I made them with a friend Friday, but didn't bake it until Saturday morning because I had to leave to go to band camp. I had band camp this whole week from 5-9, a whole 4 hours! Anyway, after I prepared the dough, I just kept the dough in the refrigerator for almost 12 hours. You can make the dough ahead of time and freeze it up to one month or refrigerate up to 3 days. If you choose to freeze the dough, when the time comes to bake it just slice it up and bake for a longer period of time (around a few minutes more). Cookies can be stored in an airtight container for up to 3 days if they last that long. :)
Thin and Crispy CC Cookies
Makes ~48 cookies
Recipe from America's Test Kitchen Baking Book
The cookies will spread during baking, so unless you want them to stick together space them 1 1/2 inch apart. Also, for a very crisp cookie wait until they cool completely before eating them. If you decide to bake all the dough you mixed, make sure to let the baking sheets to cool down before placing the 2nd batch of cookies on the sheets.
Set A
2 cups all purpose flour
1 tsp baking soda
1 tsp salt
Set B
12 tbsp (1.5 sticks) unsalted butter, softened
1 cup granulated sugar
1/2 cup packed light brown sugar
Set C
2 large eggs
1 tsp vanilla extract
Set D
1 1/2 cups semisweet MINI chocolate chips (I used less than that, maybe around 3/4 cup?)
1 cup walnuts or pecans, toasted and chopped fine (optional) (I only used 1/2 cup of walnuts which I toasted in my toaster oven for a few minutes at 350*F)
Directions
In a medium bowl, whisk together Set A. In a large bowl, cream together Set B with an electric mixer on medium high speed so that it becomes light and fluffy. Then add Set C into the mixture and continue beating, this will only take around 30 seconds. Lastly, mix in Set D until everything is evenly distributed. Now, cover the dough with saran wrap and then refrigerate the dough until it isn't sticky, around 15-20 minutes.
Set A
Set B
Set C
Done mixing. Easy peasy.
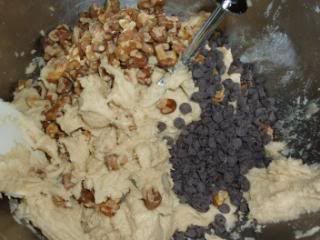
Adding the toppings.
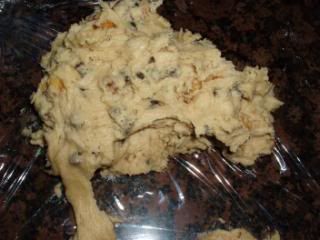
Dough on saran wrap after 20 minutes in fridge.
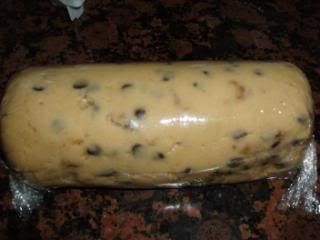
After you do that, take the dough out and divide it into two portions. Put one portion on a piece of plastic wrap and roll it into a roll that is 6 inches long and 2 inches wide. Wrap it as tight as you can with the plastic wrap and then refrigerate it until the dough is firm, this will take around 2 hours. Another option is to store it in the freezer for up to one month until a craving for cookies hits you.
Rolled up into around 6 by 2 inches.
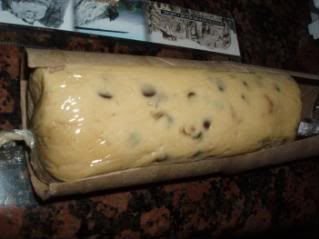
I put it in a cardboard paper towel tube to keep it round. The book gave this advice.
With the oven racks in upper-middle and lower-middle positions, heat the oven to 350*F. Use parchment paper to line 2 baking sheets.
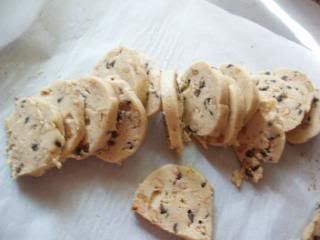
Slice one log of dough after it is firm, into 1/4 inch slices. Place them on the lined baking sheets with enough space between so that they won't bake together. Bake for around 12-17 minutes until the edges are browned. Make sure to carefully watch it because they will burn easily because the cookies are so thin. Also, make sure to switch and rotate the baking sheets halfway into baking.
Roll sliced up into 1/4 inch slices.
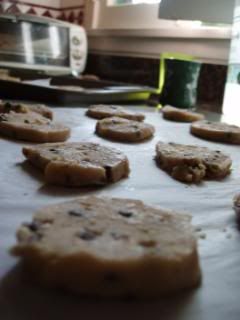
Slices placed on baking sheet.
Cool cookies on baking sheets for 3 minutes before moving them to a wire rack to cool completely. Go on to bake the rest of the dough if you feel like it.
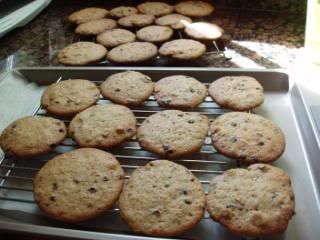
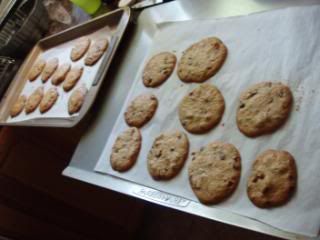
Cookies cooling on sheet.
Cookies on wire rack after 3 minutes.
Note: Mini chocolate chips should be used instead of regular sized chips because that way it will be easier to slice the cookies.
To keep the cookie dough round while you are slicing it, make sure to rotate the dough from time to time.
If the cookie dough becomes too soft after a while, either refrigerate it again until it becomes firm or just shape them with your fingers. Luckily, this won't happen until you get to slicing the last few cookies.
If the cookie slices are a bit uneven, just use your fingers to press the cookies so that they have an even thickness.
These cookies are really easy to make and won't take up much time. You'll love them if you like crispy cookies. When you first take them out of the oven, they won't be crispy so you need to wait until they cool down.
Enjoy!
Thursday, August 19, 2010
Dorayaki
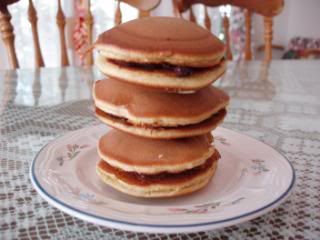
Dorayaki are basically a sandwich of two pancakes with a filling inside, usually red bean paste. They are also known as 铜锣烧 aka tong luo shao. These are one my childhood favorites. Whenever my mom goes to a certain supermarket, she will always buy a few for me. I barely ever go to that supermarket, but when I do it's very fun to watch the people make those dorayaki. I was looking through many different blogs to find a dorayaki recipe and I decided to use Angie's recipe because I had all the ingredients on hand. :) Yay! I was a bit anxious about using this recipe because I tend to have problems with recipes that need whipped eggs to attain a cake like texture. I still persevered though, and it was successful.
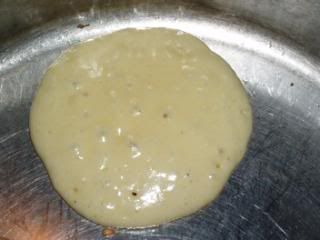
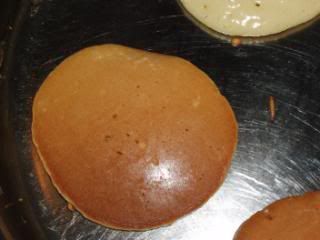
Although it took quite a while to make it, it was only because this was my first time using this recipe. It took me a bit longer to cook the pancakes, but I quickly learned the trick to it. Just use one tablespoon of batter and cook for a minute or 2 and wait for bubbles to emerge before flipping it over. For the first few pancakes I had a problem with the middle layer being a bit raw, but that was soon solved after I got the hang of it.
Click here for the recipe.
I'm only going to list the ingredients and the amounts I will use next time. Please refer to Angie's blog to get the directions. The directions are very clear and easy to understand.
2 eggs, room temperature
50 grams sugar (original called for 80 grams)
120 grams cake flour (I had to use ap flour with cornstarch again)
1 tsp baking powder
1/4 tsp baking soda
30 ml milk
1 tbsp honey/caramel (I used honey)
100 grams red bean paste (recipe called for mung bean aka green bean)
For the amount of sugar, I wasn't sure if I could reduce it, but I asked Angie and she said that it was ok and it wouldn't adversely affect the texture of the dorayaki. Next time, I'll definitely reduce the sugar.
The dorayaki tasted like those sold in supermarkets. Fresher of course, but they had the same Japanese taste if you get what I mean. I really enjoyed eating them.
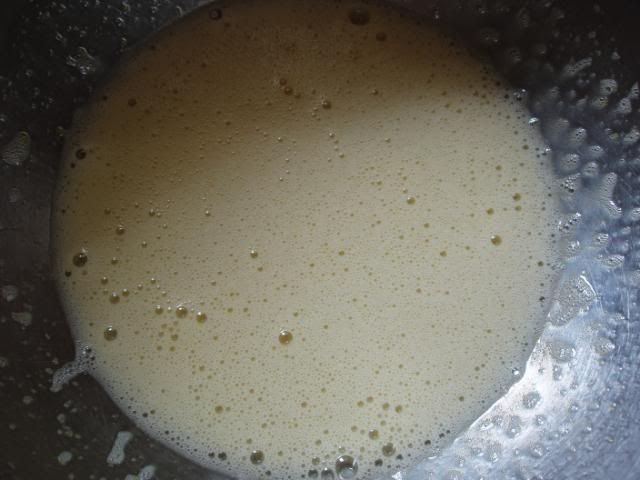
Whip the eggs and sugar until they look something like this.
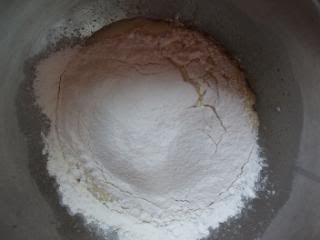
Prepare all the dry ingredients and whisk them together.
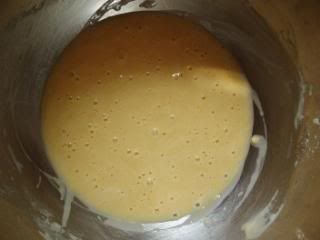
Sift them into the egg and sugar mixture and fold the batter.
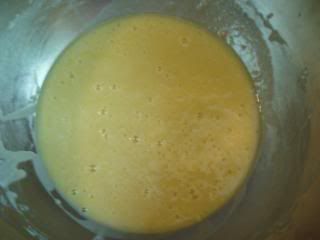
After the batter is set aside for 30 minutes, there are bigger air bubbles.
Spoon some batter onto the hot and lightly oiled pan.
Cook for a minute or two, it depends, until bubbly then flip it to the other side.
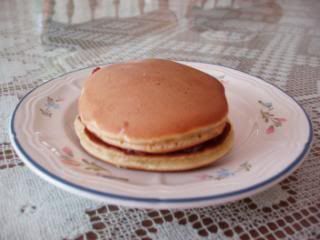
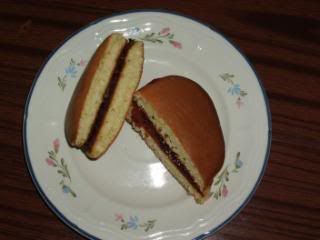
Spread red bean paste onto pancake and put two pancakes together and you get a dorayaki.
See the nice texture?
Ok, maybe it's not that clear, but oh well.
Note: When you sift the flour into the sugar and eggs, you will hear a slight deflating sound, don't worry though, everything will be alright.
For folding in the dry ingredients, please refer to this link to help you out. Christine's Recipes' blog really helped me learn how to do that. :)
Another note, don't make this if you are short on time.
Have fun!
Subscribe to:
Posts (Atom)