Pork Floss Loaf
From Happy Homebaker who adapted it from Bread Magic
Ingredients
330g bread flour
30g caster sugar
1/2 teaspoon salt (I omitted and used salted butter)
1 1/2 teaspoons instant yeast
190ml fresh milk (I ran out of milk at 120 ml, so I had to substitute the rest with half evaporated milk and half water)
25g butter, room temperature
some pork floss (I also used some red bean paste, separately)
I made this bread through the hand kneading process. Please refer to Happy Homebaker's blog for the bread machine method.
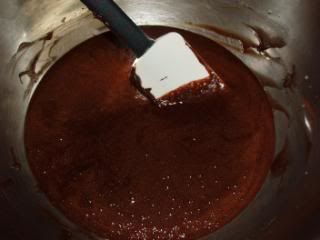
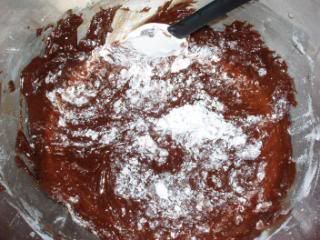
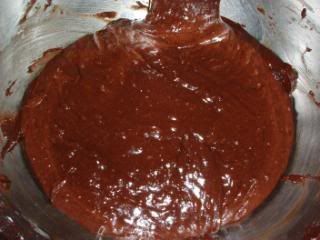
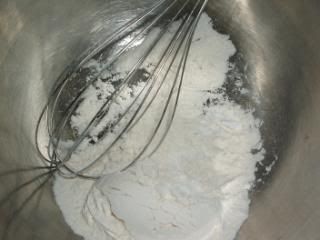
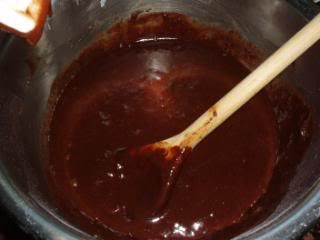
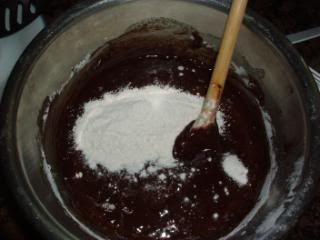
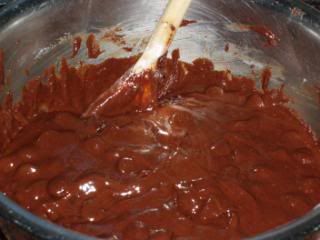
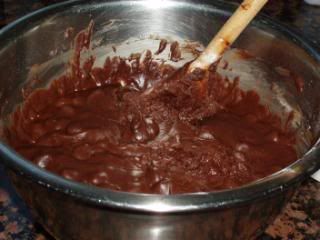
Mix bread flour, sugar, salt and yeast in a large bowl. Add in the milk and start kneading. I used a dough scraper to mix the milk and dry ingredients together so my hands wouldn't get too sticky. Then, start kneading with your hands. Keep kneading until the dough comes together and is pretty smooth. Now, add in the butter and knead it in. That's all you have to do. Knead it until it is smooth and elastic, passing the window pane test.
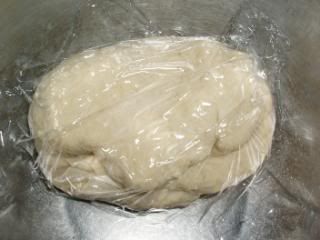
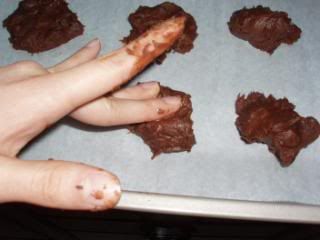
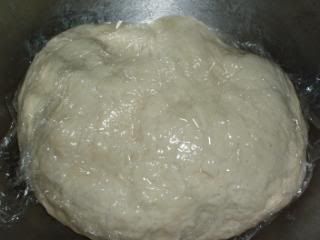
Leave to proof for around 1 hour or double in size. To be certain that it is done proofing, use two fingers and quickly press the dough around a 1/2 inch deep, if the indent stays, it's done. If it puffs back up, leave to proof for a longer time.
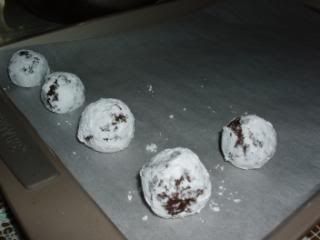
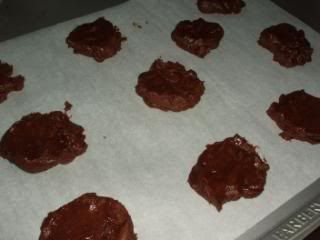
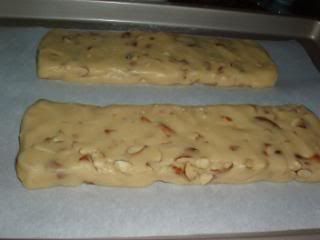
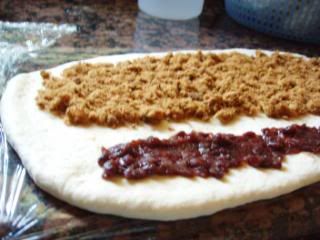
Punch down the dough and then let it rest for 10 minutes. Roll it out into a 15 inch by 18 inch rectangle after 10 minutes pass. Spread pork floss or a filling of your choice onto the rectangle. Be sure to leave a 1/2 inch border around the whole rectangle.
Roll it up like you would a swiss roll. Seal the ends.
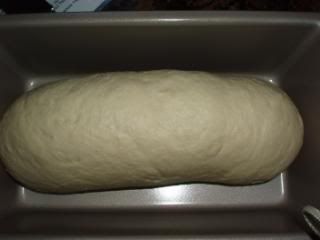

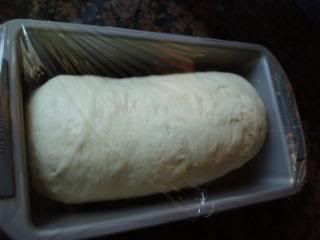
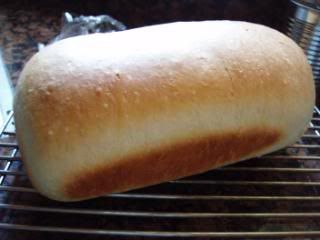
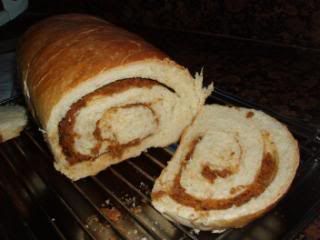
Place the "seam side" face down in a 9 by 5 inch loaf pan and cover with a damp cloth/ plastic wrap. Leave to rise until it fills up the pan 80%, around 30 minutes. Bake at 355*F for 25-30 minutes. Take it out from the oven and cool on wire rack immediately. Wait until it is cool before slicing and serving.

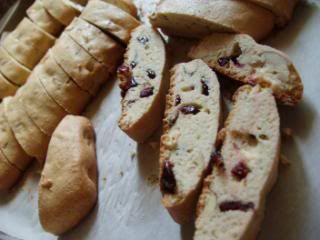
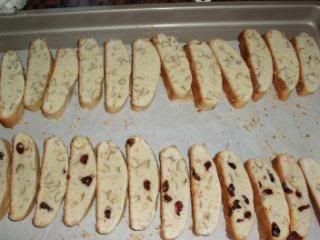
The cross section of the bread reminded me a bit of tangzhong bread.
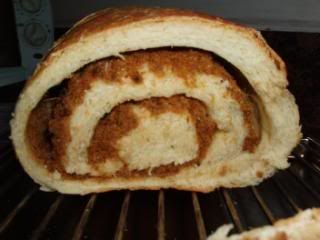
Notes: I used red bean too because I didn't want to use up too much pork floss.
Roll up the roll tightly to prevent the gap you see in my bread. (or maybe it's b/c there is a lot fillings=harder for bread to stick together?)
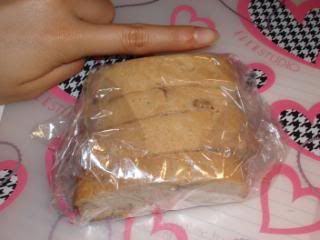
If left overnight, make sure to rebake for a nice and soft texture, otherwise it will be a bit dense and chewy as noted by Happy Homebaker.
This recipe was really good! You should try it out.
Variations: Red Bean
Ham and Cheese
Coconut Shreds