Since it is Christmas, I thought it would be fitting to post a recipe for an Oreo swiss roll cake because it resembles the yule log cake that is popular during this time I have always wanted to make a swiss roll cake, but the thought of rolling up the cake and having it crack always deterred me from making this cake. In addition, the many eggs that this type of cakes requires always scare me due to my fear of messing up the cake and wasting the ingredients. However, I finally made this cake due to a carton of heavy cream that needed to be used up and a dinner party that I was going to attend. I easily found the recipe for the Oreo swiss roll on Honey Bee Sweets. (Btw, this post is alllll the way from September, Labor Day weekend. I am sooo behind.)
This cake was easier to make than I expected. I thought it would take around 3 hours, hands on, to make it. However, I was able to finish making it in around 2 hours. This cake turned out to be a pretty successful cake, ignoring the cracks that is. I loved the texture, it was soft and spongy, not dense at all. The oreo heavy cream filling sandwiched in the roll had a pleasant taste to it; it was mildly flavored and just right, not too sweet. The oreos and cream tasted like cookies and cream ice cream, especially after you refrigerate the cake.
Here's the recipe for you to enjoy. :) Thank you Honey Bee Sweets for sharing this delicious recipe! I posted up a brief summary of the directions to help make my pictures more understandable. Please refer to Honey Bee Sweet's recipe for the ingredients and better instructions.
Oreo Swiss Roll
Recipe from Honey Bee Sweets
For the cocoa powder I used Hershey's, so don't worry if you don't have Valrohna.
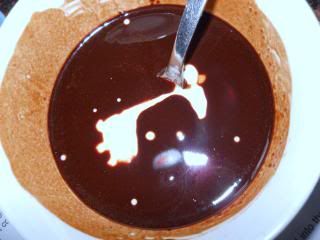
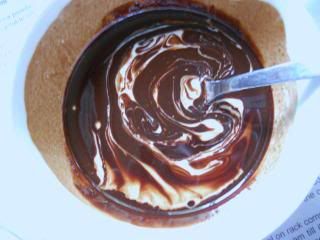
Heat up the vegetable oil, add the cocoa powder to it and mix. Then add the milk into this mixture and mix. Doesn't it look like a giraffe? My roommate loves giraffes!
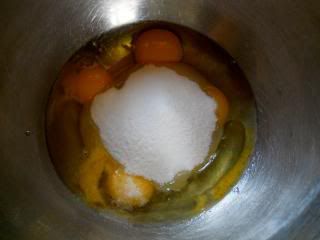
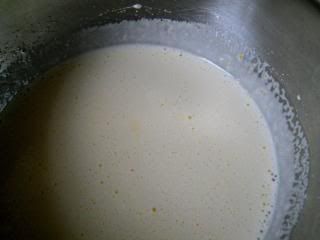
Mix all of the ingredients in Set B (eggs, sugar, corn syrup, salt) together until it is very, very thick.
Beating the eggs was the hardest part for me. I had to beat it for around 8 minutes, maybe? I was beating it with a handheld mixer and I was annoying my brother terribly with the loud noise.
You will know you are done when the mixture is triple in volume and when lifting the beater, the mixture will slowly fall back to the bowl.
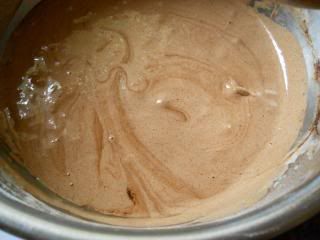
After sifting the flour and baking soda twice, fold it into Set B. Then add the cocoa mixture into the egg mixture. Do this very gently.
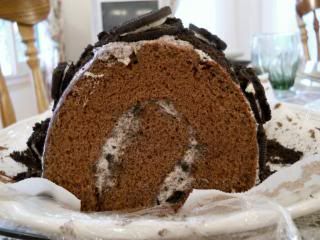
Pour the batter into your prepared baking tray. The dimensions of the tray should be 10" by 12", but my baking sheet was smaller than that. So, my cake roll ended up being thicker and I had to bake it for a longer amount of time. When I rolled it up, I had difficulty rolling it because it was so thick. Then the cake also cracker after being rolled. Luckily, the frosting covered it all up.

Make sure to line your tray with parchment paper and then bake the cake at 355*F for around 12 minutes.
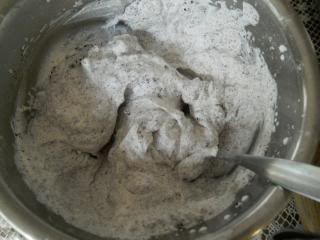
While baking your cake, start preparing the filling by mixing the heavy cream until it looks something like this.
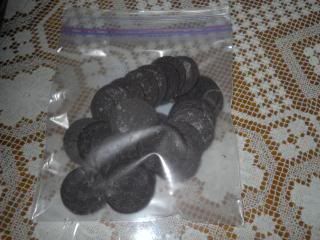
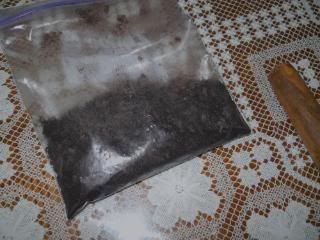
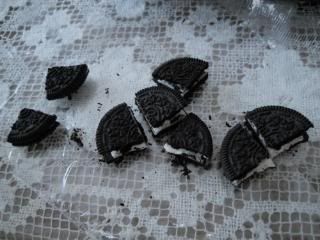
Crush some oreo crackers without the cream to add to the cream.
Mix them together.
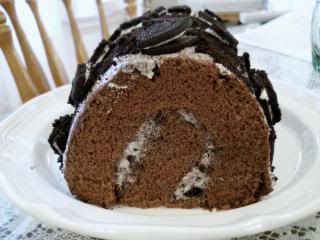
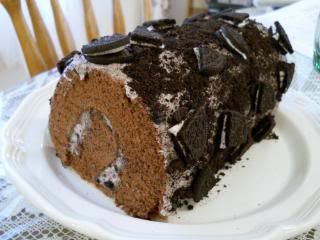
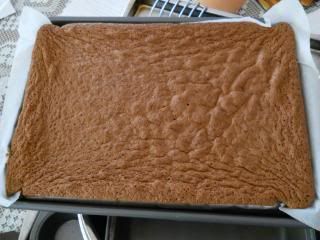
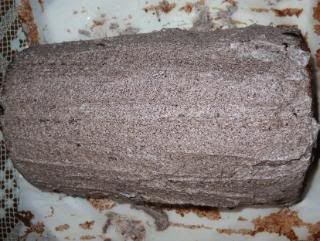
After the cake is done, it'll come out looking something like this. This picture was taken when the cake had cooled down.
Don't worry about the wrinkles because when you roll up the cake, you won't see it anymore. Also, if the batter wasn't mixed properly some cocoa splotches might show up, but no worries the cream will cover that.
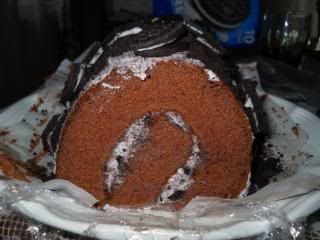
After the cake has cooled, spread the 2/3 of the cream on the cake, leaving a border of 2 inches. Roll up the cake from the shorter end. Eekss! My cake cracked!!

Now wrap the cake up in saran wrap and refrigerate for one hour, until the cake is sturdier. Then cover the cake with the rest of the cream, like so.

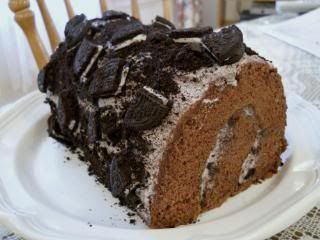
Cut or smash a few more Oreos to decorate the cake.
I added parchment paper to the sides of the cake so that the plate that the cake will be served will remain clean. When you're done with the decorations, just slide the paper out carefully.
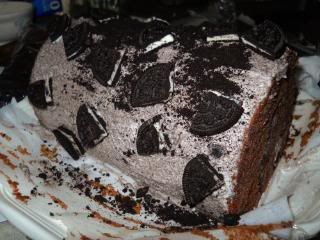
Use some more Oreo cookie crumbs to fill in the white areas.
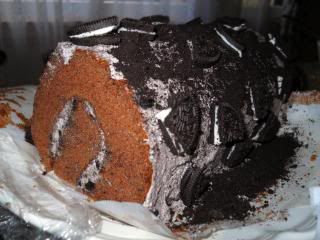
Tada! You're done! Now all you have to do is chill it for a bit more and serve.
Once again, Merry Christmas!!
No comments:
Post a Comment
Thanks for reading my blog. I love hearing about your thoughts and/or your advice. :)