It's very easy to make tangzhong and it only takes a few minutes. Just remember to refrigerate it overnight or at least for 12 hours. It lasts for a couple of days, around two I believe. Don't use it if it turns gray.
Tangzhong helps make bread really soft without any preservatives.
To make it you need 250ml of water or, as noted by Christine on her blog, 1/2 water and 1/2 milk, or all milk and 50 grams of bread flour.
Dissolve the 50 grams of bread flour in the liquid.
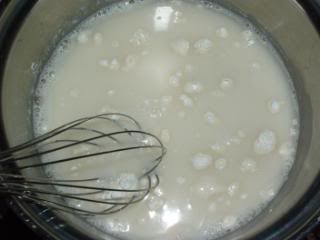
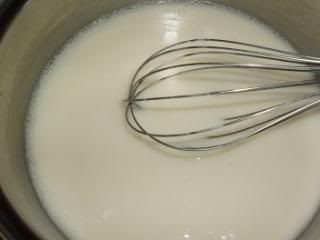
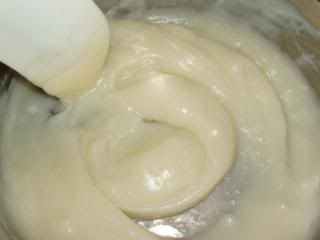
Get rid of the lumps so that it looks like this.
Cook over medium fire until lines form.
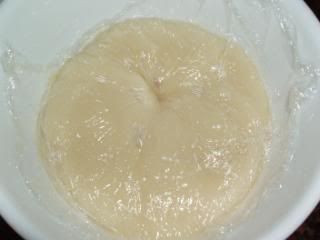
Pour tangzhong into bowl and cover so that no skin will form.
Let it cool to room temperature and then refrigerate it for at least 12 hours.
Detailed instructions here.
Saturday, June 26, 2010
Japanese Style Coconut Custard Buns
This is a really late Father's Day post, but I finally remembered to write one. So, on Father's Day I didn't do much for my dad. :( I was going to bake this coconut bread for him on that day, but we had to go to this concert. I didn't want to go, but I went because my parents wanted me to go. So the next day I baked that bread. I found the recipe on Christine's Recipe. I chose to bake this bread because my dad loves eating anything coconut.
Click Here for the recipe.
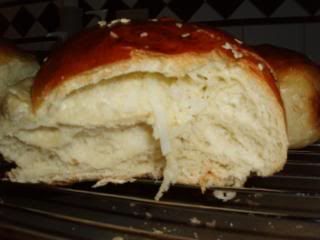
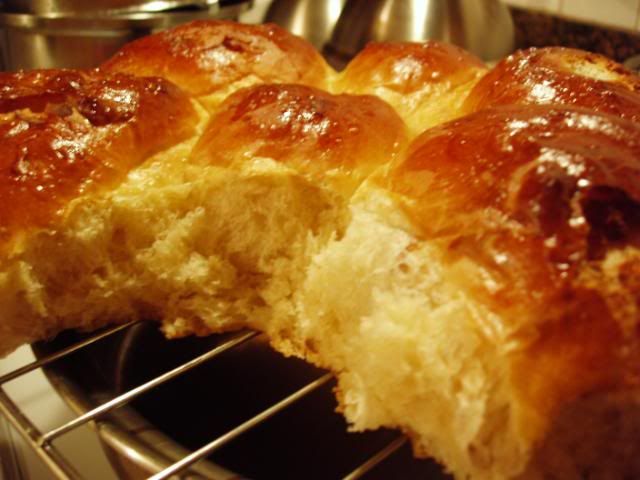
The results were terrific! They tasted like bakery bread. They were really soft and fluffy, especially right out of the oven. Even after a night, they were still pretty soft, all because of the tangzhong. I would still recommend rebaking the bread before serving because it will become soft again, even after sitting out for a couple days.
I had a really hard time kneading the dough. I made this recipe two times to use up the tangzhong and it was easier the second time, but the first time kneading the dough was really, really hard. It took me a whole hour just to knead the dough by hand before I could proof it. I have a suspicion that this was caused by me unknowingly adding too much tangzhong to the dough at the beginning. I was very worried about the result because even after kneading the dough for one hour, it was way too sticky. I had no choice but to add a few more tablespoons of flour until it was more workable. It was still sticky afterward, but I didn't want to make the bread too tough, just in case. Anyway, from then on, every went pretty smoothly. The bread turned out fantastically and my whole family enjoyed eating it.
Here's what I did.
Since I had to knead the dough by hand and since I only had active yeast, I tried to use my past bread experiences to make this bread.
I whisked the bread flour and sugar together, I set aside around 1 tbsp of sugar though. After I whisked those two ingredients together to evenly distribute them, I dissolved the 1 tbsp of sugar that I had set aside in warm milk and then added a whole envelope of active dry yeast.
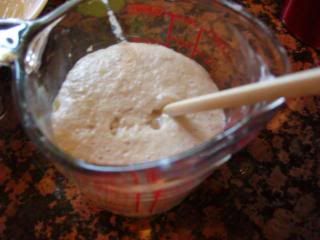
I left it there for around ten minutes and it became really bubbly and thick.
While I was waiting, I mixed the amount of tangzhong the recipe called for with an egg.
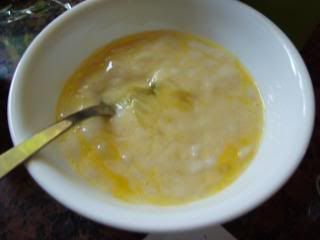
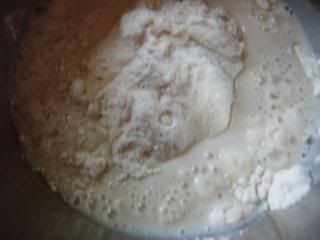
I started adding the wet ingredients into the hill of dry ingredients. I stirred it until it formed a dough. It is pretty sticky then.
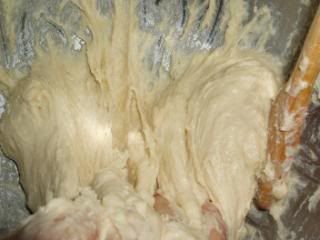
I started kneading it and it became a bit easier to knead as the gluten started forming, however, the dough was way too sticky still so I had to add a few more tablespoons of flour until it was better.
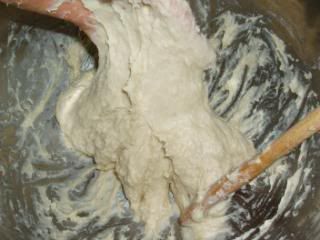
This was how sticky it was.
Then, I let it rise for one hour after giving up. I had already kneaded it by hand for one hour and the dough was still overly sticky. I didn't bother oiling the bowl.
After one hour it looked pretty successful.
I started making the filling by creaming the sugar and butter, mixing in the egg, and then adding the coconut.
The coconut smelled really, really nice.
Sugar, butter and egg.
I divided the filling into four instead of six because not everyone in my family likes coconut.
Now, I portioned out the dough into 6 balls, let them rest for 15 minutes and then rolled them out into ovals.
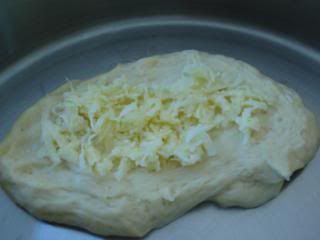
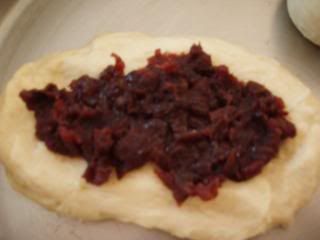
I filled them with pork sung, aka rou song or pork floss, red bean paste or a coconut filling.
Then I rolled them up from top to bottom. (Refer to Christine's Recipes for better understanding.)
Cover buns with saran wrap and let it rise for one more hour or double in size.
After doubled in size, brush with egg wash and sprinkle sesame seeds. Bake in the preheated oven. After they are done baking, remove from the pan and cool on wire racks. They are freezable if you want to keep them for a long time.
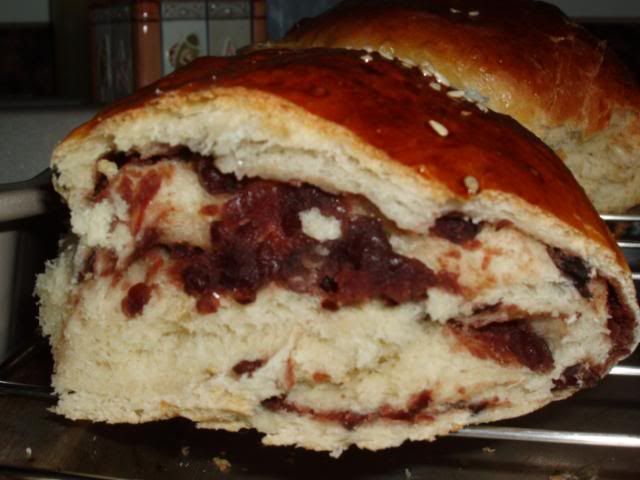
Red bean filled bun.
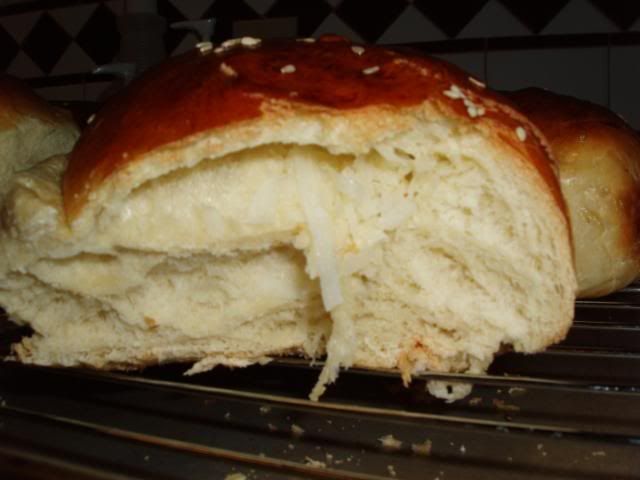
Coconut filled bun.
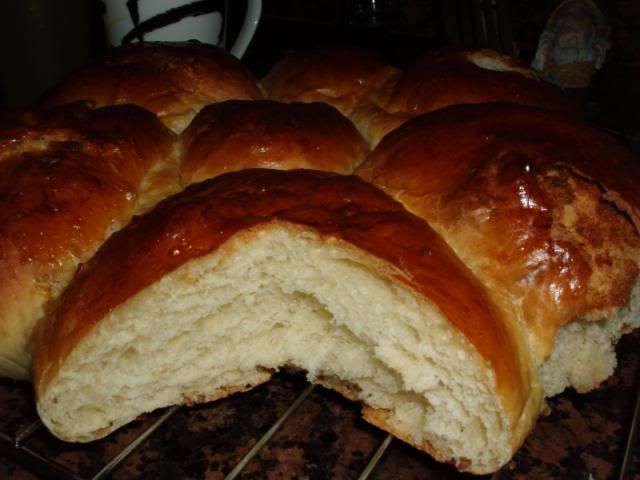
Texture
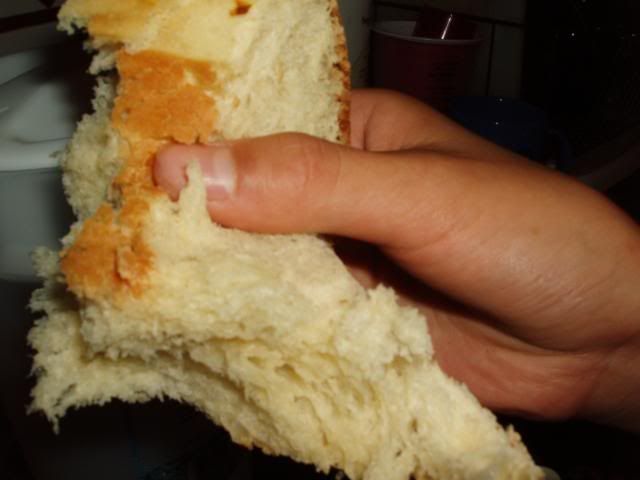
My brother's hand.
Click Here for the recipe.
The results were terrific! They tasted like bakery bread. They were really soft and fluffy, especially right out of the oven. Even after a night, they were still pretty soft, all because of the tangzhong. I would still recommend rebaking the bread before serving because it will become soft again, even after sitting out for a couple days.
I had a really hard time kneading the dough. I made this recipe two times to use up the tangzhong and it was easier the second time, but the first time kneading the dough was really, really hard. It took me a whole hour just to knead the dough by hand before I could proof it. I have a suspicion that this was caused by me unknowingly adding too much tangzhong to the dough at the beginning. I was very worried about the result because even after kneading the dough for one hour, it was way too sticky. I had no choice but to add a few more tablespoons of flour until it was more workable. It was still sticky afterward, but I didn't want to make the bread too tough, just in case. Anyway, from then on, every went pretty smoothly. The bread turned out fantastically and my whole family enjoyed eating it.
Here's what I did.
Since I had to knead the dough by hand and since I only had active yeast, I tried to use my past bread experiences to make this bread.
I whisked the bread flour and sugar together, I set aside around 1 tbsp of sugar though. After I whisked those two ingredients together to evenly distribute them, I dissolved the 1 tbsp of sugar that I had set aside in warm milk and then added a whole envelope of active dry yeast.
I left it there for around ten minutes and it became really bubbly and thick.
While I was waiting, I mixed the amount of tangzhong the recipe called for with an egg.
I started adding the wet ingredients into the hill of dry ingredients. I stirred it until it formed a dough. It is pretty sticky then.
I started kneading it and it became a bit easier to knead as the gluten started forming, however, the dough was way too sticky still so I had to add a few more tablespoons of flour until it was better.
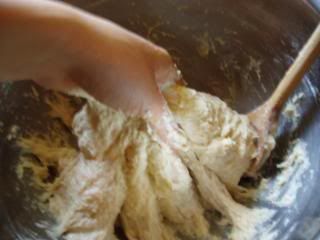
This was how sticky it was.
Then, I let it rise for one hour after giving up. I had already kneaded it by hand for one hour and the dough was still overly sticky. I didn't bother oiling the bowl.
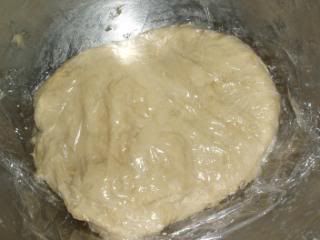
After one hour it looked pretty successful.
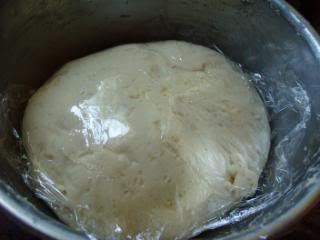
I started making the filling by creaming the sugar and butter, mixing in the egg, and then adding the coconut.
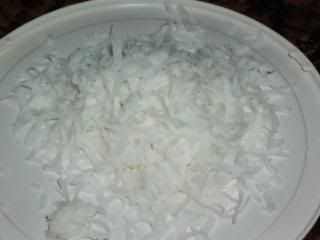
The coconut smelled really, really nice.
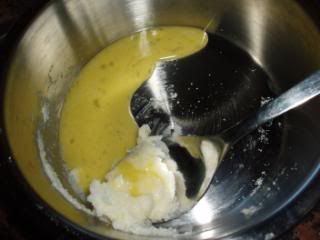
Sugar, butter and egg.
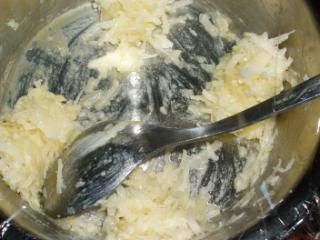
I divided the filling into four instead of six because not everyone in my family likes coconut.
Now, I portioned out the dough into 6 balls, let them rest for 15 minutes and then rolled them out into ovals.
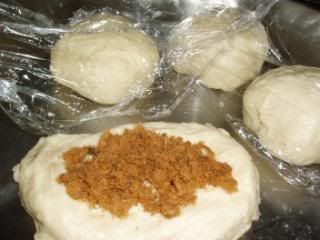
I filled them with pork sung, aka rou song or pork floss, red bean paste or a coconut filling.
Then I rolled them up from top to bottom. (Refer to Christine's Recipes for better understanding.)
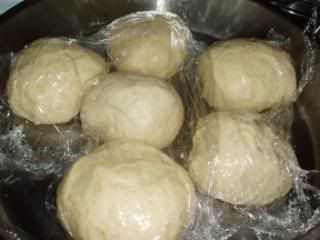
Cover buns with saran wrap and let it rise for one more hour or double in size.
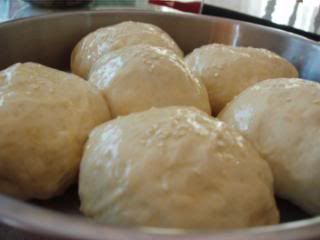
After doubled in size, brush with egg wash and sprinkle sesame seeds. Bake in the preheated oven. After they are done baking, remove from the pan and cool on wire racks. They are freezable if you want to keep them for a long time.
Red bean filled bun.
Coconut filled bun.
Texture
My brother's hand.
Sunday, June 20, 2010
Chocolate Milk Bread
I made this chocolate milk bread yesterday morning and it turned out really well. I enjoyed making it and I made a few changes, both intentionally and accidentally.
Yesterday was a fun day. I went to Ralphs with my mom and we bought some groceries for quesadillas (pronounced kay-suh-dee-yas) and some baking ingredients. Because tomorrow is Father's Day, my brother decided to make some quesadillastoday with my help. I probably annoyed him a lot. So I will be sharing that recipe soon.
Back to the chocolate milk bread. I got the recipe from My Little Space.
Proofing the yeast with milk. I added 3x the amount of yeast asked for by accident because I read tbsp instead of tsp. It was very bubbly.
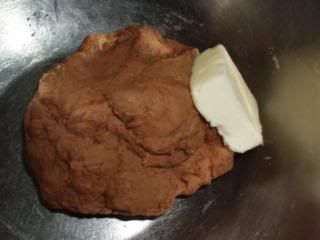
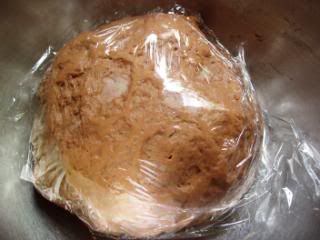
Chocolate dough.
Chocolate dough after butter was mixed in. It looks noticeably softer.
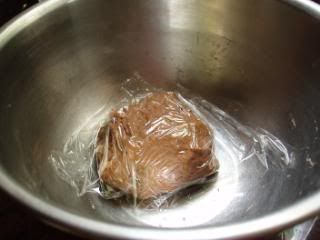
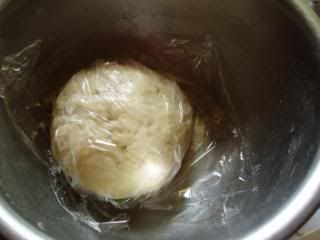
Covering dough with saran wrap to proof for about one hour.
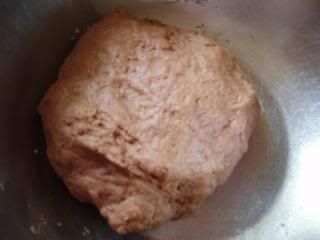
After one hour.
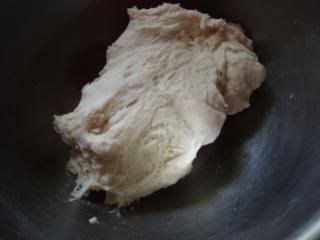
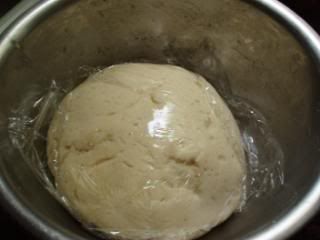
The milk dough was pretty sticky.
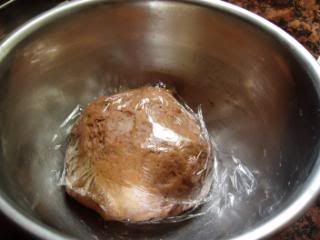
Cover milk dough with plastic wrap.
Milk dough after proofing.
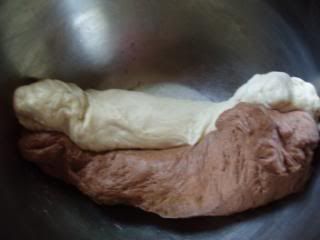
Roll out dough into ropes.
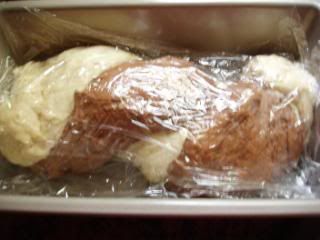
Twist dough together and proof.
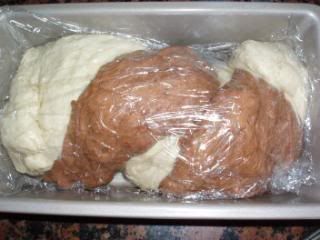
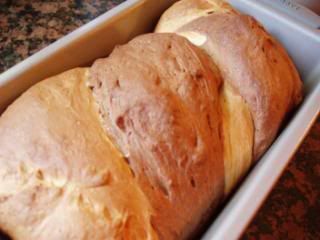
After it was proofed again.
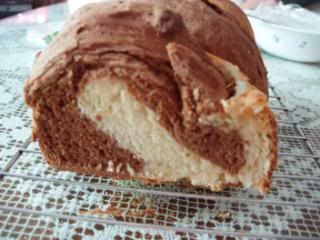
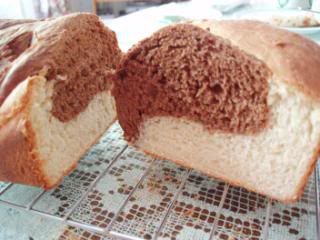
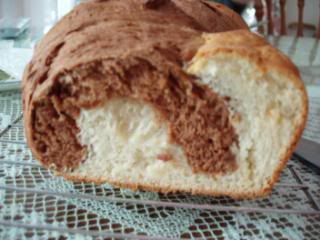
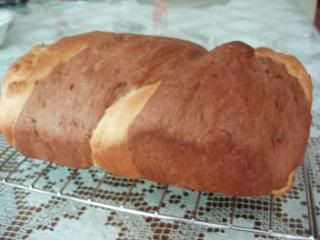
Done baking. Several different perspectives.
It was a bit burnt on the top... The crust was crispy though, pretty good.
Chocolate Milk Bread
Ingredients:
Chocolate Dough
170 grams bread flour (around one cup)
2 tbsp (10 grams) cocoa powder
1/4 tsp salt (I omitted this b/c I used salted butter)
1/2 cup (120 grams) milk
1 tbsp sugar
1/2 tsp yeast (I accidentally used 1/2 tbsp XD)
1.41 tbsp (20 gm) butter
Milk dough
170 grams bread flour (around one cup)
10 grams milk powder (I just added one tablespoon of bread flour instead because dough would be too sticky otherwise)
1/4 tsp salt (I omitted it because I used salted butter)
1/2 cup (120 grams) milk
1 tbsp sugar
1/2 tsp yeast (I accidentally used 1/2 tbsp XD)
1.41 tbsp (20 gm) butter
Directions
Heat up the milk and dissolve yeast and sugar in the milk. Set aside. Whisk together cocoa powder with bread flour or milk powder with bread flour. Add salt if using. Now, add milk into the flour. Stir with wooden spoon until it is not too sticky for kneading. After the dough is smooth, knead in the butter. The dough will start "falling apart", but keep on kneading until it goes back together. Repeat these steps for the other flavored dough.
Proof the doughs until double in size, around 1 hour. Punch down a bit and roll into thick ropes. Twist the "ropes" together and place in a 4 by 9 inch loaf pan and wait for it to double in size. Cover with saran wrap while this is happening. Preheat the oven to 375 degrees F.
Bake the bread after it finishes rising for 40 minutes. After it is done, place it on a rack to cool. Then slice up the bread.
My review on the taste:
The bread was really soft and good to eat right out of the oven. However, I couldn't really distinguish the chocolate bread from the milk bread. It did look very pretty though. Maybe next time I will add some chocolate chips to the chocolate side.
Possible variations:
Add chocolate chips.
Spread some nutella on the slice of bread.
Spread red bean paste.
My brother rated it a 9 :) Oh there was also a yeasty flavor to the bread, most likely b/c I added 3x the amount of yeast asked for. I can't wait to try this recipe again some day.
Yesterday was a fun day. I went to Ralphs with my mom and we bought some groceries for quesadillas (pronounced kay-suh-dee-yas) and some baking ingredients. Because tomorrow is Father's Day, my brother decided to make some quesadillas
Back to the chocolate milk bread. I got the recipe from My Little Space.
Proofing the yeast with milk. I added 3x the amount of yeast asked for by accident because I read tbsp instead of tsp. It was very bubbly.
Chocolate dough.
Chocolate dough after butter was mixed in. It looks noticeably softer.
Covering dough with saran wrap to proof for about one hour.
After one hour.
The milk dough was pretty sticky.
Cover milk dough with plastic wrap.
Milk dough after proofing.
Roll out dough into ropes.
Twist dough together and proof.
After it was proofed again.
Done baking. Several different perspectives.
It was a bit burnt on the top... The crust was crispy though, pretty good.
Chocolate Milk Bread
Ingredients:
Chocolate Dough
170 grams bread flour (around one cup)
2 tbsp (10 grams) cocoa powder
1/4 tsp salt (I omitted this b/c I used salted butter)
1/2 cup (120 grams) milk
1 tbsp sugar
1/2 tsp yeast (I accidentally used 1/2 tbsp XD)
1.41 tbsp (20 gm) butter
Milk dough
170 grams bread flour (around one cup)
10 grams milk powder (I just added one tablespoon of bread flour instead because dough would be too sticky otherwise)
1/4 tsp salt (I omitted it because I used salted butter)
1/2 cup (120 grams) milk
1 tbsp sugar
1/2 tsp yeast (I accidentally used 1/2 tbsp XD)
1.41 tbsp (20 gm) butter
Directions
Heat up the milk and dissolve yeast and sugar in the milk. Set aside. Whisk together cocoa powder with bread flour or milk powder with bread flour. Add salt if using. Now, add milk into the flour. Stir with wooden spoon until it is not too sticky for kneading. After the dough is smooth, knead in the butter. The dough will start "falling apart", but keep on kneading until it goes back together. Repeat these steps for the other flavored dough.
Proof the doughs until double in size, around 1 hour. Punch down a bit and roll into thick ropes. Twist the "ropes" together and place in a 4 by 9 inch loaf pan and wait for it to double in size. Cover with saran wrap while this is happening. Preheat the oven to 375 degrees F.
Bake the bread after it finishes rising for 40 minutes. After it is done, place it on a rack to cool. Then slice up the bread.
My review on the taste:
The bread was really soft and good to eat right out of the oven. However, I couldn't really distinguish the chocolate bread from the milk bread. It did look very pretty though. Maybe next time I will add some chocolate chips to the chocolate side.
Possible variations:
Add chocolate chips.
Spread some nutella on the slice of bread.
Spread red bean paste.
My brother rated it a 9 :) Oh there was also a yeasty flavor to the bread, most likely b/c I added 3x the amount of yeast asked for. I can't wait to try this recipe again some day.
Saturday, June 19, 2010
Pecan Brownies
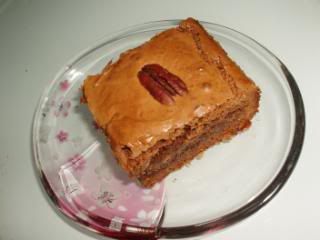
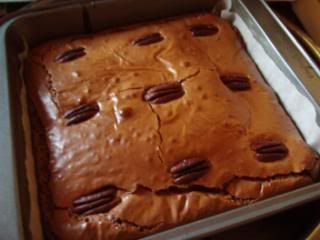
Yesterday was the first time I baked brownies from scratch. I baked them with my best friend. We hung out at my house. We ate lunch, watched The Cat Returns, and baked brownies. It was pretty fun and I was glad that I hung out with her before she left for a trip that would last for the rest of the summer. She really enjoyed the brownies and so did the rest of my family.
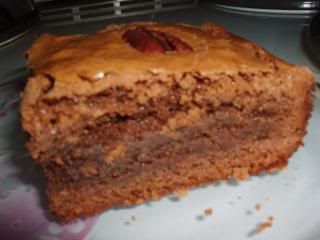
We followed the recipe exactly with only one small change, and that was reducing the sugar to 1 1/4 cups. I didn't want to change the texture or do anything that would adversely affect the brownies. I thought the brownies turned out just right, with the right amount of chewiness and crunch. My mom thought they were a bit too sweet, so next time I think I will reduce the sugar to one cup and see what happens. Oh, I also just remembered that I left out the 1 cup of toasted nuts and I only used 9 pecans to decorate the top of the brownies. I would say that this recipe is a keeper! Thanks to Anna @ Cookie Madness
P.S. I used extra large eggs b/c those are the only eggs I have. Also, the outer edges of the brownie were cakier than the middle. :)
Wednesday, June 16, 2010
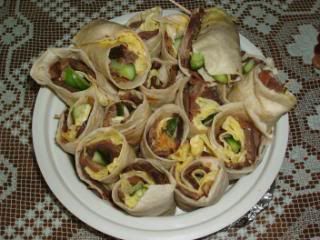
Simple Wraps
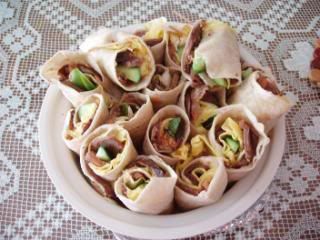
My grandma made this for lunch one day. She decided to make them after seeing them made on this tv show. I thought that they were pretty good and easy to make. So here's the recipe. It's going to be a rough estimate of everything since I wasn't there watching how she made it, but here are my guesstimates.
Simple Wraps
Serves 4
Ingredients
8 tortillas
2 cucumbers, cut into long strips
4 eggs, scrambled
2 hunks braised beef, cut into thin slices
(they can just be cooked, doesn't need to be braised)
possible variations:
pork floss instead of beef
braised pork, sliced thinly
Directions
Whisk the eggs and cook them. Cook them so that they turn out in thin sheets. It would be easier to cook the eggs in four equal portions so that there is 1/2 an egg in each tortilla. Set the cooked eggs aside.
Slice up the cucumbers into thin strips and set aside.
Slice up the cooked meat and start arranging a few slices on each tortilla. Add the cucumber strips and eggs. Each ingredient is distributed evenly so that the tortilla may be smoothly rolled up. Now, roll up the tortillas with their filling. Use a toothpick and poke it through the skin of the tortilla to keep it in place. Cut the finished rolls/wraps in half and serve or just serve them whole.
Labels:
lunch,
simple meal
Sunday, June 13, 2010
Baking 3 Things in 1 Day
Several days of summer has passed already. Tomorrow is summer school! I'm so sad about that. The days before, I went on vacation with my family, where I spent the majority of the trip sleeping on the car b/c my dad and uncle were driving a lot. I was practically sleeping whenever I had the chance to. During school, I was progressively getting less and less sleep. This happened after the first semester of school where I had to cram for my finals and I discovered that I could actually make it through the day without that much sleep. So I was basically catching up on my sleep. I will also try to change my bad habits of sleeping really late.
Now back to the point of my post. The day before school ended, I baked up a storm. I baked 3 different items so I could give goodie boxes to my teachers as a thank you. Whewf...It was soo tiring. I spent, like, 5 hours in the kitchen and my feet hurt afterward. It was fun, but tiring. So much things to clean up though.
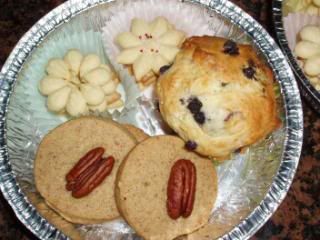
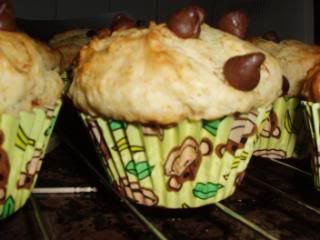
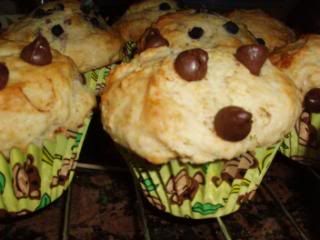
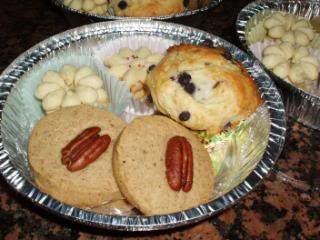
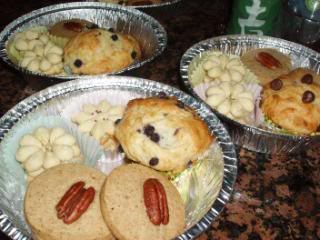
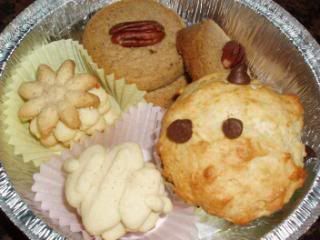
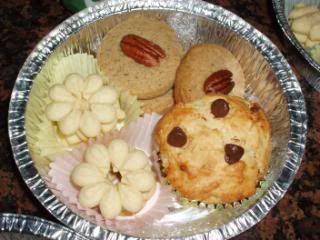
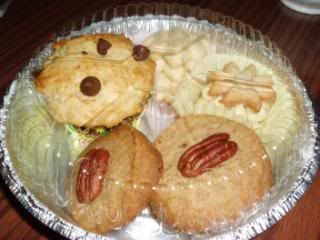
I baked spritz cookies, pecan cookies and muffins.
I made the pecan cookies from a book I have.
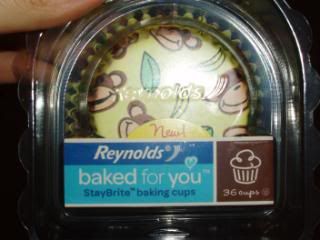
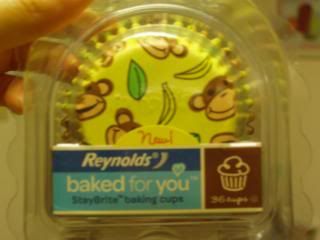
Cute cupcake liners!! I just had to show you them.
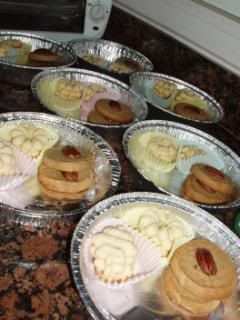
Please bear with me, I took many, many pictures because I rationalized that since I spent so much time baking, I might as well take a lot of pictures.
All packaged and ready to go.
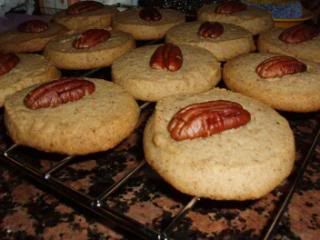
Pecan Cookies
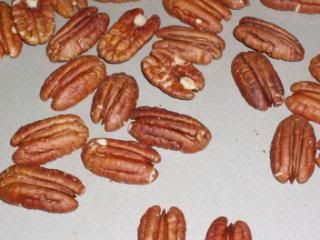
These cookies required toasted pecans, a relatively easy thing to do. Just measure out the pecans and bake them at 350 degrees F until they are slightly browned.
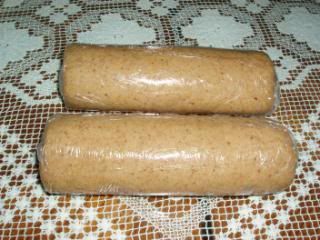
The dough was rolled into logs.
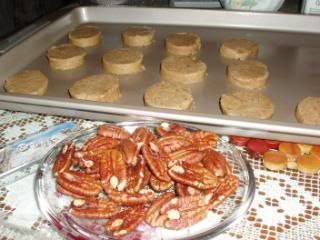
Refrigerated for 2+ hours, then sliced.
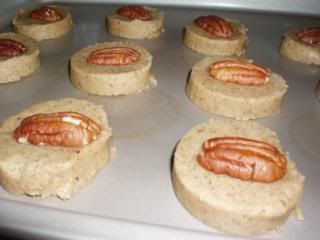
Press pecan halves onto the slices and bake.
Tada...
My dad loved these cookies. I felt kind of bad though because I was worried he would eat too much. The cookies had so much butter (1 cup?) that I was worried about my dad's health. Do you ever feel like that after baking things and people keep on eating them? Well, that's why I try to bake healthy things.
My spritz cookies review:
These cookies tasted really good. The recipe asked for one egg yolk, but because I increased the amount of flour by around 1/4-1/2 cup, I found that the dough wouldn't stick together. The main reason for the increase in flour was that I wanted the butter to flour ratio to be lower. As a result, I included the egg white too as an after thought. Because the flour was sifted, the cookie turned out very crispy. This was because of the butter too, but the sifting helped. It tasted good after a few days. It's a really good cookie. I also sprinkled some cinnamon sugar on top of some cookies and left others as plain. I found that if you baked the cinnamon sugar mixture too long and some was on the baking sheets, then the sugar would start caramelizing (or something very close to that). So don't bake it too long.
I forgot if I mentioned this before, but I use to baking sheets when I bake these spritz cookies to prevent the bottom of the cookies from being burnt easily. I just place a sheet on the lower rack and a baking sheet with the cookies on the higher rack. The sheet on the lower rack absorbs some of the heat preventing the cookies' bottoms from being burnt quickly.
Subscribe to:
Posts (Atom)