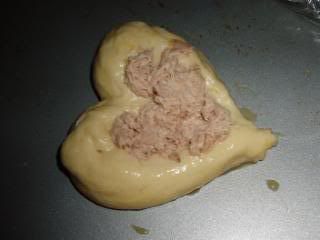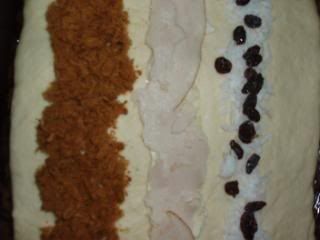
I made these during the summer too, but I didn't have a chance to post them until now. I was debating whether I should post it up or not, but I decided I might as well. I found this recipe while browsing the bread section in Honey Bee Sweets. I decided to give it a try because I was interested in the use of a potato in the recipe and it also had pork floss! I love eating pork floss, and while it is not healthy to eat too much as it is fried and contains MSG; moderation is the key.
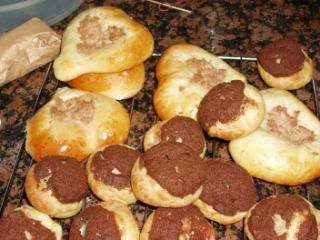
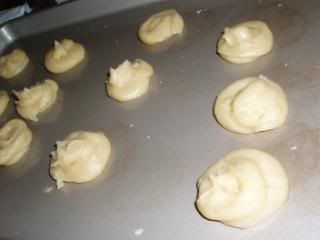
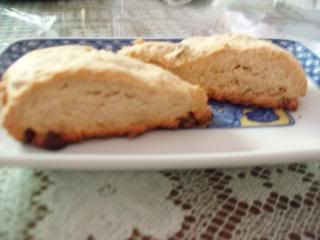
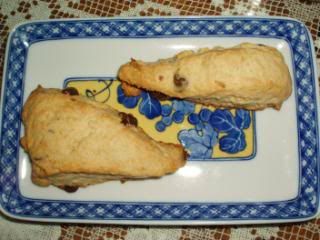
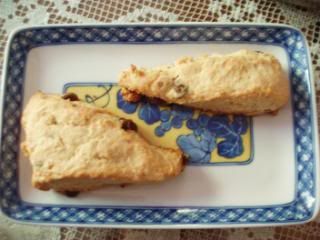
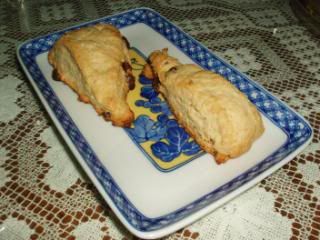
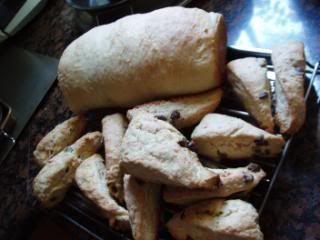
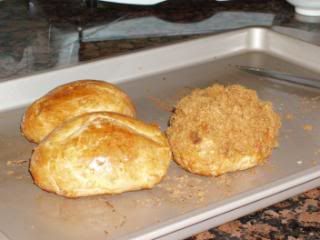
They turned out nice and soft. Although they had a bit of a crust, the inside was pretty good. I accidentally left them in the oven too long because when the timer went off, I took them out and tasted one. It was still a bit undone so I continued baking it, but then I forgot about them and they developed a crust. :( Oh well, next time I'll do better.
As you can see in Honey Bee Sweets' blog, her pork floss buns are pale and really soft while mine are over baked. Next time...
Anyway, I will list the ingredients below and any changes I made/the way I did it.
Pork Floss Buns
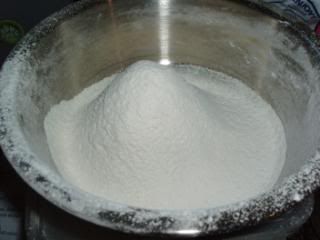
220g bread flour
80g cake flour (I substituted with flour and corn starch)
30g caster sugar
1/2 tsp salt
1 tsp instant active yeast
140ml ice cold water
40g egg yolk
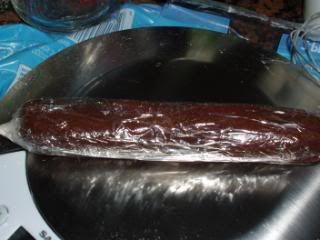
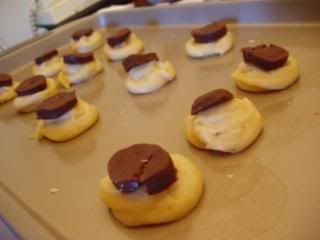
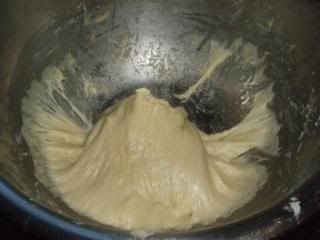
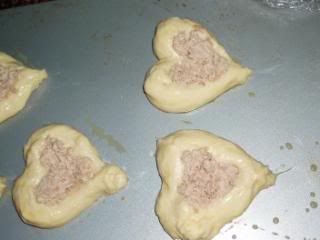
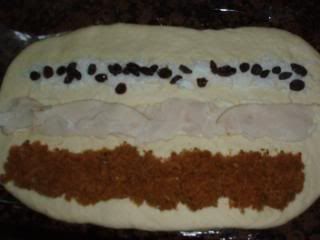
60g mashed potato - I chopped up a potato into cubes and then I steamed it for a while until it became mashable. <- is that even a word? I would taste it from time to time to see if it was done yet. If anyone has any better way to cook potato for bread please share with me. Thank you. :) 30g unsalted butter, room temperature (I used salted and omitted the salt) For the filling I didn't measure out anything. I just used as much pork floss as I thought was necessary and yea. I didn't have any Asian jerky or hot dogs to use. In order to complete the bread, I needed mayonnaise, preferably the Asian type, as a glue for the pork floss. So I searched around and found this recipe on The Kwoks Viewfinder.
Transparent Mayonnaise (透明美乃滋)
Recipe from The Kwoks Viewfinder, instructions rewritten.
Set A
100g fine sugar (I reduced the sugar, I forgot how much)
5g salt
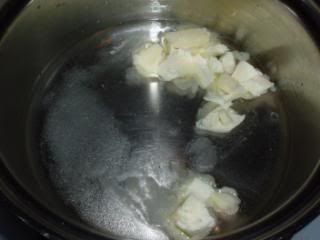
50g butter
450g water
Set B
200g fine sugar (I reduced the sugar again, otherwise it would be too sweet)
50g corn Starch
200cc water (aka 200 ml water)
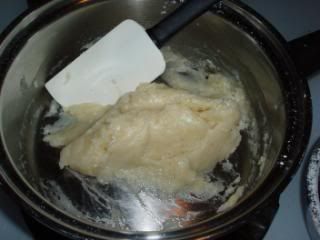
Cook set A in a saucepan or just any pan with heat on low. Stirring the mixture very often until the sugar and butter completely melt.
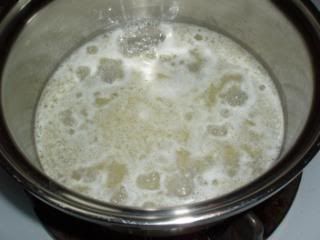
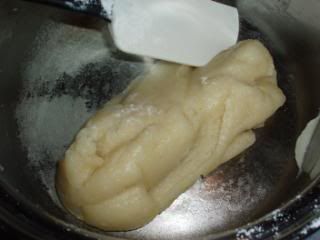
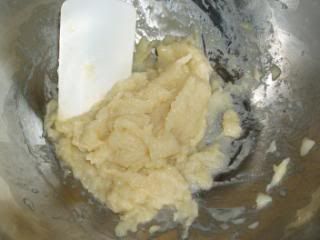
Add Set B into Set A when Set A starts to boil, still cooking over low heat. Turn off the heat and cool when the mayonnaise thickens and becomes transparent. Apply it to bread or whatever you want when the mayonnaise is cool.
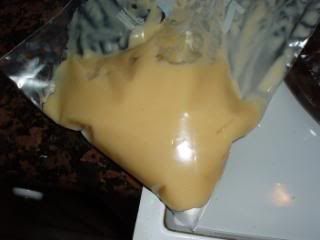
I think I cooked my mayonnaise way too long and it become pretty thick and goey as a result. That brought back childhood memories of me eating this transparent sweet "paste". I have no idea what it's called, but I remember that I really loved eating it. Supposedly it was healthy too. Back to the topic, I could taste a hint of "mayonnaise". Next time, I won't cook it as long, quarter the recipe and reduce the sugar a bit more. I made too much mayonnaise and I had to get rid of the rest because it was too goey and I couldn't possibly use it all up.
Recently, my camera has been broken and I haven't been able to fix it. So sadly, I haven't been able to take any pictures of the things I have been baking. However, here's a list so I can remember what I did bake: cinnamon rolls (1st time), brownies (new recipe), chocolate cupcakes (really quick and easy). I that's it. I can't believe I haven't posted a new post in such a long time. I have been pretty busy. Have a great week everyone.