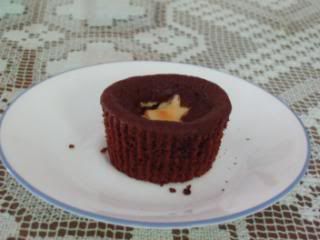
They tasted really good. Rich cream cheese filling with a just right cupcake. My dad really loved it. When I brought the rest over to band camp, he was really disappointed.
Black Bottom Cupcakes
Recipe from America's Test Kitchen Family Baking Book
Makes 12
Use miniature chocolate chips to ensure that they will stay in the filling and not sink to the bottom of the cupcake instead.
Filling
8 ounces cream cheese, softened
1/4 cup (1 3/4 ounces) sugar
1/8 tsp salt
1 large egg white
1 tbsp sour cream
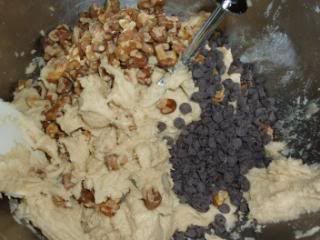
1/4 cup (1 1/2 ounces) semisweet mini chocolate chips
Cupcakes
Set A
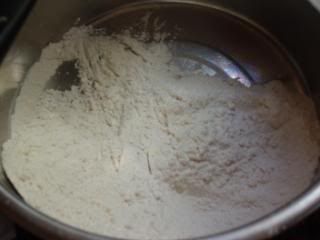
3/4 cup all purpose flour
2/3 cup sugar
1/4 cup Dutch-proccessed cocoa (I used natural unsweetened cocoa powder)
1/2 tsp baking soda
1/4 tsp salt
Set B
3/4 cup water, room temperature
6 tbsp sour cream, room temperature
4 tbsp unsalted butter, melted and cooled
1/2 tsp vanilla extract
Directions
Position oven rack to lower middle position and preheat oven to 400*F.
Filling
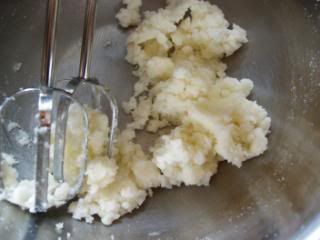
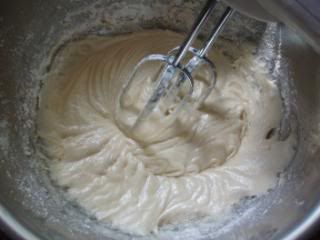
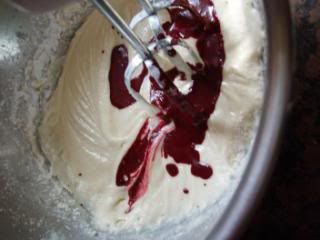
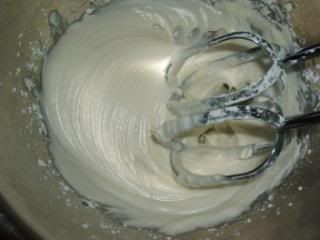
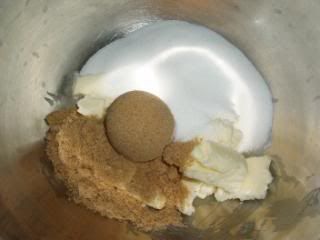
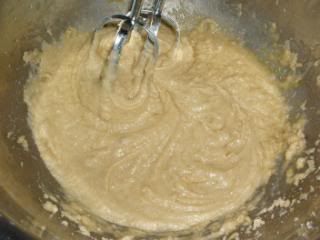
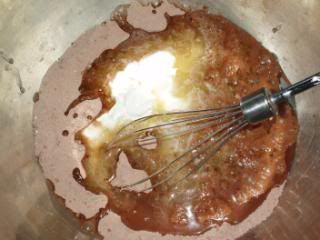
In a medium bowl, beat together the cream cheese, sugar and salt using an electric mixer on medium speed so that the mixture is smooth. (30 sec) Add egg white and sour cream and beat in, another 30 seconds. Add the chocolate chips and stir.
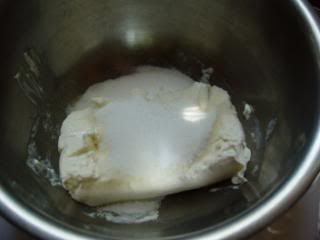
Cream cheese with sugar and salt.
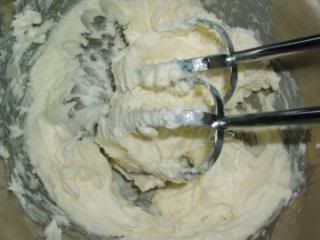
After beating it for a few seconds.
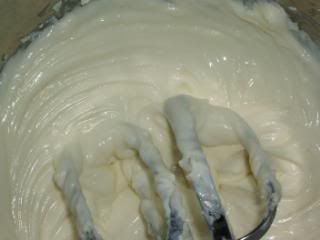
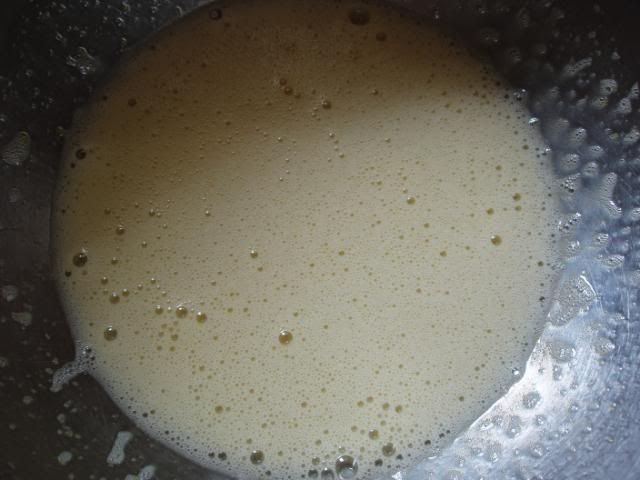
This is what it should look like after the egg white and sour cream is added in.
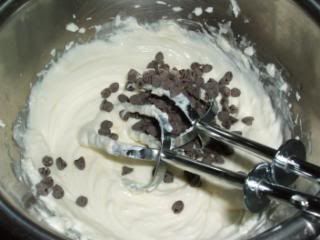
The cc chips are soo cute! I love mini things.
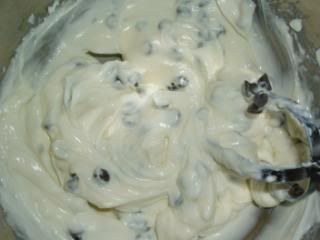
Now, stir it in.
Cupcakes
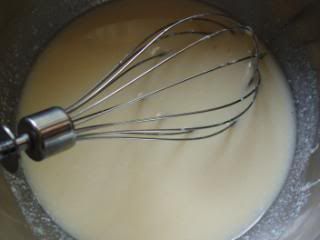
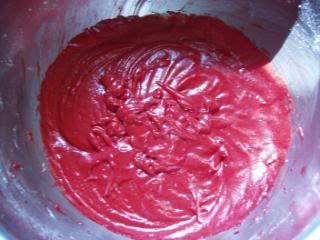
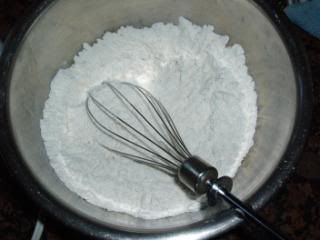
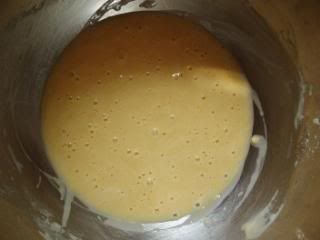
Whisk together Set A in a large bowl until uniform in mixture. Whisk in Set B just until it all comes together.
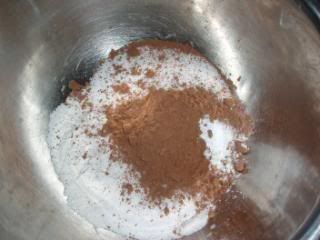
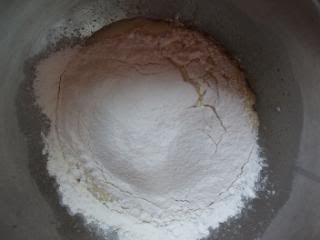
Set A
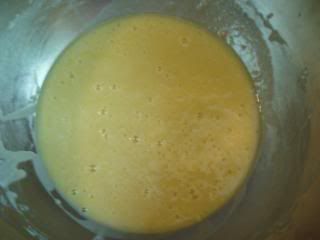
Set B
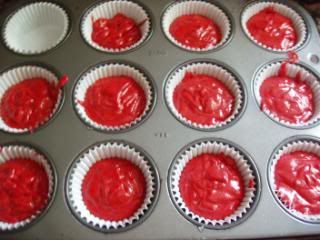
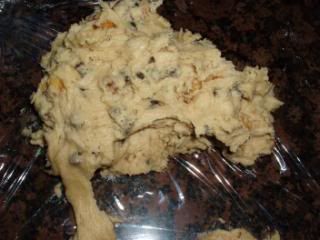
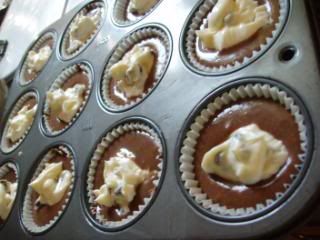
Grease a 1/4 cup measure and portion batter into cupcake liners. Use a rounded tbsp of cream cheese mixture and plop in the middle of each cupcake. There might be extra, so just try to distribute the rest out evenly.
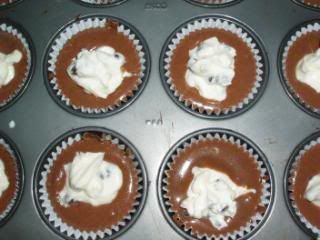
So yea, it was a bit more than 1 tbsp.
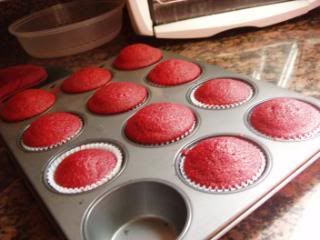
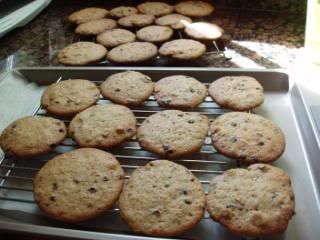
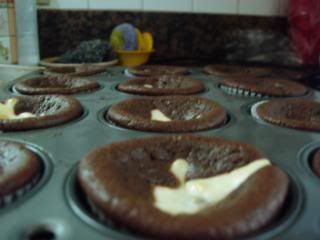
Bake for 18-22 minutes so that the tops of the cupcakes start cracking. Make sure to rotate cupcake tray halfway through baking. Afterward, let cupcake cool in tray for 10 minutes before cooling on wire rack.
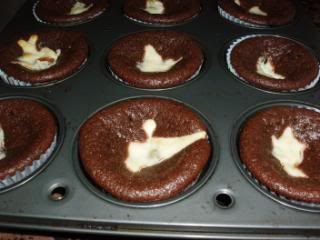
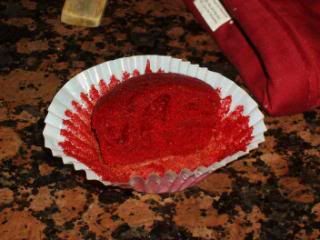
:( Sunken tops, even more so than it should be.
Notes: I have no idea why I had to bake mine for so long. I did, however, take them out of the oven after 18 minutes and they kind of "deflated", but that's only because mine had to bake longer. So when I took them out they weren't even close to finishing baking. Opps. I'll try this recipe again one day. Anyway, because of the longer required baking time I was starting to get stressed out. I thought I had wasted my ingredients for these cupcakes, in the end they turned out fine. I'm the type of person who likes following directions and when something goes wrong I get really stressed. I like predictable things, not surprises and I can't stand failing or making mistakes whether in real life or baking.
I can't seem to do my hw, I don't understand it at all. So here I am taking a break instead and posting a long overdue post.