This is a really late Father's Day post, but I finally remembered to write one. So, on Father's Day I didn't do much for my dad. :( I was going to bake this coconut bread for him on that day, but we had to go to this concert. I didn't want to go, but I went because my parents wanted me to go. So the next day I baked that bread. I found the recipe on
Christine's Recipe. I chose to bake this
bread because my dad loves eating anything coconut.
Click
Here for the recipe.
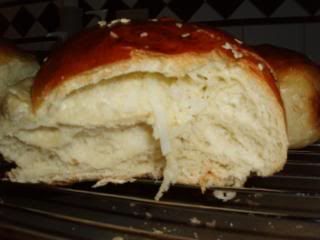
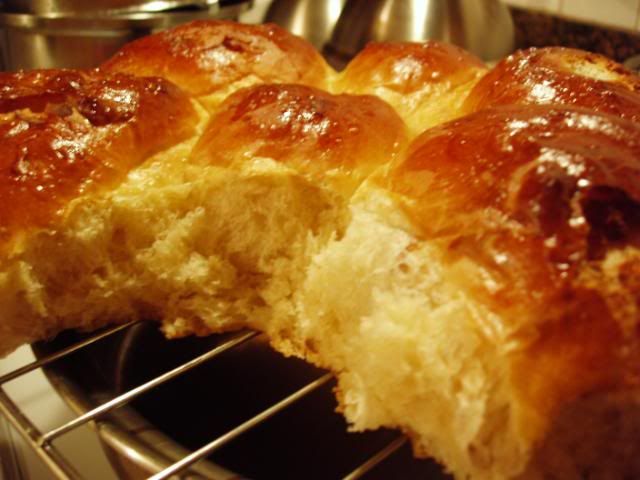
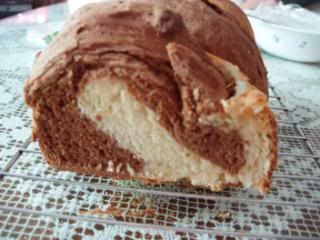
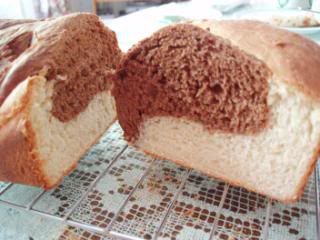
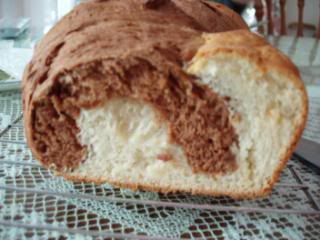
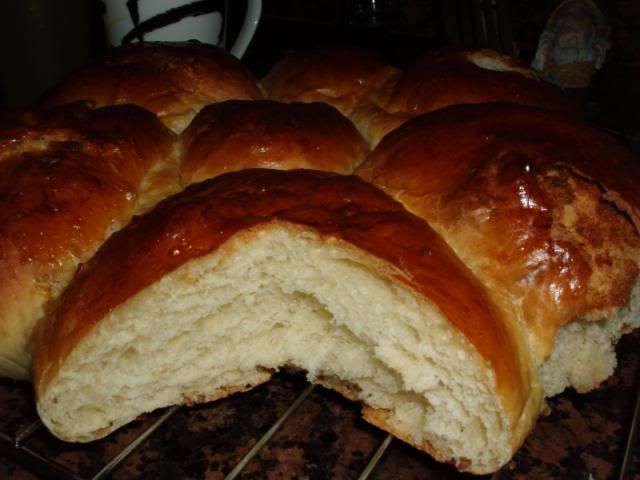
The results were terrific! They tasted like bakery bread. They were really soft and fluffy, especially right out of the oven. Even after a night, they were still pretty soft, all because of the tangzhong. I would still recommend rebaking the bread before serving because it will become soft again, even after sitting out for a couple days.
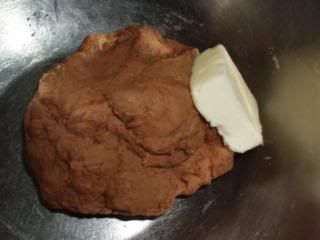
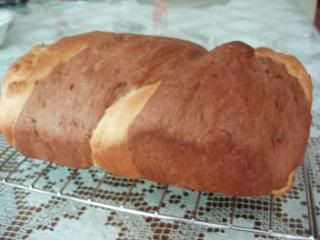
I had a really hard time kneading the dough. I made this recipe two times to use up the tangzhong and it was easier the second time, but the first time kneading the dough was really, really hard. It took me a whole hour just to knead the dough by hand before I could proof it. I have a suspicion that this was caused by me unknowingly adding too much tangzhong to the dough at the beginning. I was very worried about the result because even after kneading the dough for one hour, it was way too sticky. I had no choice but to add a few more tablespoons of flour until it was more workable. It was still sticky afterward, but I didn't want to make the bread too tough, just in case. Anyway, from then on, every went pretty smoothly. The bread turned out fantastically and my whole family enjoyed eating it.
Here's what I did.
Since I had to knead the dough by hand and since I only had active yeast, I tried to use my past bread experiences to make this bread.
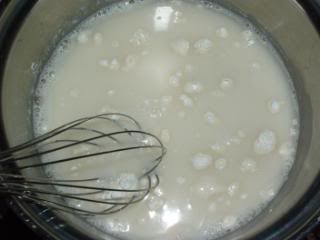
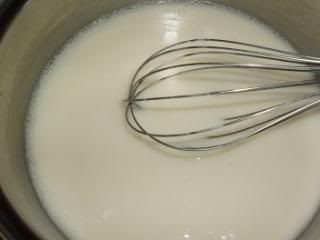
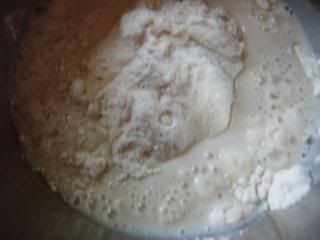
I whisked the bread flour and sugar together, I set aside around 1 tbsp of sugar though. After I whisked those two ingredients together to evenly distribute them, I dissolved the 1 tbsp of sugar that I had set aside in warm milk and then added a whole envelope of active dry yeast.
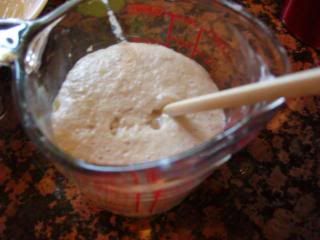
I left it there for around ten minutes and it became really bubbly and thick.
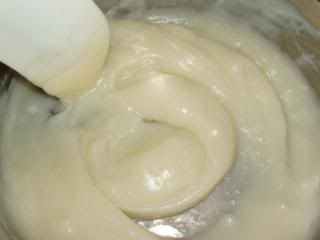
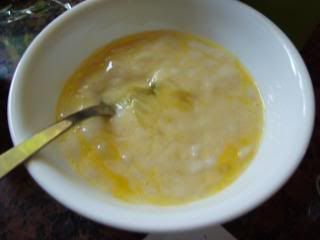
While I was waiting, I mixed the amount of tangzhong the recipe called for with an egg.
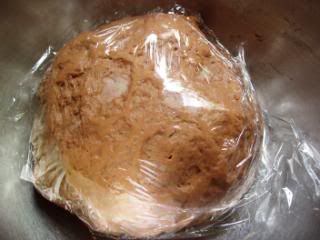
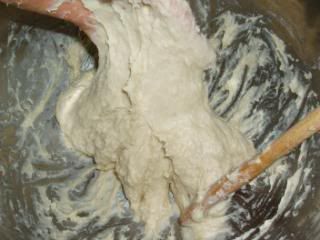
I started adding the wet ingredients into the hill of dry ingredients. I stirred it until it formed a dough. It is pretty sticky then.
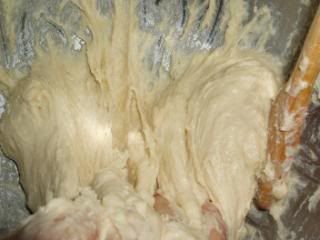
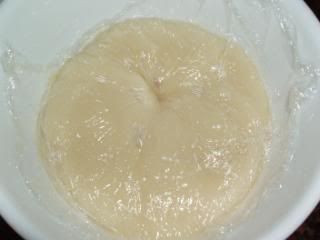
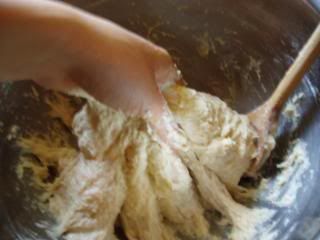
I started kneading it and it became a bit easier to knead as the gluten started forming, however, the dough was way too sticky still so I had to add a few more tablespoons of flour until it was better.
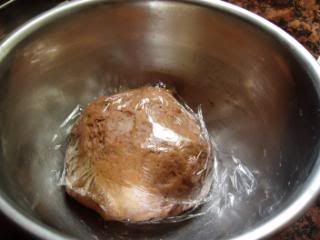
This was how sticky it was.
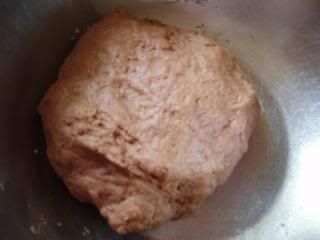
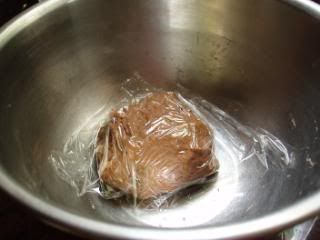
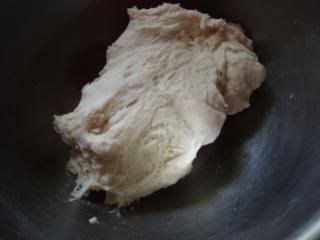
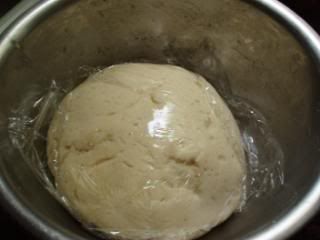
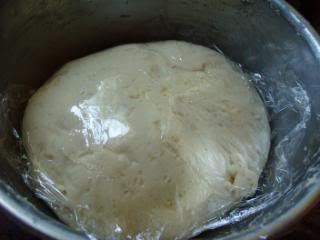
Then, I let it rise for one hour after giving up. I had already kneaded it by hand for one hour and the dough was still overly sticky. I didn't bother oiling the bowl.
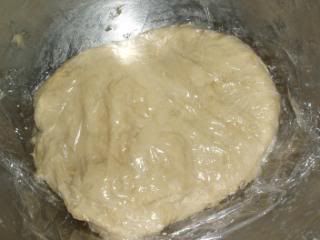
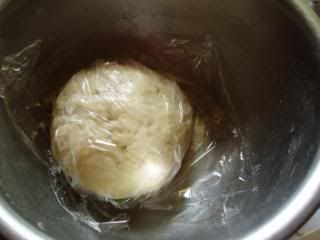
After one hour it looked pretty successful.
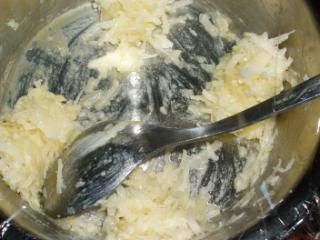
I started making the filling by creaming the sugar and butter, mixing in the egg, and then adding the coconut.
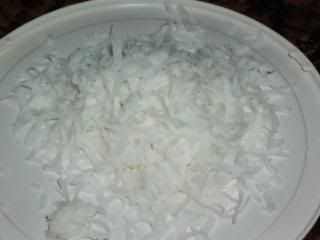
The coconut smelled really, really nice.
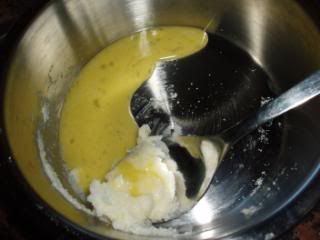
Sugar, butter and egg.
I divided the filling into four instead of six because not everyone in my family likes coconut.
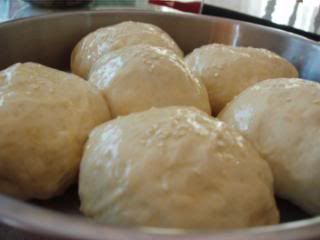
Now, I portioned out the dough into 6 balls, let them rest for 15 minutes and then rolled them out into ovals.
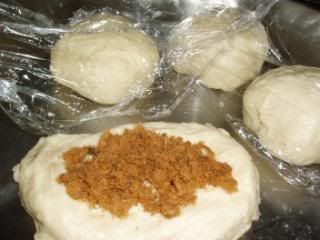
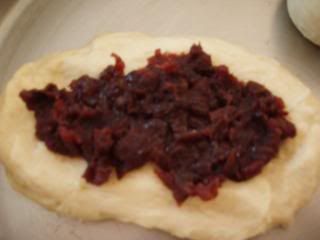
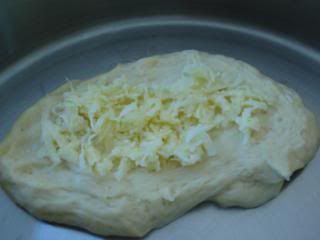
I filled them with pork sung, aka rou song or pork floss, red bean paste or a coconut filling.
Then I rolled them up from top to bottom. (Refer to Christine's Recipes for better understanding.)
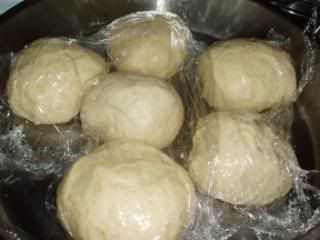
Cover buns with saran wrap and let it rise for one more hour or double in size.
After doubled in size, brush with egg wash and sprinkle sesame seeds. Bake in the preheated oven. After they are done baking, remove from the pan and cool on wire racks. They are freezable if you want to keep them for a long time.
Red bean filled bun.

Coconut filled bun.

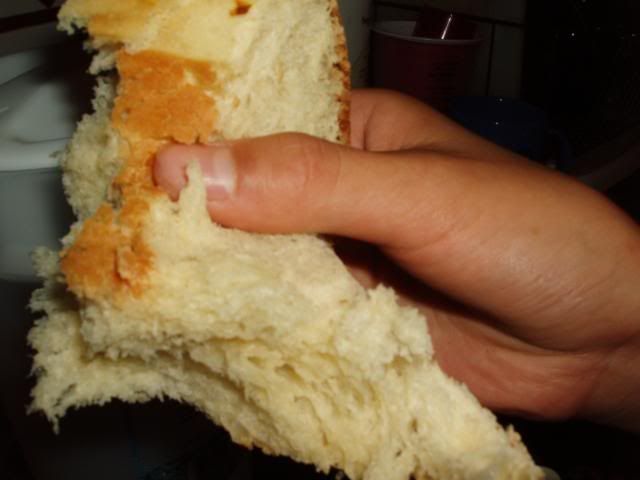
Texture
My brother's hand.